一、基础信息
1.firewalld介绍
动态防火墙后台程序 firewalld 提供了一个 动态管理的防火墙, 用以支持网络 “ zones” , 以分配对一个网络及其相关链接
和界面一定程度的信任。它具备对 IP v4 和 IP v6 防火墙设置的支持。
它支持以太网桥 , 并有分离运行时间和永久性配置选择,它还具备一个通向服务或者应用程序以直接增加防火墙规则
的接口
系统提供了图像化的配置工具 firewall-config 、 system-config-firewall, 提供命令行客户端 firewall-cmd, 用于配
置 firewalld 永久性或非永久性运行时间的改变 : 它依次用iptables 工具与执行数据包筛选的内核中的 Netfilter 通信
2.firewalld和 iptables service
firewalld 和 iptables service 之间最本质的不同是 :
- iptables service 在 /etc/sysconfig/iptables 中储存配 置
- firewalld 将配置储存在 /usr/lib/firewalld/ 和 /etc/firewalld/ 中的各种 XML 文件里 .
当 firewalld 在Red Hat Enterprise Linux上安装失败时, /etc/sysconfig/iptables 文件就不存在
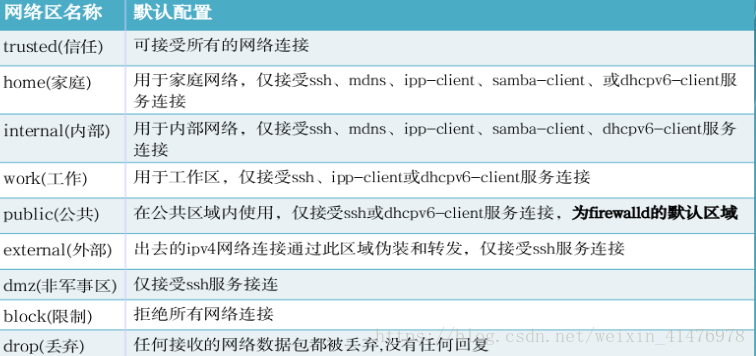
3,firewalld域
基于用户对网络中设备和交通所给与的信任程度,防火墙可以用来将网络分割成不同的区域
二、启用firewalld
1.命令管理firewalld
下载并开启服务关闭iptables
[root@client ~]# yum  install firewalld  firewall-config -y
[root@client ~]# systemctl start firewalld
[root@client ~]# systemctl enable firewalld.service
[root@client ~]# systemctl stop iptable
[root@client ~]# systemctl disable iptable
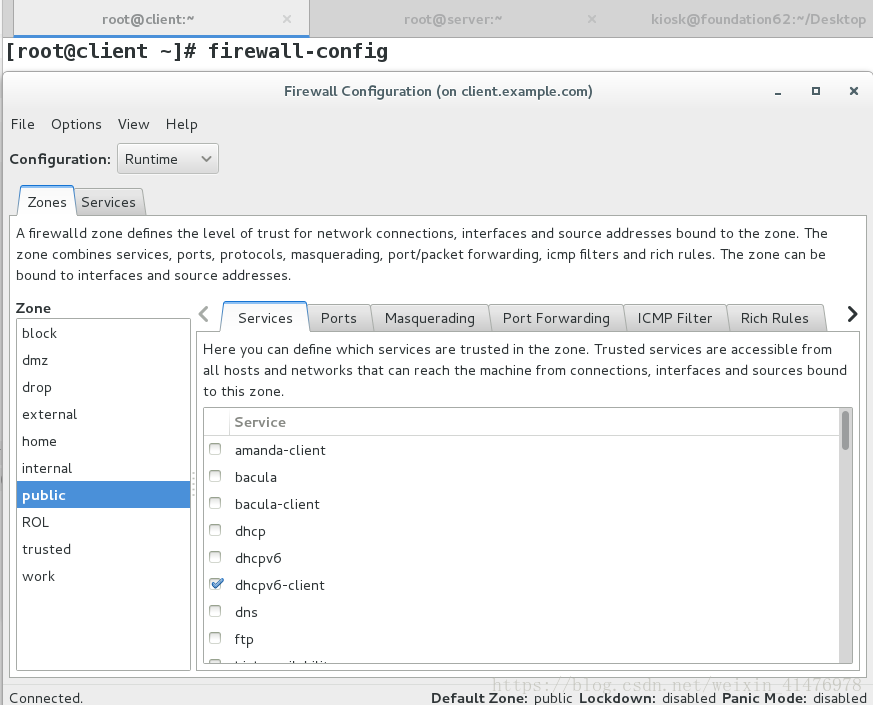
打开图形管理工具
[root@client ~]# firewall-config
firewalld管理命令
[root@client ~]# firewall-cmd --state  ##查看当前域的状态
[root@client ~]# firewall-cmd --get-active-zones  ##查看火墙当前生效的域
[root@client ~]# firewall-cmd --get-default-zone   ##查看默认的域
[root@client ~]# firewall-cmd --get-zones   ##查看所有的域
[root@client ~]# firewall-cmd --zone=public --list-all  ##查看public域里面的信息
[root@client ~]# firewall-cmd --zone=block --list-all  ##查看block域里面的信息
[root@client ~]# firewall-cmd --get-services   ##查看firewall管控的所有服务
[root@client ~]# firewall-cmd --list-all-zones  #列出所有域
[root@client ~]# firewall-cmd --list-all  ##列出当前域的所有信息
[root@client ~]#firewall-cmd --set-default-zone=trusted ##设置默认域为trusted 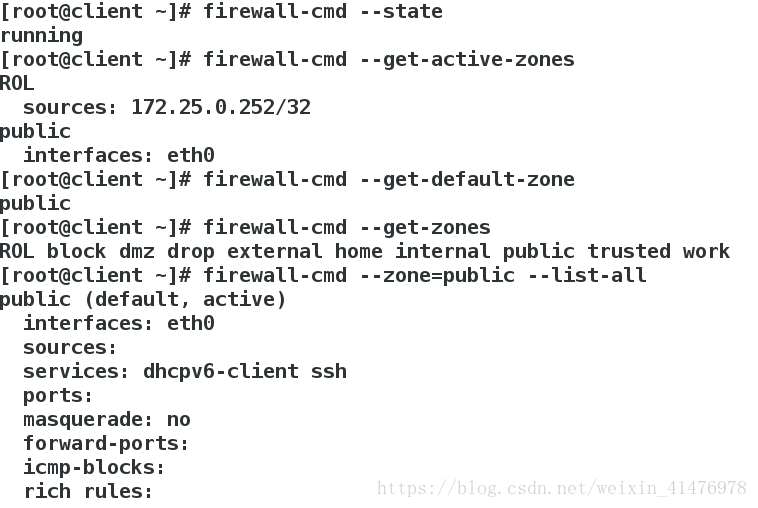

2.修改默认域
安装apache并修改默认发布页
[root@client ~]# yum install httpd -y
[root@client ~]# systemctl start httpd
[root@client ~]# echo hello >/var/www/html/index.html
查看默认域:
[root@client ~]# firewall-cmd --get-default-zone
public
测试:
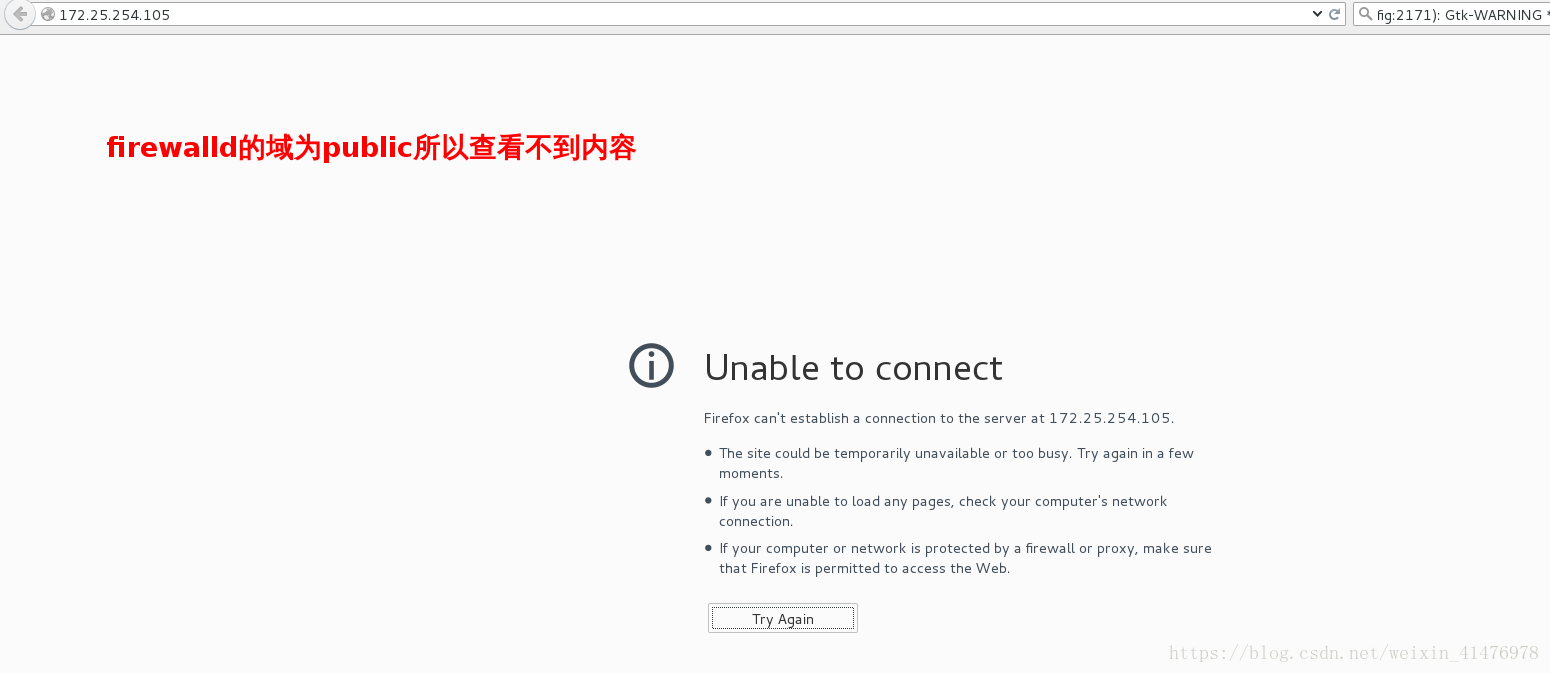
修改默认的域为trusted
[root@client ~]# firewall-cmd --set-default-zone=trusted
success
再次测试:

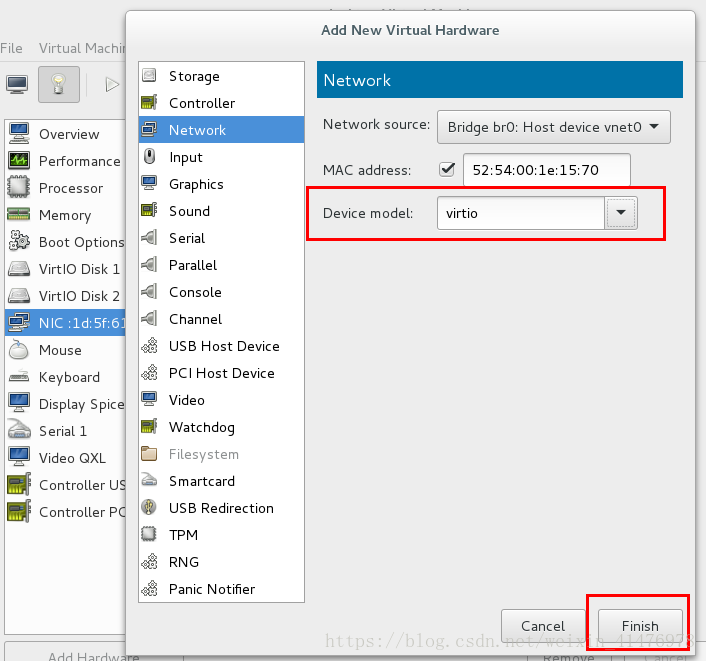
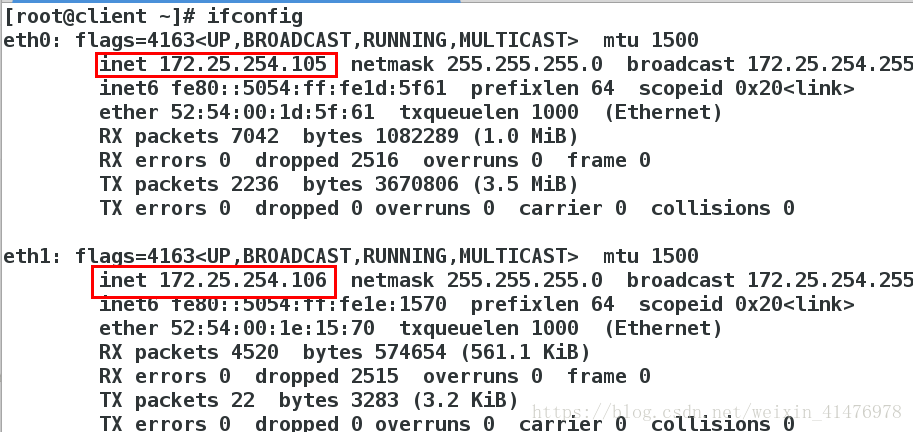
3.对指定ip或网段的控制
添加一块新的网卡,并且给其配ip
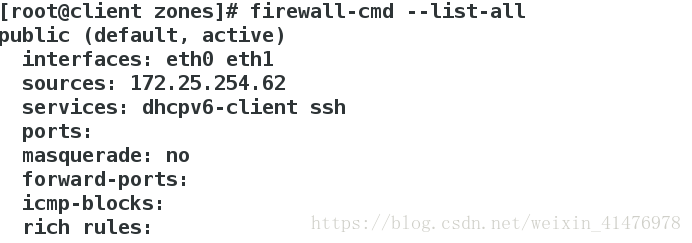
[root@client ~]# firewall-cmd --list-all
public (default, active)
  interfaces: eth0 eth1
  sources:
  services: dhcpv6-client ssh
  ports:
  masquerade: no
  forward-ports:
  icmp-blocks:
  rich rules:

[root@client ~]# firewall-cmd  --list-interfaces
eth0 eth1
[root@client ~]# firewall-cmd  --get-zone-of-interface=eth1
public
[root@client ~]# firewall-cmd  --get-zone-of-interface=eth0
public
[root@client ~]# firewall-cmd  --change-interface=eth0  --zone=trusted
success
[root@client ~]# firewall-cmd  --get-zone-of-interface=eth0
trusted
[root@client ~]# firewall-cmd --remove-interface=eth0  --zone=trusted
success
[root@client ~]# firewall-cmd  --get-zone-of-interface=eth0
no zone
[root@client ~]# firewall-cmd --add-interface=eth0  --zone=public
success
[root@client ~]# firewall-cmd  --get-zone-of-interface=eth0
public
临时添加主机域,重启之后会失效:
[root@client ~]# firewall-cmd --add-source=172.25.254.62  --zone=trusted  ##添加62为trusted域
[root@client ~]# firewall-cmd --list-all --zone=trusted
[root@client ~]# systemctl restart firewalld.service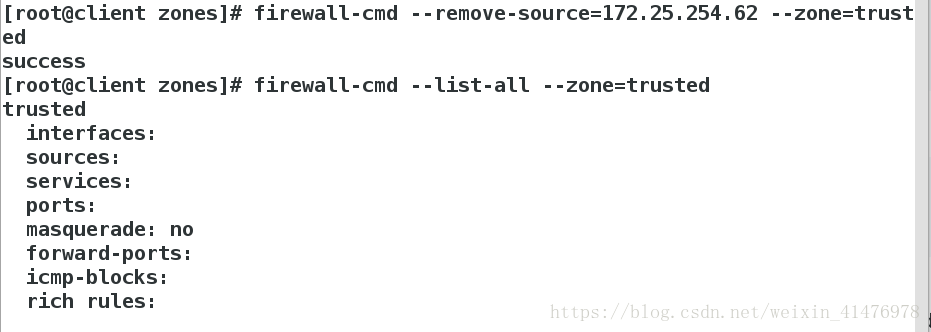
[root@client ~]# firewall-cmd --remove-source=172.25.254.62 --zone=trusted 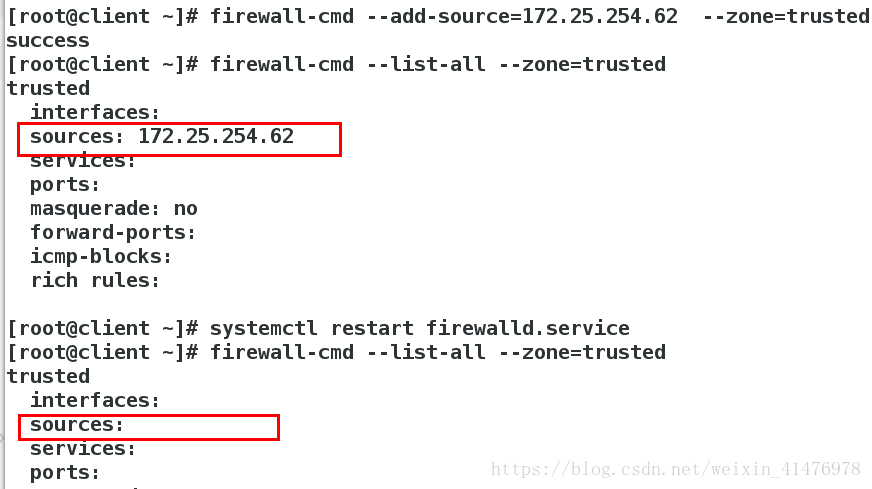
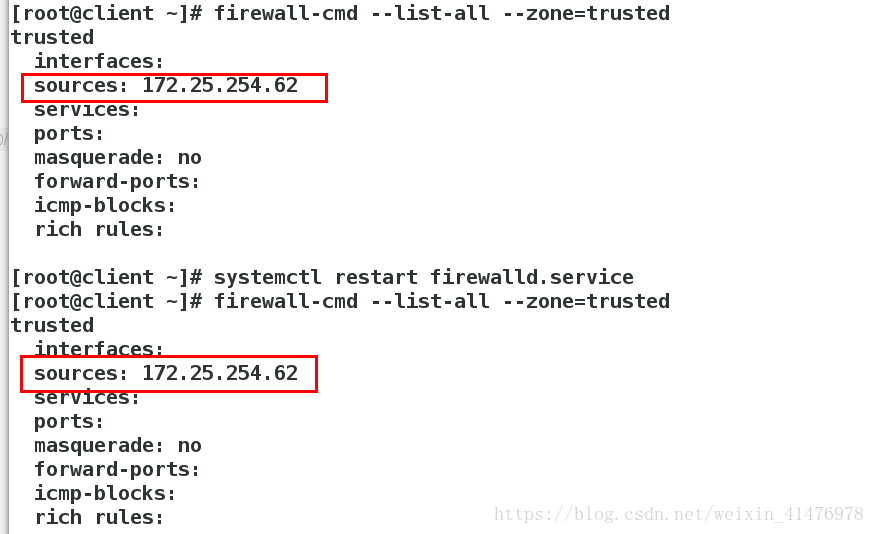
永久生效需要添加参数–permanentt
[root@client ~]# firewall-cmd  --permanent--add-source=172.25.254.62  --zone=trusted
[root@client ~]# firewall-cmd --reload
success
[root@client ~]# firewall-cmd --list-all --zone=trusted
重启之后不消失
从trusted域移除
4.用文件的方式添加
[root@client zones]# pwd
/etc/firewalld/zones
[root@client zones]# ls
public.xml  ROL.xml  trusted.xml
[root@client zones]# vim public.xml 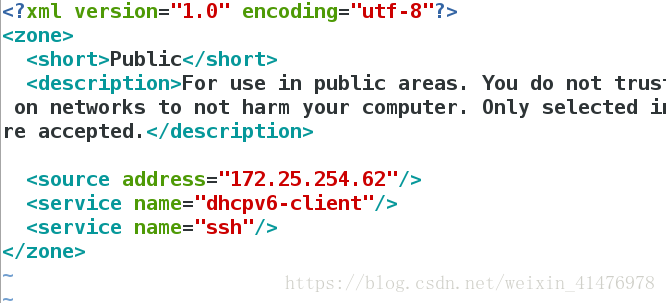
5.修改端口
[root@client zones]# firewall-cmd --add-port=8080/tcp --zone=public 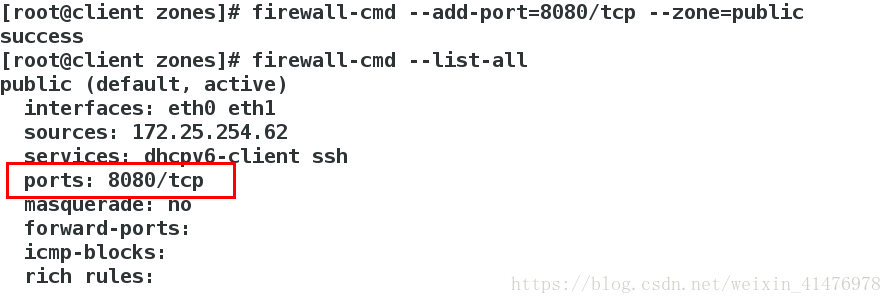
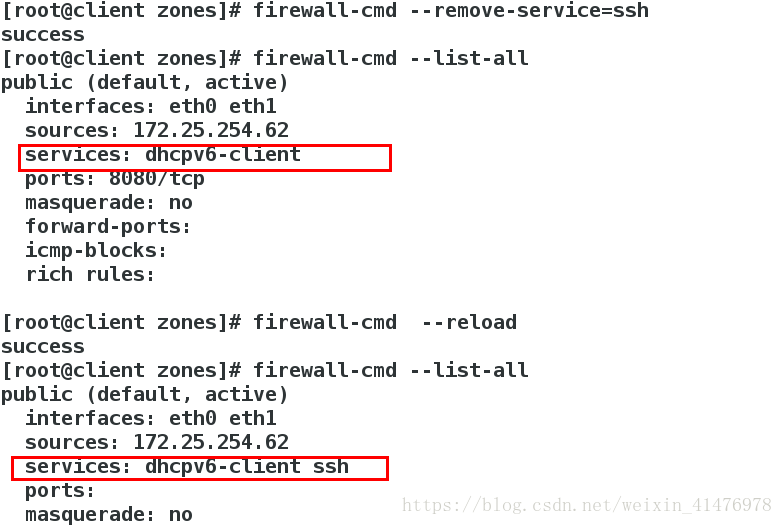
6.移除防火墙的服务
暂时性移除
[root@client zones]# firewall-cmd --remove-service=ssh
[root@client zones]# firewall-cmd  --reload
[root@client zones]# firewall-cmd --list-all
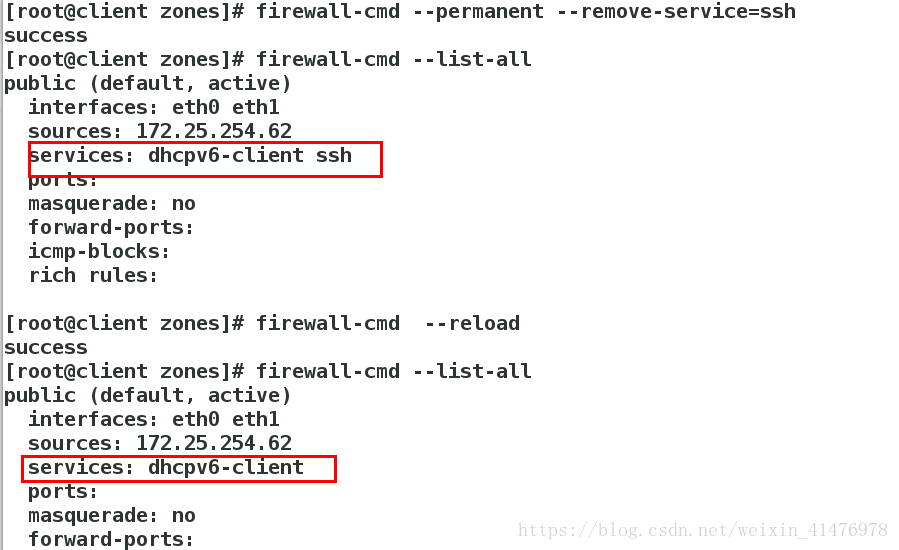
永久性移除
[root@client zones]# firewall-cmd --permanent --remove-service=ssh
[root@client zones]# firewall-cmd  --reload
[root@client zones]# firewall-cmd --list-all
测试:

三、Direct rules
添加direct rules 使62这台主机可以访问80端口 -p 协议 –dport 目的端口 -s 来源 -j 动作
[root@client ~]# firewall-cmd --direct --add-rule ipv4 filter INPUT  1 -p tcp --dport 80  -s  172.25.254.62  -j ACCEPT
success
查看direct rules
[root@client ~]# firewall-cmd --direct --get-all-rules
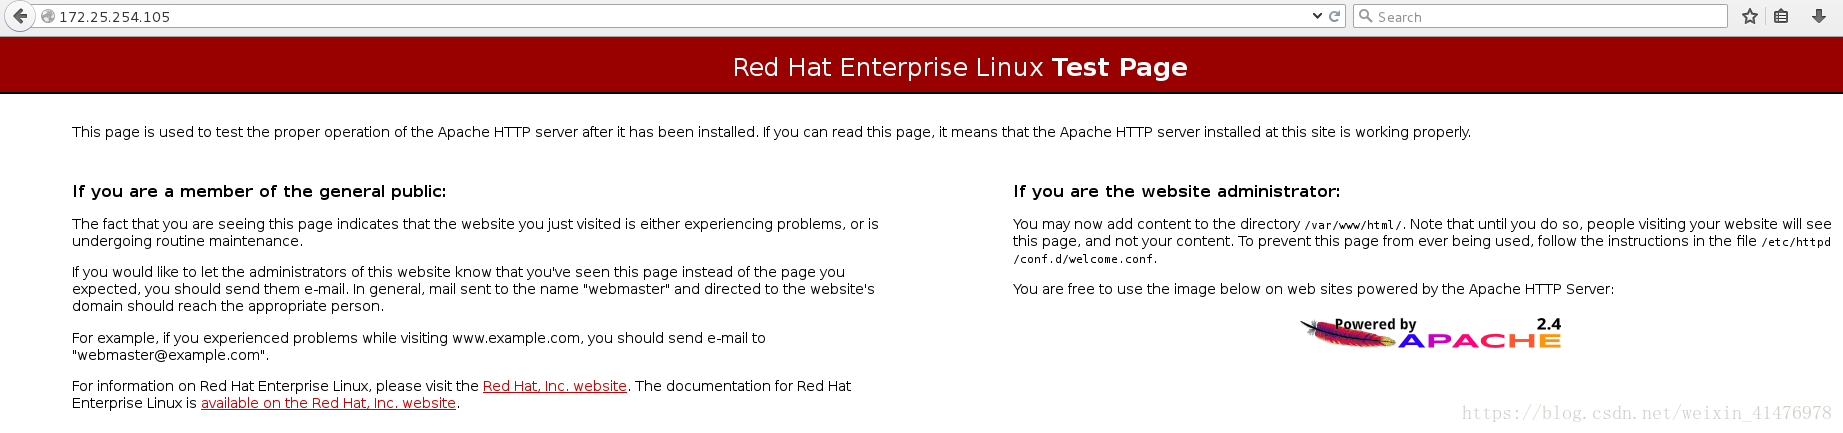
ipv4 filter INPUT 1 -p tcp --dport 80 -s 172.25.254.5 -j ACCEPT测试:
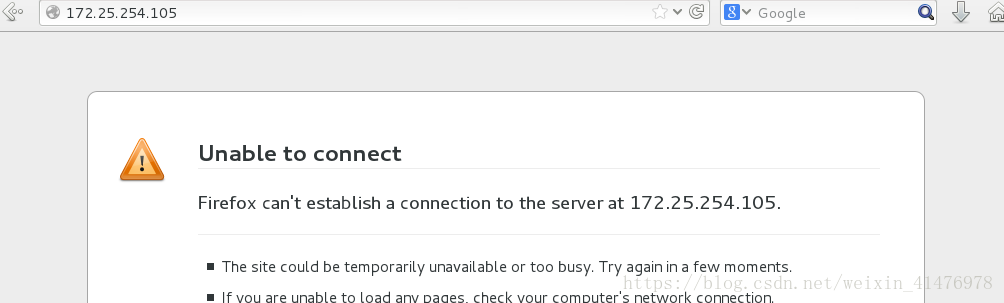
在62这台主机可以访问172.25.254.105
其他主机不能访问
四、地址转发
当别的主机通过22端口连接105时会转发至205这台主机
[root@client ~]# firewall-cmd  --permanent --add-forward-port=port=22:proto=tcp:toport=22:toaddr=172.25.254.205
success
[root@client ~]# firewall-cmd --permanent --add-masquerade
success
[root@client ~]# firewall-cmd --reload
success
[root@client ~]# firewall-cmd --list-all
public (default, active)
  interfaces: eth0
  sources:
  services: dhcpv6-client ssh
  ports:
  masquerade: yes
  forward-ports: port=22:proto=tcp:toport=22:toaddr=172.25.254.205
  icmp-blocks:
rich rules: 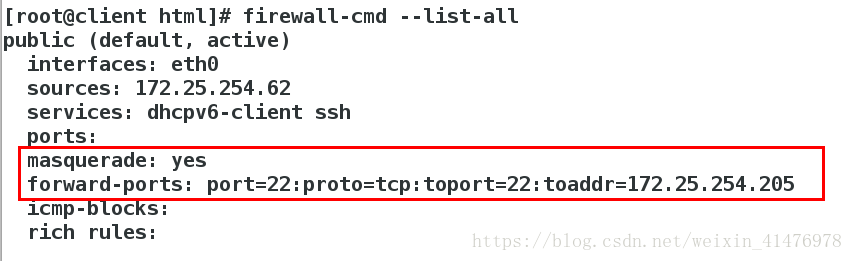
测试:
[kiosk@foundation5 Desktop]$ ssh root@172.25.254.105

[kiosk@foundation5 Desktop]$ ssh root@172.25.254.105  -->>172.25.254.205
22为ssh的端口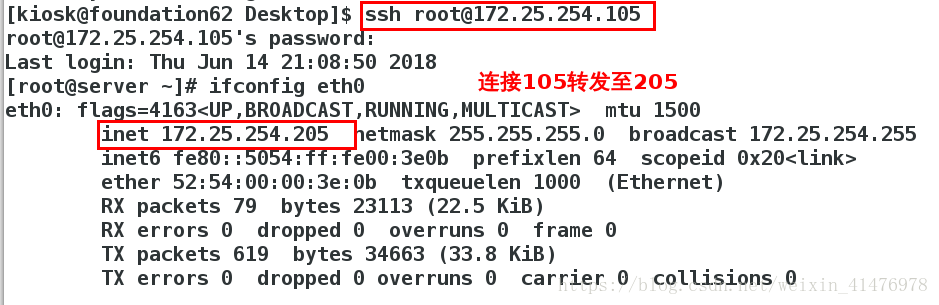
取消地址转发:
[root@client html]# firewall-cmd --remove-forward-port=port=22:proto=tcp:toport=22:toaddr=172.25.254.205
success
[root@client html]# firewall-cmd --list-all
public (default, active)
  interfaces: eth0
  sources: 172.25.254.62
  services: dhcpv6-client ssh
  ports:
  masquerade: yes
  forward-ports:
  icmp-blocks:
  rich rules:
五、地址伪装
在desktop中:
添加两块网卡 分别修改ip为 eth0 172.25.4.105 eth1 172.25.254.105
使内核让两块网卡可以通信
[root@localhost ~]# sysctl -a |grep ip_forward  ##查看ip_forward的状态
net.ipv4.ip_forward = 0
[root@localhost ~]# vim /etc/sysctl.conf
net.ipv4.ip_forward = 1
[root@localhost ~]# sysctl -p
net.ipv4.ip_forward = 1
[root@localhost ~]# firewall-cmd --permanent --add-masquerade
success
[root@localhost ~]# firewall-cmd  --reload
success
[root@localhost ~]# firewall-cmd --list-all
public (default, active)
  interfaces: eth0 eth1
  sources:
  services: dhcpv6-client ssh
  ports:
  masquerade: yes  ##打开成功
  forward-ports:
  icmp-blocks:
  rich rules: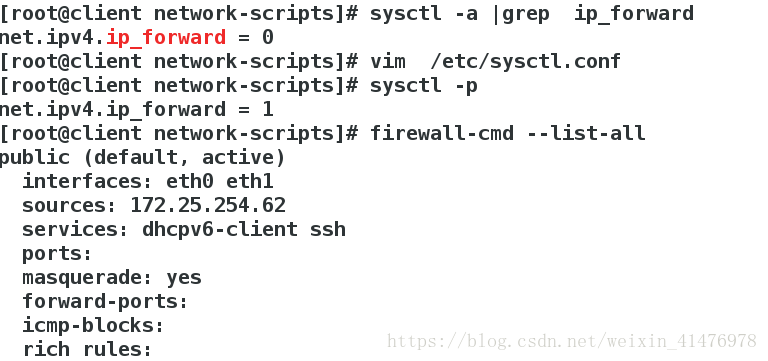
在server中:
修改ip为172.25.4.205 GATEWAY=172.25.4.105
再测试:ping 172.25.254.62 成功
