1 前言
使用Mesh绘制三角形 中介绍了绘制三角形的方法,使用Mesh绘制矩形 中介绍了绘制矩形的方法,本文将介绍绘制圆形的方法。
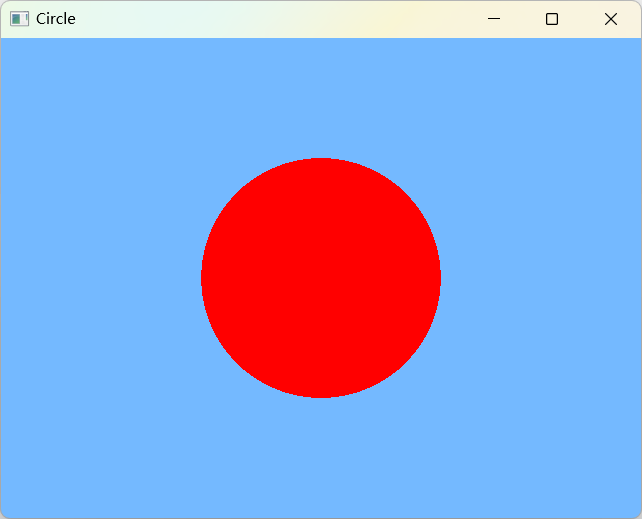
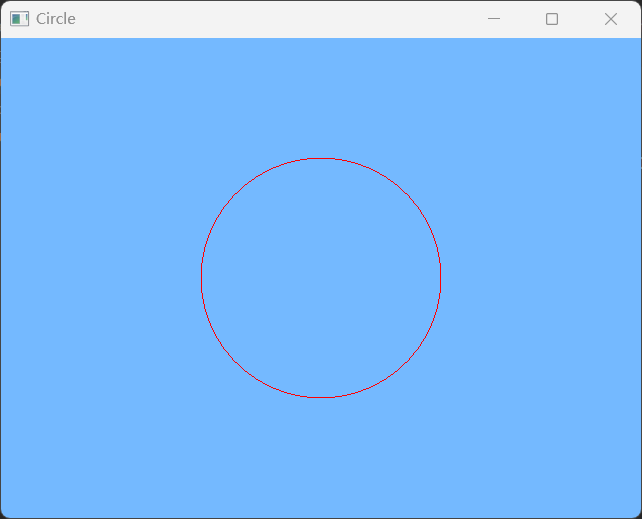
libGDX 以点、线段、三角形为图元,没有提供绘制圆形的接口。要绘制圆形边框,必须通过割圆法逼近圆形;要绘制圆形的内部,必须通过三角形逼近圆形,如下图,是通过 GL_TRIANGLE_FAN 模式逼近圆形。

2 绘制圆形
本节将使用 Mesh、ShaderProgram、Shader 绘制圆形,OpenGL ES 的实现见博客 → 绘制圆形,本节完整代码资源见 → libGDX使用Mesh绘制圆形。
DesktopLauncher.java
package com.zhyan8.game;

import com.badlogic.gdx.backends.lwjgl3.Lwjgl3Application;
import com.badlogic.gdx.backends.lwjgl3.Lwjgl3ApplicationConfiguration;

public class DesktopLauncher {
	public static void main (String[] arg) {
		Lwjgl3ApplicationConfiguration config = new Lwjgl3ApplicationConfiguration();
		config.setForegroundFPS(60);
		config.setTitle("Circle");
		new Lwjgl3Application(new Circle(), config);
	}
}
Circle.java
package com.zhyan8.game;

import com.badlogic.gdx.ApplicationAdapter;
import com.badlogic.gdx.Gdx;
import com.badlogic.gdx.graphics.GL30;
import com.badlogic.gdx.graphics.Mesh;
import com.badlogic.gdx.graphics.VertexAttribute;
import com.badlogic.gdx.graphics.VertexAttributes.Usage;
import com.badlogic.gdx.graphics.glutils.ShaderProgram;

public class Circle extends ApplicationAdapter {
	private ShaderProgram mShaderProgram;
	private Mesh mMesh;
	private float mRatio;

	@Override
	public void create() {
		initShader();
		initMesh();
	}

	@Override
	public void render() {
		Gdx.gl.glClearColor(0.455f, 0.725f, 1.0f, 1.0f);
		Gdx.gl.glClear(GL30.GL_COLOR_BUFFER_BIT);
		mShaderProgram.bind();
		mShaderProgram.setUniformf("u_wh_ratio", mRatio);
		mMesh.render(mShaderProgram, GL30.GL_TRIANGLE_FAN); // 绘制圆形内部
		// mMesh.render(mShaderProgram, GL30.GL_LINE_LOOP); // 绘制圆形框
	}

	@Override
	public void dispose() {
		mShaderProgram.dispose();
		mMesh.dispose();
	}

	private void initShader() { // 初始化着色器程序
		String vertex = Gdx.files.internal("shaders/circle_vertex.glsl").readString();
		String fragment = Gdx.files.internal("shaders/circle_fragment.glsl").readString();
		mShaderProgram = new ShaderProgram(vertex, fragment);
		mRatio = 1.0f * Gdx.graphics.getWidth() / Gdx.graphics.getHeight();
	}

	private void initMesh() { // 初始化网格
		int num = 50;
		float[] vertices = getCircle(0f, 0f, 0.5f, num);
		short[] indices = getIndices(num);
		VertexAttribute vertexPosition = new VertexAttribute(Usage.Position, 3, "a_position");
		mMesh = new Mesh(true, vertices.length / 3, indices.length, vertexPosition);
		mMesh.setVertices(vertices);
		mMesh.setIndices(indices);
	}

	private float[] getCircle(float centerX, float centerY, float radius, int num) {
		float unit = (float)(2 * Math.PI / num);
		float[] coords = new float[num * 3];
		for (int i = 0; i < num; i++) {
			coords[i * 3] = (float)(centerX + radius * Math.cos(unit * i));
			coords[i * 3 + 1] = (float)(centerY + radius * Math.sin(unit * i));
			coords[i * 3 + 2] = 0;
		}
		return coords;
	}

	private short[] getIndices(int num) {
		short[] indices = new short[num];
		for (short i = 0; i < num; i++) {
			indices[i] = i;
		}
		return indices;
	}
}
circle_vertex.glsl
#version 300 es

in vec3 a_position;

uniform float u_wh_ratio; // 屏幕宽高比

void main() {
    gl_Position = vec4(a_position, 1.0);
    if (u_wh_ratio > 1.0) {
        gl_Position.x /= u_wh_ratio;
    } else {
        gl_Position.y *= u_wh_ratio;
    }
}
circle_fragment.glsl
#version 300 es
precision mediump float; // 声明float型变量的精度为mediump

out vec4 fragColor;

void main() {
    fragColor = vec4(1, 0, 0, 0);
}