一.安装依赖
yum install -y curl policycoreutils-python openssh-server perl二.安装gitlab
yum install gitlab-jh-16.0.3-jh.0.el7.x86_64.rpm三.修改下面的
vim /etc/gitlab/gitlab.rb

external_url 'http://192.168.249.156'
四.初始化
gitlab-ctl reconfigure五.查看状态
gitlab-ctl status六.登陆 Gitlab
- 开始都是root用户登录,密码在/etc/gitlab/initial_root_password
- 修改密码
- 添加用户组
- 添加用户(管理员,开发者,维护者,普通用户登录的)
- 切换用户到管理员
- 添加项目
- 邀请用户到用户组
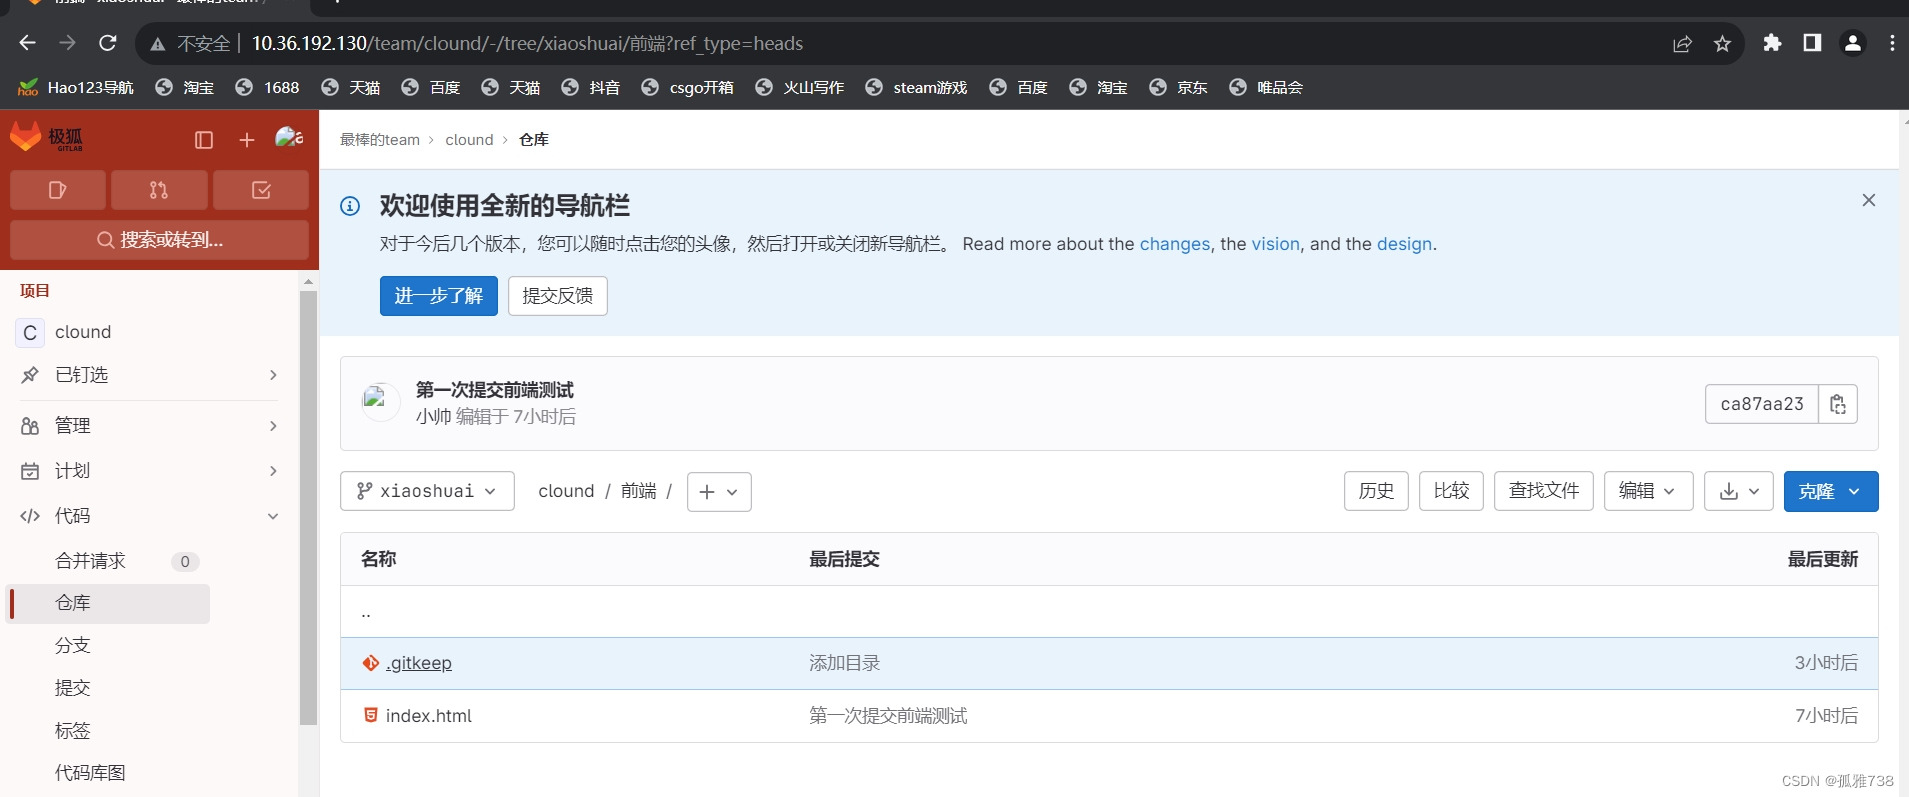
- 在项目里测试,添加前端( xiaoshuai)和后端(xiaobai)的目录

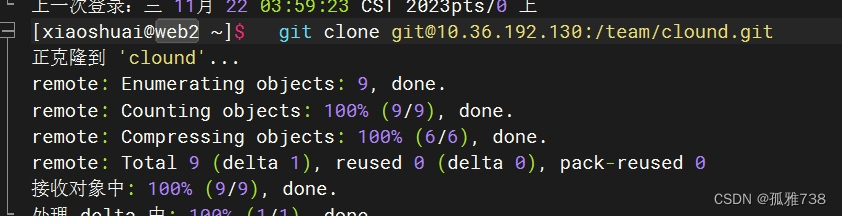
9.在终端里使用useradd xiaoshuai ,创建一个用户用来拉取代码进行测试,用 ssh-keygen 生成xiaoshuai用户的密钥,把这个密钥添加在管理员用户的gitlab的ssh密钥中,然后拉取代码。
10.配置
[root@gitlab ~]# git config --global user.name "xiaoshuai" #配置git使用用户
[root@gitlab ~]# git config --global user.email "xiaoshuai@aliyun.com" #配置git使用邮箱
[root@gitlab ~]# git config --global color.ui true #语法高亮
11. 开发者小帅用户操作
[xiaoshuai@web2 ~]$ ls

clound

[xiaoshuai@web2 ~]$ cd clound

[xiaoshuai@web2 clound]$ ls

README.md  后端  前端

[xiaoshuai@web2 clound]$ cd 前端/

[xiaoshuai@web2 前端]$ ls

[xiaoshuai@web2 前端]$ echo "你最帅 小帅前端测试" >> index.html

[xiaoshuai@web2 前端]$ ls

index.html

[xiaoshuai@web2 前端]$ git add .

[xiaoshuai@web2 前端]$ git commit -a -m "第一次提交前端测试"

[main ca87aa2] 第一次提交前端测试

 1 file changed, 1 insertion(+)

 create mode 100644 "\345\211\215\347\253\257/index.html"

[xiaoshuai@web2 前端]$ git checkout -b  xiaoshuai

切换到一个新分支 'xiaoshuai'

[xiaoshuai@web2 前端]$ git branch

  main

  origin

* xiaoshuai
12.提交代码到gitlab 分支小帅
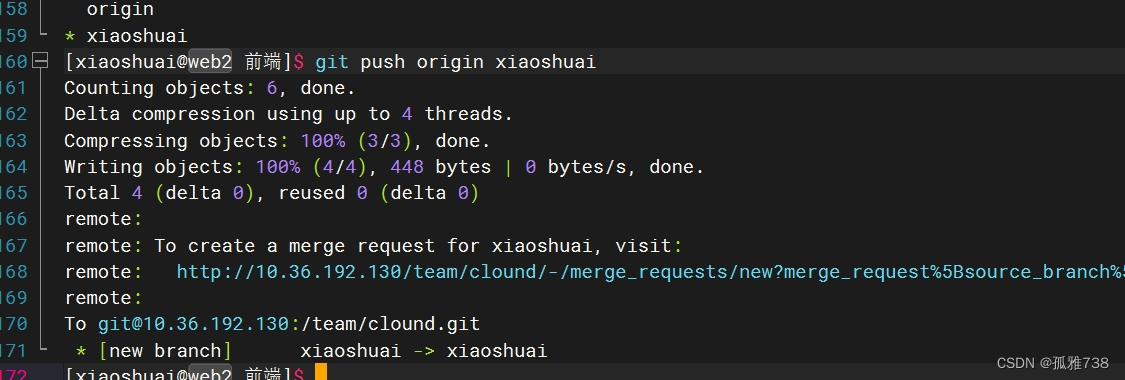
13.开发者小帅用户查看