准备工作:
简单来说,Three.js是一个javascript的3D库,我们可以使用Three来创建简单或者复杂的三维几何图形.
使用three进行3d开始我们只需要有一个chrome浏览器、一个受欢迎的vscode编译器、和一个本地服务.
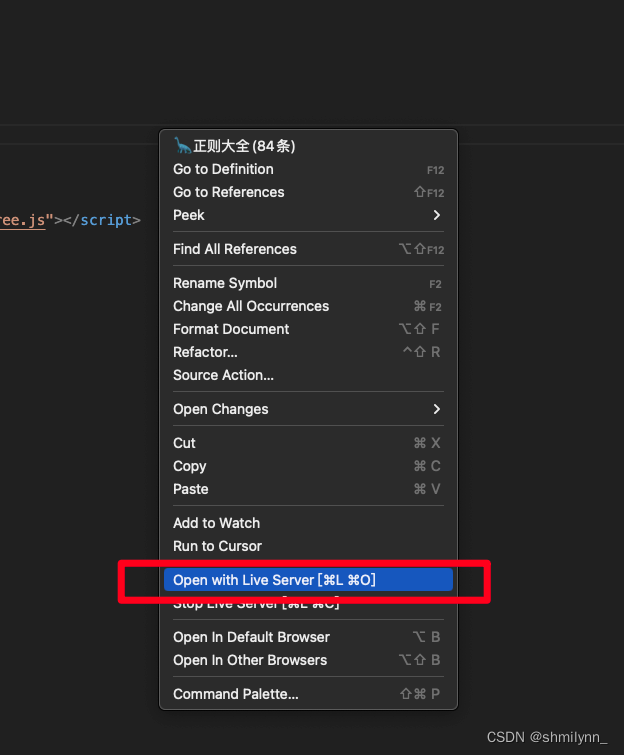
我们在vscode下载live serve插件然后通过右键open with live serve 就可以开启一个本地服务

使用thee.js渲染3d场景:
首先我们创建一个html5的标准document
在刚开始的时候我们推荐使用cdn的方式去引入three.js
<script src="https://cdn.bootcss.com/three.js/92/three.js"></script>在html中准备一个div用来render我们的3d模型
<div id="webgl-output"></div>然后在js中编写init函数调用即可渲染我们的第一个3d模型
function init() {
  // 创建一个场景,容纳我们所有的元素,如物体、相机和灯光。
  var scene = new THREE.Scene();

  //创建一个相机,它定义了我们正在看的地方。
  var camera = new THREE.PerspectiveCamera(45, window.innerWidth / window.innerHeight, 0.1, 1000);


  // 创建渲染并设置大小
  var renderer = new THREE.WebGLRenderer();
  renderer.setClearColor(new THREE.Color(0x000000));
  renderer.setSize(window.innerWidth, window.innerHeight);
  // renderer.setSize(375, 200);


  // 在屏幕上显示轴
  var axes = new THREE.AxesHelper(20);
  scene.add(axes);

  // 创建地面平面
  var planeGeometry = new THREE.PlaneGeometry(60, 20);
  var planeMaterial = new THREE.MeshBasicMaterial({
      color: 0xAAAAAA
  });
  var plane = new THREE.Mesh(planeGeometry, planeMaterial);

  // rotate and position the plane 旋转和定位平面
  plane.rotation.x = -0.5 * Math.PI;
  plane.position.set(15, 0, 0);

  // add the plane to the scene 将飞机添加到现场
  scene.add(plane);

  // create a cube    创建一个立方体
  var cubeGeometry = new THREE.BoxGeometry(4, 4, 4);
  var cubeMaterial = new THREE.MeshBasicMaterial({
      color: 0xFF0000,
      wireframe: true
  });
  var cube = new THREE.Mesh(cubeGeometry, cubeMaterial);

  // position the cube 定位立方体
  cube.position.set(-4, 3, 0);

  // add the cube to the scene  将立方体添加到场景中
  scene.add(cube);

  // create a sphere 创建一个球体
  var sphereGeometry = new THREE.SphereGeometry(4, 20, 20);
  var sphereMaterial = new THREE.MeshBasicMaterial({
      color: 0x7777FF,
      wireframe: true
  });
  var sphere = new THREE.Mesh(sphereGeometry, sphereMaterial);

  // position the sphere 定位球体
  sphere.position.set(20, 4, 2);

  // add the sphere to the scene  将球体添加到场景中
  scene.add(sphere);

  // position and point the camera to the center of the scene  将相机定位并指向场景中心
  camera.position.set(-30, 40, 30);
  camera.lookAt(scene.position);

  // add the output of the renderer to the html element   将渲染器的输出添加到html元素中
  document.getElementById("webgl-output").appendChild(renderer.domElement);

  // render the scene 渲染场景
  renderer.render(scene, camera);
}
init()
扫描二维码关注公众号,回复:
16927855 查看本文章

总结:
使用three去渲染3d场景我们必须具备三个条件
1.场景 scene
场景用来保存、跟踪所渲染的物体和使用的光源
2.摄像机 camera
摄像机决定了能够在场景中看到什么
3.渲染器 renderer
渲染器用来计算基于摄像机的角度计算场景对象在浏览器中渲染成什么样子
本章用到的一些three的api:
// 创建一个场景
var scene = new THREE.Scene();


//创建一个相机,
var camera = new THREE.PerspectiveCamera(45, window.innerWidth / window.innerHeight, 0.1, 1000);


// 创建渲染并设置大小
var renderer = new THREE.WebGLRenderer();
renderer.setClearColor //设置场景背景色
renderer.setSize       //设置场景大小


//创建x、y、z轴线 并设置其长度
var axes = new THREE.AxesHelper(20);


//创建平面几何设置宽高
new THREE.PlaneGeometry(60, 20);
//创建立方体几何设置长宽高
new THREE.BoxGeometry(4, 4, 4);
//创建球体几何
new THREE.SphereGeometry(4, 20, 20);

// 创建材质
new THREE.MeshBasicMaterial({
    color: 0xFF0000,
    wireframe: true  //开启线框模式(里面有很多线)
  });


// 组合几何图形和材质生成渲染几何
var cube = new THREE.Mesh(cubeGeometry, cubeMaterial);


// rotate and position the plane 旋转和定位平面
plane.rotation.x = -0.5 * Math.PI;
plane.position.set(15, 0, 0);


//定位相机的位置(x,y,z)
//z是场景距离我们的位置,数值越大、则距离我们越远、场景越小、反之越大
//x设置正值场景向右旋转、负值则向左旋转
//y设置正值 , 就是从顶部观看的效果,负值则是底部观看
camera.position.set(-30, 40, 30);


//指向我们设置的相机位置,决定了我们在哪里观看场景
camera.lookAt(scene.position);