首先分享Iteye的开涛对Ioc的精彩讲解
第一步:导入jar包
4+1:4个核心(beans、core、context、expression)+1个依赖(commons-logging...jar)。

第二步:目标类
编写UserService接口和实现类并且获得UserService实现类和实例。在没有用Spring框架之前的开发中,直接new一个对象即可,学习了Spring之后,将由Spring创建对象实例。IOC(Inverse of Control):将创建对象的控制权反转给了Spring。之后再需要实例对象时,直接从Spring工厂(容器)中获得,只需要将实现类的全限定名配置到applicationContext.xml中去。
UserService接口:
package com.zju.service;

public interface UserService {

	public void addUser();
}
UserService接口的实现类:
package com.zju.service.impl;
import com.zju.service.UserService;
public class UserServiceImpl implements UserService{
@Override
public void addUser() {
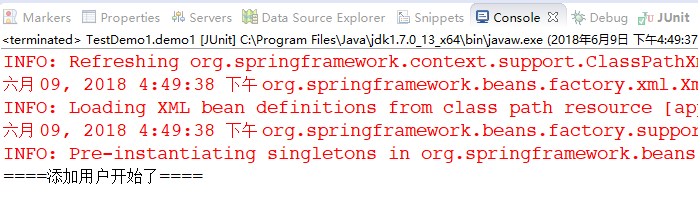
System.out.println("====添加用户开始了====");
}
}
第三步:applicationContext配置文件
位置:任意,开发中一般放在classpath下(src),名称:约定为applicationContext
添加schema约束:spring-framework-3.2.0.RELEASE/docs/spring-framework-reference/html/xsd-config.html中拷贝

<?xml version="1.0" encoding="UTF-8"?>
<beans xmlns="http://www.springframework.org/schema/beans"
       xmlns:xsi="http://www.w3.org/2001/XMLSchema-instance"
       xsi:schemaLocation="http://www.springframework.org/schema/beans
       						http://www.springframework.org/schema/beans/spring-beans.xsd">

	<!-- 配置service
		<bean>:配置需要创建的对象
		id:用于之后从Spring容器中获得实例时使用
		class:需要创建实例的全限定名
	 -->
	<bean id="userServiceId" class="com.zju.service.impl.UserServiceImpl"></bean>

</beans>
第四步:测试
package com.zju.test;

import org.junit.Test;
import org.springframework.context.ApplicationContext;
import org.springframework.context.support.ClassPathXmlApplicationContext;

import com.zju.service.UserService;

public class TestDemo1 {
	@Test
	public void demo1(){
		//1 获得Spring容器
		String xmlPath = "/applicationContext.xml";
		ApplicationContext applicationContext = new ClassPathXmlApplicationContext(xmlPath);
		//2 获得内容:不再需要自己去New了,直接从Spring容器中获得
		UserService userService = (UserService) applicationContext.getBean("userServiceId");
		userService.addUser();
	}
}
右键demo1-->run as -->JUnit Test