一、Apache目录结构
服务目录:/usr/local/httpd
主配置文件:/usr/local/httpd/confi/http.conf
网页目录:/usr/local/httpd/htdocs
服务脚本:/usr/local/httpd/bin/apachectl
执行程序:/usr/local/httpd/bin/httpd
访问日志:/usr/local/httpd/log/access.log
错误日志:/usr/local/httpd/log/error.log
二、常用的全局配置参数
ServerRoot:服务目录
ServerAdmin:管理员邮箱
User:运行服务的用户身份
Group:运行服务的组身份
ServerName:网站服务器的域名
DocumentRoot:网页文档的根目录
Listen:监听的IP地址、端口号
PidFile:保存http进程PID号 的文件
DirectoryIndex:默认的索引页文件
ErrorLog:错误日志文件的位置
CustomLog:访问日志文件的位置
LogLevel:记录资质的级别,默认为warn
Timeout:网络连接超时,默认为300秒
KeepAlive:是否保持连接,可选On或Off
MaxKeepAliveRequests:每次连接状态最多请求文件数
KeepAliveTimeout:保持连接的超时时间
Include:需要包含进来的其他配置文件
三、编译安装 httpd
3.1 准备工作
查看是否安装了httpd
rpm -qa httpd
卸载原有的httpd
rpm -e httpd
3.2 编译安装环境
[root@xss httpd-2.2.15]# yum -y install gcc gcc-c++
3.3 源码编译安装
解包:[root@xss httpd-2.2.15]# tar zxf httpd-2.2.15.tar.gz -C /usr/src/
配置:[root@xss httpd-2.2.15]# cd /usr/src/httpd-2.2.15/
[root@xss httpd-2.2.15]# ./configure --prefix=/usr/local/httpd --enable-so --enable-rewrite --enable-charset-lite --enable-cgi --with-included-apr
编译安装:[root@xss httpd-2.2.15]# make && make install
3.4 优化执行路径
[root@xss httpd-2.2.15]# ln -s /usr/local/httpd/bin/* /usr/local/bin
[root@xss httpd-2.2.15]# httpd -v = /usr/local/httpd/bin/httpd –
3.5 添加httpd系统服务
[root@xss httpd-2.2.15]# cp /usr/local/httpd/bin/apachectl /etc/init.d/httpd
[root@xss httpd-2.2.15]# vim /etc/init.d/httpd
#!/bin/sh
#chkconfig:35 85 15 //哪些Linux级别需要启动httpd(3,5);启动序号(85);关闭序号(15)
#description:startup for httpd server

开机启动
[root@xss httpd-2.2.15]# chkconfig --add httpd
开启httpd服务
[root@xss httpd-2.2.15]# service httpd start
在浏览器中访问

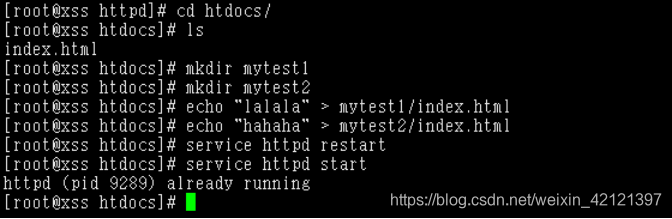
四.站点布置
4.1基于IP地址的虚拟主机
修改主配置文件
打开虚拟主机功能
[root@xss htdocs]# vim /usr/local/httpd/conf/httpd.conf
Virtual hosts
Include conf/extra/httpd-vhosts.conf
修改虚拟主机配置文件
[root@xss htdocs]# vim /usr/local/httpd/conf/extra/httpd-vhosts.conf
<VirtualHost 192.168.8.137>
ServerAdmin [email protected]
DocumentRoot “/usr/local/httpd/htdocs/mytest1”
ServerName www.mytest1.com
ServerAlias www.dummy-host.example.com
ErrorLog “logs/mytest1.error_log”
CustomLog “logs/mytest1.access_log” common
<VirtualHost 192.168.8.138>
ServerAdmin [email protected]
DocumentRoot “/usr/local/httpd/htdocs/mytest2”
ServerName www.mytest2.com
ErrorLog “logs/mytest2.error_log”
CustomLog “logs/mytest2.access_log” common
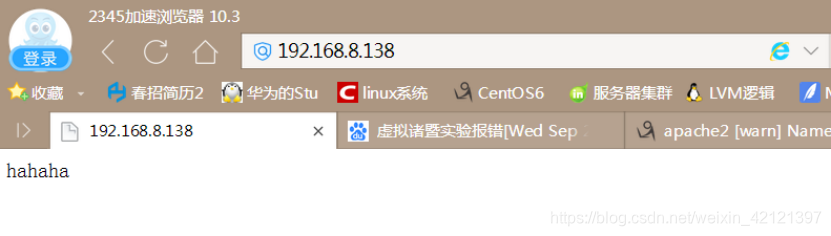
验证

4.2 基于端口的虚拟主机
修改主配置文件
添加被监听的端口
[root@xss htdocs]# vim /usr/local/httpd/conf/httpd.conf
Listen 80
Listen 8080
修改虚拟主机配置文件
[root@xss htdocs]# vim /usr/local/httpd/conf/extra/httpd-vhosts.conf
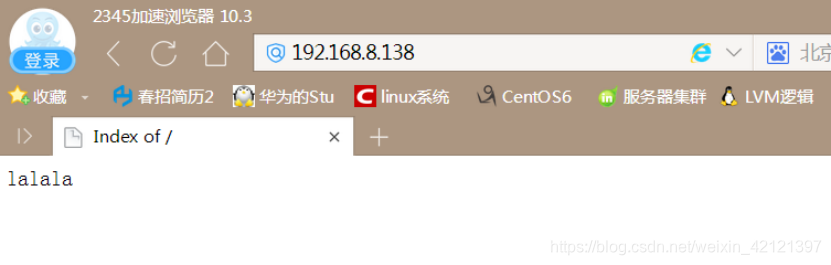
<VirtualHost 192.168.8.138:80>
ServerAdmin [email protected]
DocumentRoot “/usr/local/httpd/htdocs/mytest1”
ServerName www.mytest1.com
ServerAlias www.dummy-host.example.com
ErrorLog “logs/mytest1.error_log”
CustomLog “logs/mytest1.access_log” common
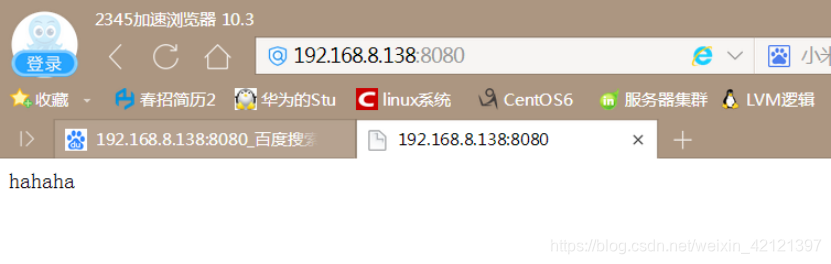
<VirtualHost 192.168.8.138:8080>
ServerAdmin [email protected]
DocumentRoot “/usr/local/httpd/htdocs/mytest2”
ServerName www.mytest2.com
ErrorLog “logs/mytest2.error_log”
CustomLog “logs/mytest2.access_log” common
验证
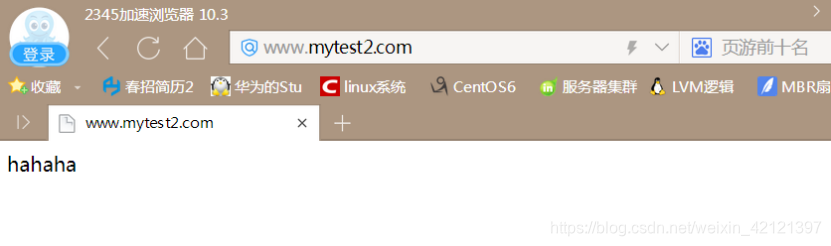
4.3 基于DNS域名的虚拟主机
安装bind服务
[root@xss Packages]# rpm -ivh bind-9.8.2-0.17.rc1.el6_4.6.x86_64.rpm
配置DNS
修改主配置文件
申明两个域
options {
directory “/var/named”;
};
zone “mytest1.com” IN{
type master;
file “mytest1.com.zone”;
};
zone “mytest2.com” IN{
type master;
file “mytest2.com.zone”;
};
创建解析文件
写解析文件

重启服务
修改虚拟主机配置文件
[root@xss htdocs]# vim /usr/local/httpd/conf/extra/httpd-vhosts.conf
申明192.168.8.138是基于域名的虚拟主机服务器

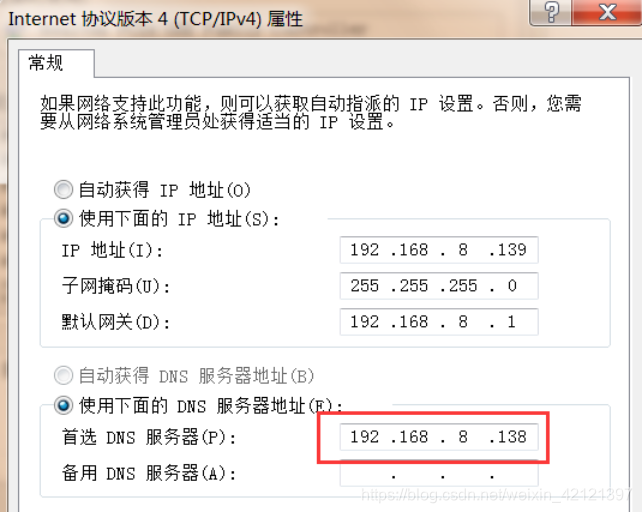
修改网卡配置
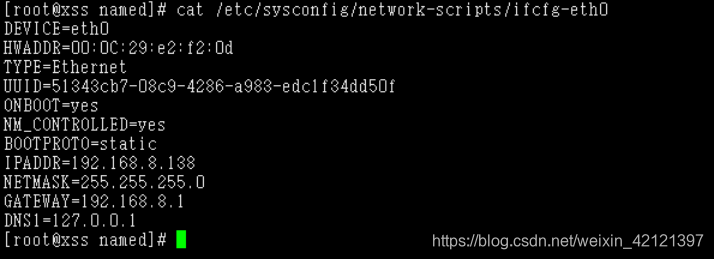
重启网络服务
[root@xss named]# service network restart
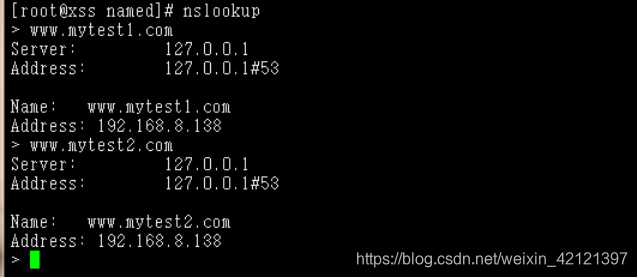
验证:本机能够解析成功
真机验证:修改真机的DNS地址为虚拟机ip地址