1.首先先关闭防火墙和selinux,然后测试nginx是否能正常启动,网页是否能访问到。
2.基于域名的虚拟主机
配置通过域名区分的虚拟机
[root@localhost nginx-1.16.1]# vim /etc/nginx/nginx.conf  #进入配置文件
然后找到server并进行如下操作

#根据图去修改
    server {
        listen       80;
        server_name  www.testhtml.com;
        location / {
            root   /var/www/first_test/;
            index  index.html index.htm;
        }
        error_page   500 502 503 504  /50x.html;
        location = /50x.html {
            root   html;
        }
    }
    server {
        listen       80;
        server_name  web.testhtml.com;
        location / {
            root   /var/www/second_test/;
            index  index.html index.htm;
        }
        error_page   500 502 503 504  /50x.html;
        location = /50x.html {
            root   html;
        }
    }
创建目录和index文件,并写入数据进行测试
[root@localhost nginx-1.16.1]# mkdir -p /var/www/first_test/
[root@localhost nginx-1.16.1]# vim /var/www/first_test/index.html
[root@localhost nginx-1.16.1]# mkdir -p /var/www/second_test/
[root@localhost nginx-1.16.1]# vim /var/www/second_test/index.html
测试用
[root@localhost nginx-1.16.1]# cat /var/www/first_test/index.html #查看我写的数据
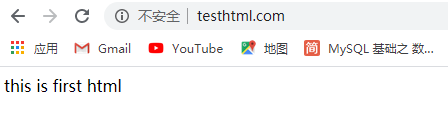
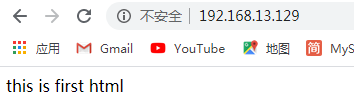
this is first html
[root@localhost nginx-1.16.1]# cat /var/www/second_test/index.html
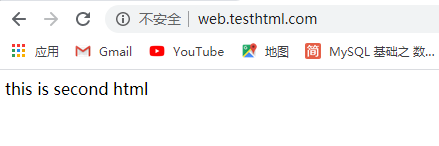
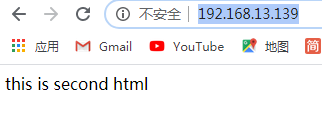
this is second html
重新加载配置文件
# 如果编译安装的执行
[root@localhost nginx-1.16.1]# /usr/local/nginx/sbin/nginx -s reload
# 如果 yum 安装的执行
[root@localhost nginx-1.16.1]# nginx -s reload
因为网址是我们自定义的,所以我们需要用windows解析一下
客户端配置解析 在 C:\Windows\System32\drivers\etc\hosts 文件中添加两行
192.168.13.129               web.testhtml.com
192.168.13.129               www.testhtml.com
#ip地址是你正在使用的有nginx的虚拟机地址

记得一定要保存
测试访问
浏览器输入:http://www.testhtml.com
浏览器输入:http://web.testhtml.com
3.基于ip的虚拟主机
首先我们要配置一个子接口
[root@localhost ~]# ifconfig ens33:1 192.168.13.139/24    #自己网段的ip
[root@localhost ~]# ip a      #查看
1: lo: <LOOPBACK,UP,LOWER_UP> mtu 65536 qdisc noqueue state UNKNOWN qlen 1
    link/loopback 00:00:00:00:00:00 brd 00:00:00:00:00:00
    inet 127.0.0.1/8 scope host lo
       valid_lft forever preferred_lft forever
    inet6 ::1/128 scope host
       valid_lft forever preferred_lft forever
2: ens33: <BROADCAST,MULTICAST,UP,LOWER_UP> mtu 1500 qdisc pfifo_fast state UP qlen 1000
    link/ether 00:0c:29:ed:a9:e9 brd ff:ff:ff:ff:ff:ff
    inet 192.168.13.129/24 brd 192.168.13.255 scope global ens33
       valid_lft forever preferred_lft forever
    inet 192.168.13.139/24 brd 192.168.13.255 scope global secondary ens33:1
       valid_lft forever preferred_lft forever
    inet6 fe80::bf48:52fa:e308:53f4/64 scope link
       valid_lft forever preferred_lft forever
配置通过ip区分的虚拟机
#步骤跟基于域名的虚拟机配置差不多,只需要将server_name 后面的变为ip地址就行了,而且也不用去解析
server {
        listen       80;
        server_name  192.168.13.129;
        location / {
            root   /var/www/first_test/;
            index  index.html index.htm;
        }
        error_page   500 502 503 504  /50x.html;
        location = /50x.html {
            root   html;
        }
    }
    server {
        listen       80;
        server_name  192.168.13.139;
        location / {
            root   /var/www/second_test/;
            index  index.html index.htm;
        }
        error_page   500 502 503 504  /50x.html;
        location = /50x.html {
            root   html;
        }
    }
重新加载配置文件
# 如果编译安装的执行
[root@localhost ~]# /usr/local/nginx/sbin/nginx -s reload
# 如果 yum 安装的执行
[root@localhost ~]# nginx -s reload
测试访问
浏览器输入:http://192.168.13.129
浏览器输入:http://192.168.13.139
– 删除绑定的临时ip
[root@localhost ~]# ifconfig ens33:1 192.168.13.139/24 down
重启一下nginx
[root@localhost ~]# systemctl restart nginx
4.基于端口的虚拟主机
#同一个ip,但是端口号不同
 server {
        listen       80;
        server_name  192.168.13.129;
        location / {
            root   /var/www/first_test/;
            index  index.html index.htm;
        }
        error_page   500 502 503 504  /50x.html;
        location = /50x.html {
            root   html;
        }
    }
    server {
        listen       8080;
        server_name  192.168.13.129;
        location / {
            root   /var/www/second_test/;
            index  index.html index.htm;
        }
        error_page   500 502 503 504  /50x.html;
        location = /50x.html {
            root   html;
        }
    }
重新加载配置文件
# 如果编译安装的执行
[root@localhost ~]# /usr/local/nginx/sbin/nginx -s reload
# 如果 yum 安装的执行
[root@localhost ~]# nginx -s reload
测试访问
浏览器输入:http://192.168.13.129
浏览器输入:http://192.168.13.129:8080
你会看到跟之前一样的网页
