一、前言
确保IDEA中项目为Maven项目,并且在nexus中已经创建了Maven私服。
如果没有创建Maven私服,可借鉴此博客:【Nexus】Nexus创建Maven私服
二、pom文件添加推送代码配置
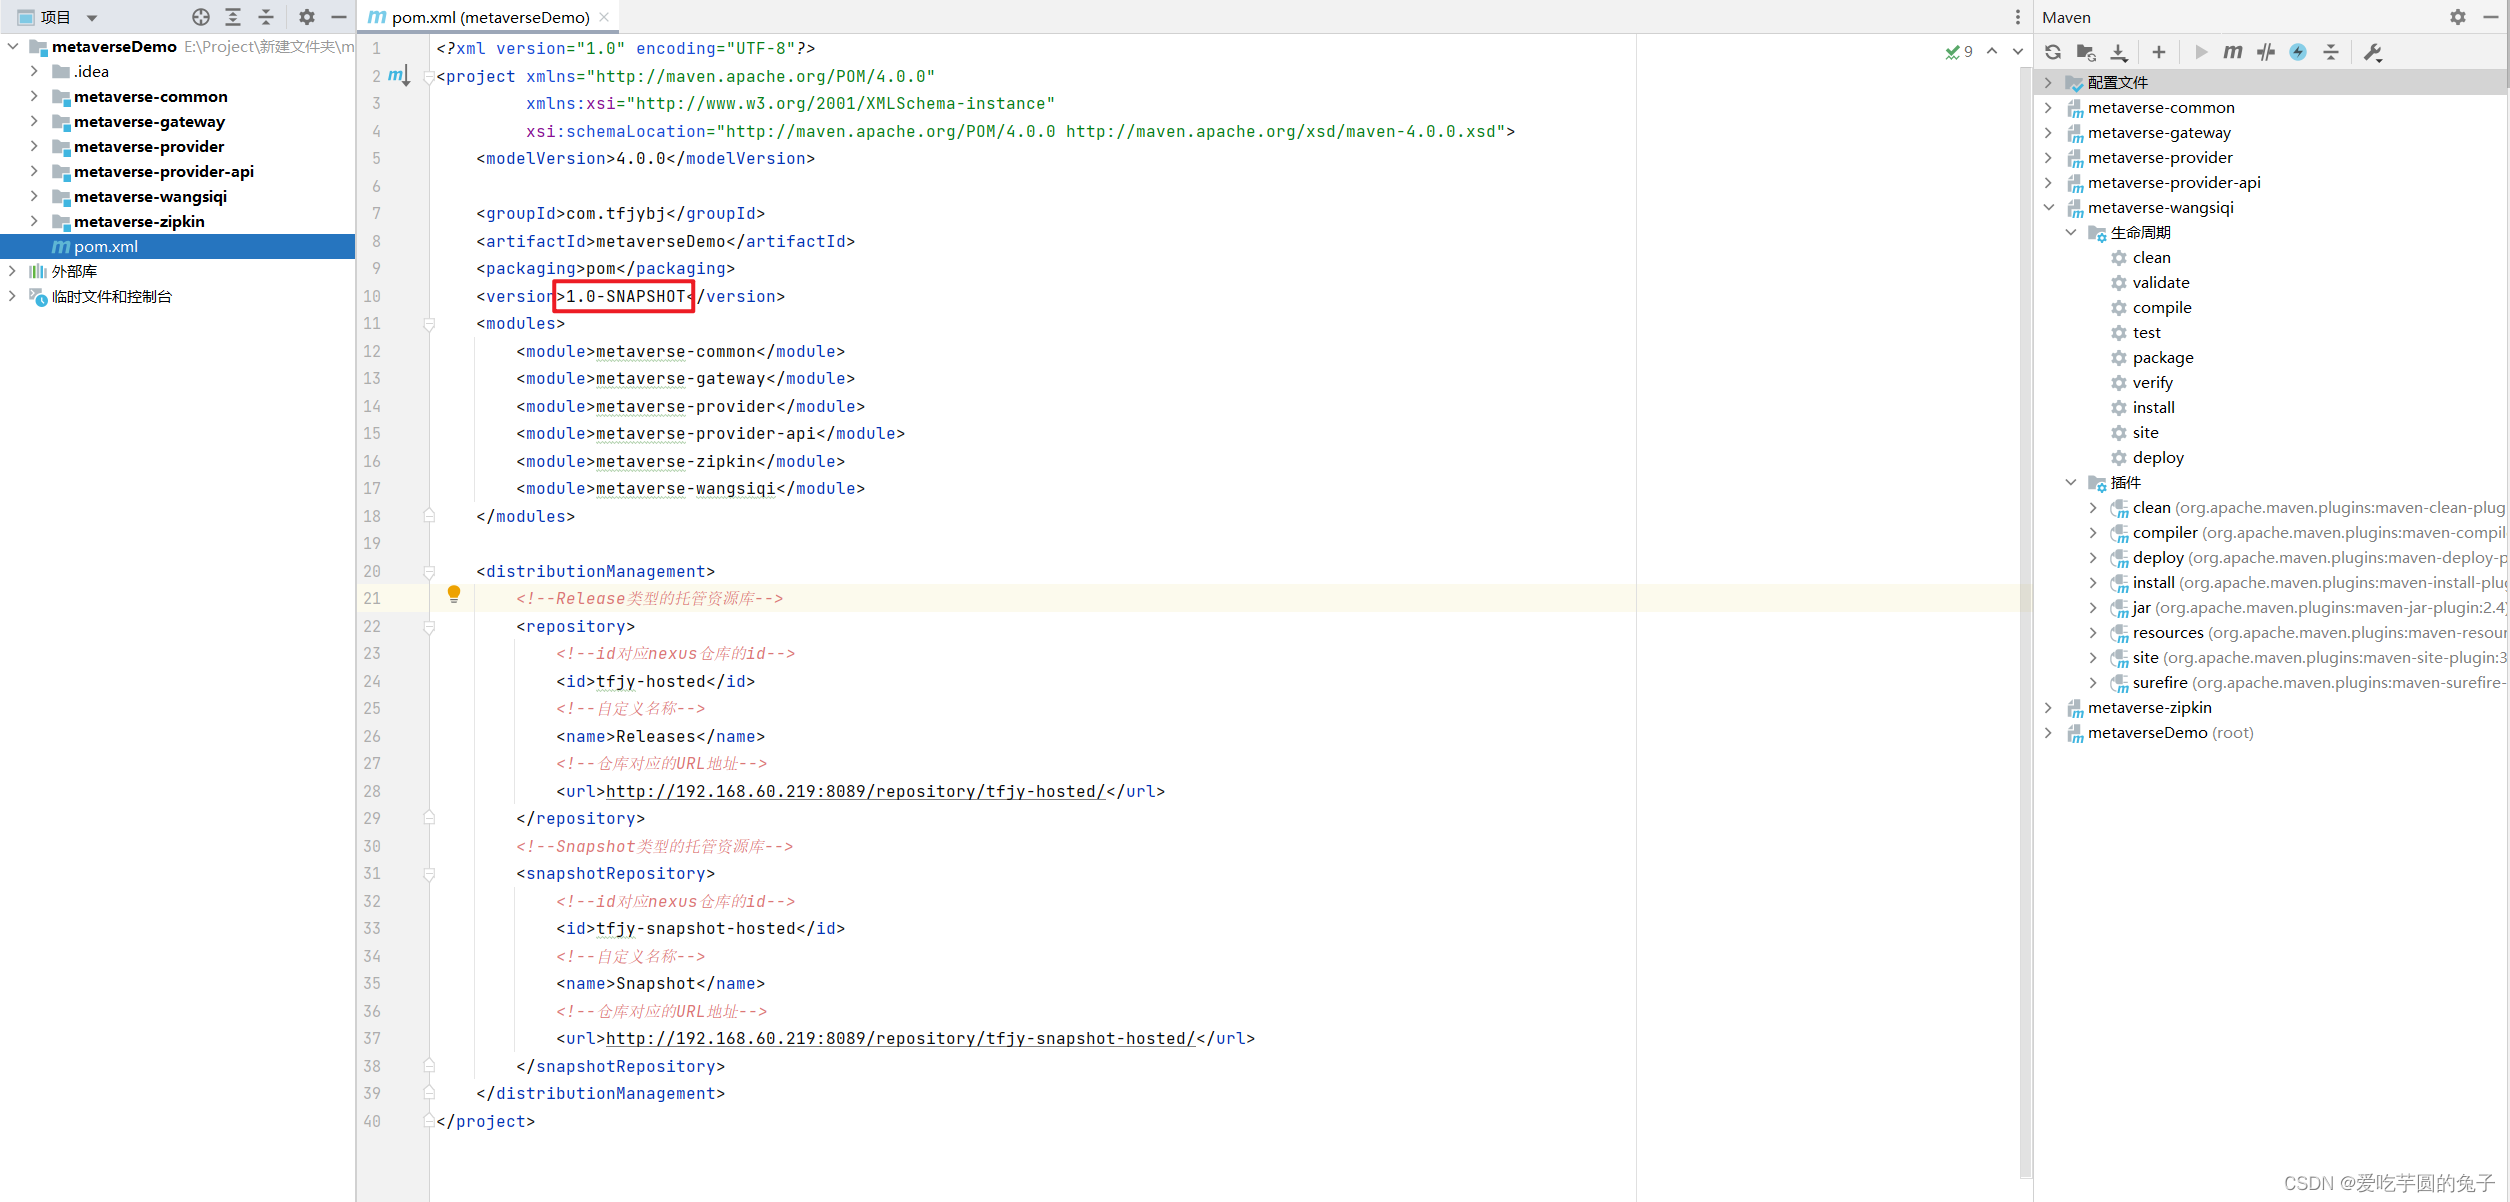
1、配置pom.xml文件
    <distributionManagement>
        <!--Release类型的托管资源库-->
        <repository>
            <!--id对应nexus仓库的id-->
            <id>nexus-hosted</id>
            <!--自定义名称-->
            <name>Releases</name>
            <!--仓库对应的URL地址:IP或域名均可+端口号-->
            <url>http://IP或域名:8082/repository/nexus-hosted/</url>
        </repository>
        <!--Snapshot类型的托管资源库-->
        <snapshotRepository>
            <!--id对应nexus仓库的id-->
            <id>nexus-snapshot-hosted</id>
            <!--自定义名称-->
            <name>Snapshot</name>
            <!--仓库对应的URL地址:IP或域名均可+端口号-->
            <url>http://IP或域名:8082/repository/nexus-snapshot-hosted/</url>
        </snapshotRepository>
    </distributionManagement>
2、配置maven的settings.xml文件
<!--nexus服务器,id自定义,用户名和密码为nexus服务器的账号密码-->
  <servers>
  <!--id为对应资源库id-->
    <server>
        <id>nexus-snapshot-hosted</id>
        <username>admin</username>
        <password>nexus</password>
    </server>
    <server>
        <id>nexus-hosted</id>
        <username>admin</username>
        <password>nexus</password>
    </server>
    <server>
        <id>nexus</id>
        <username>admin</username>
        <password>nexus</password>
    </server>
  </servers>
  <!--组资源库的url地址  id和name自定义,mirrorOf的值设置为central,写死的-->
  <mirrors>
    <mirror>
        <id>nexus</id>
        <name>nexus repository</name>
        <url>http://IP或域名:8082/repository/nexus-group/</url>
        <mirrorOf>central</mirrorOf>
    </mirror>
  </mirrors>
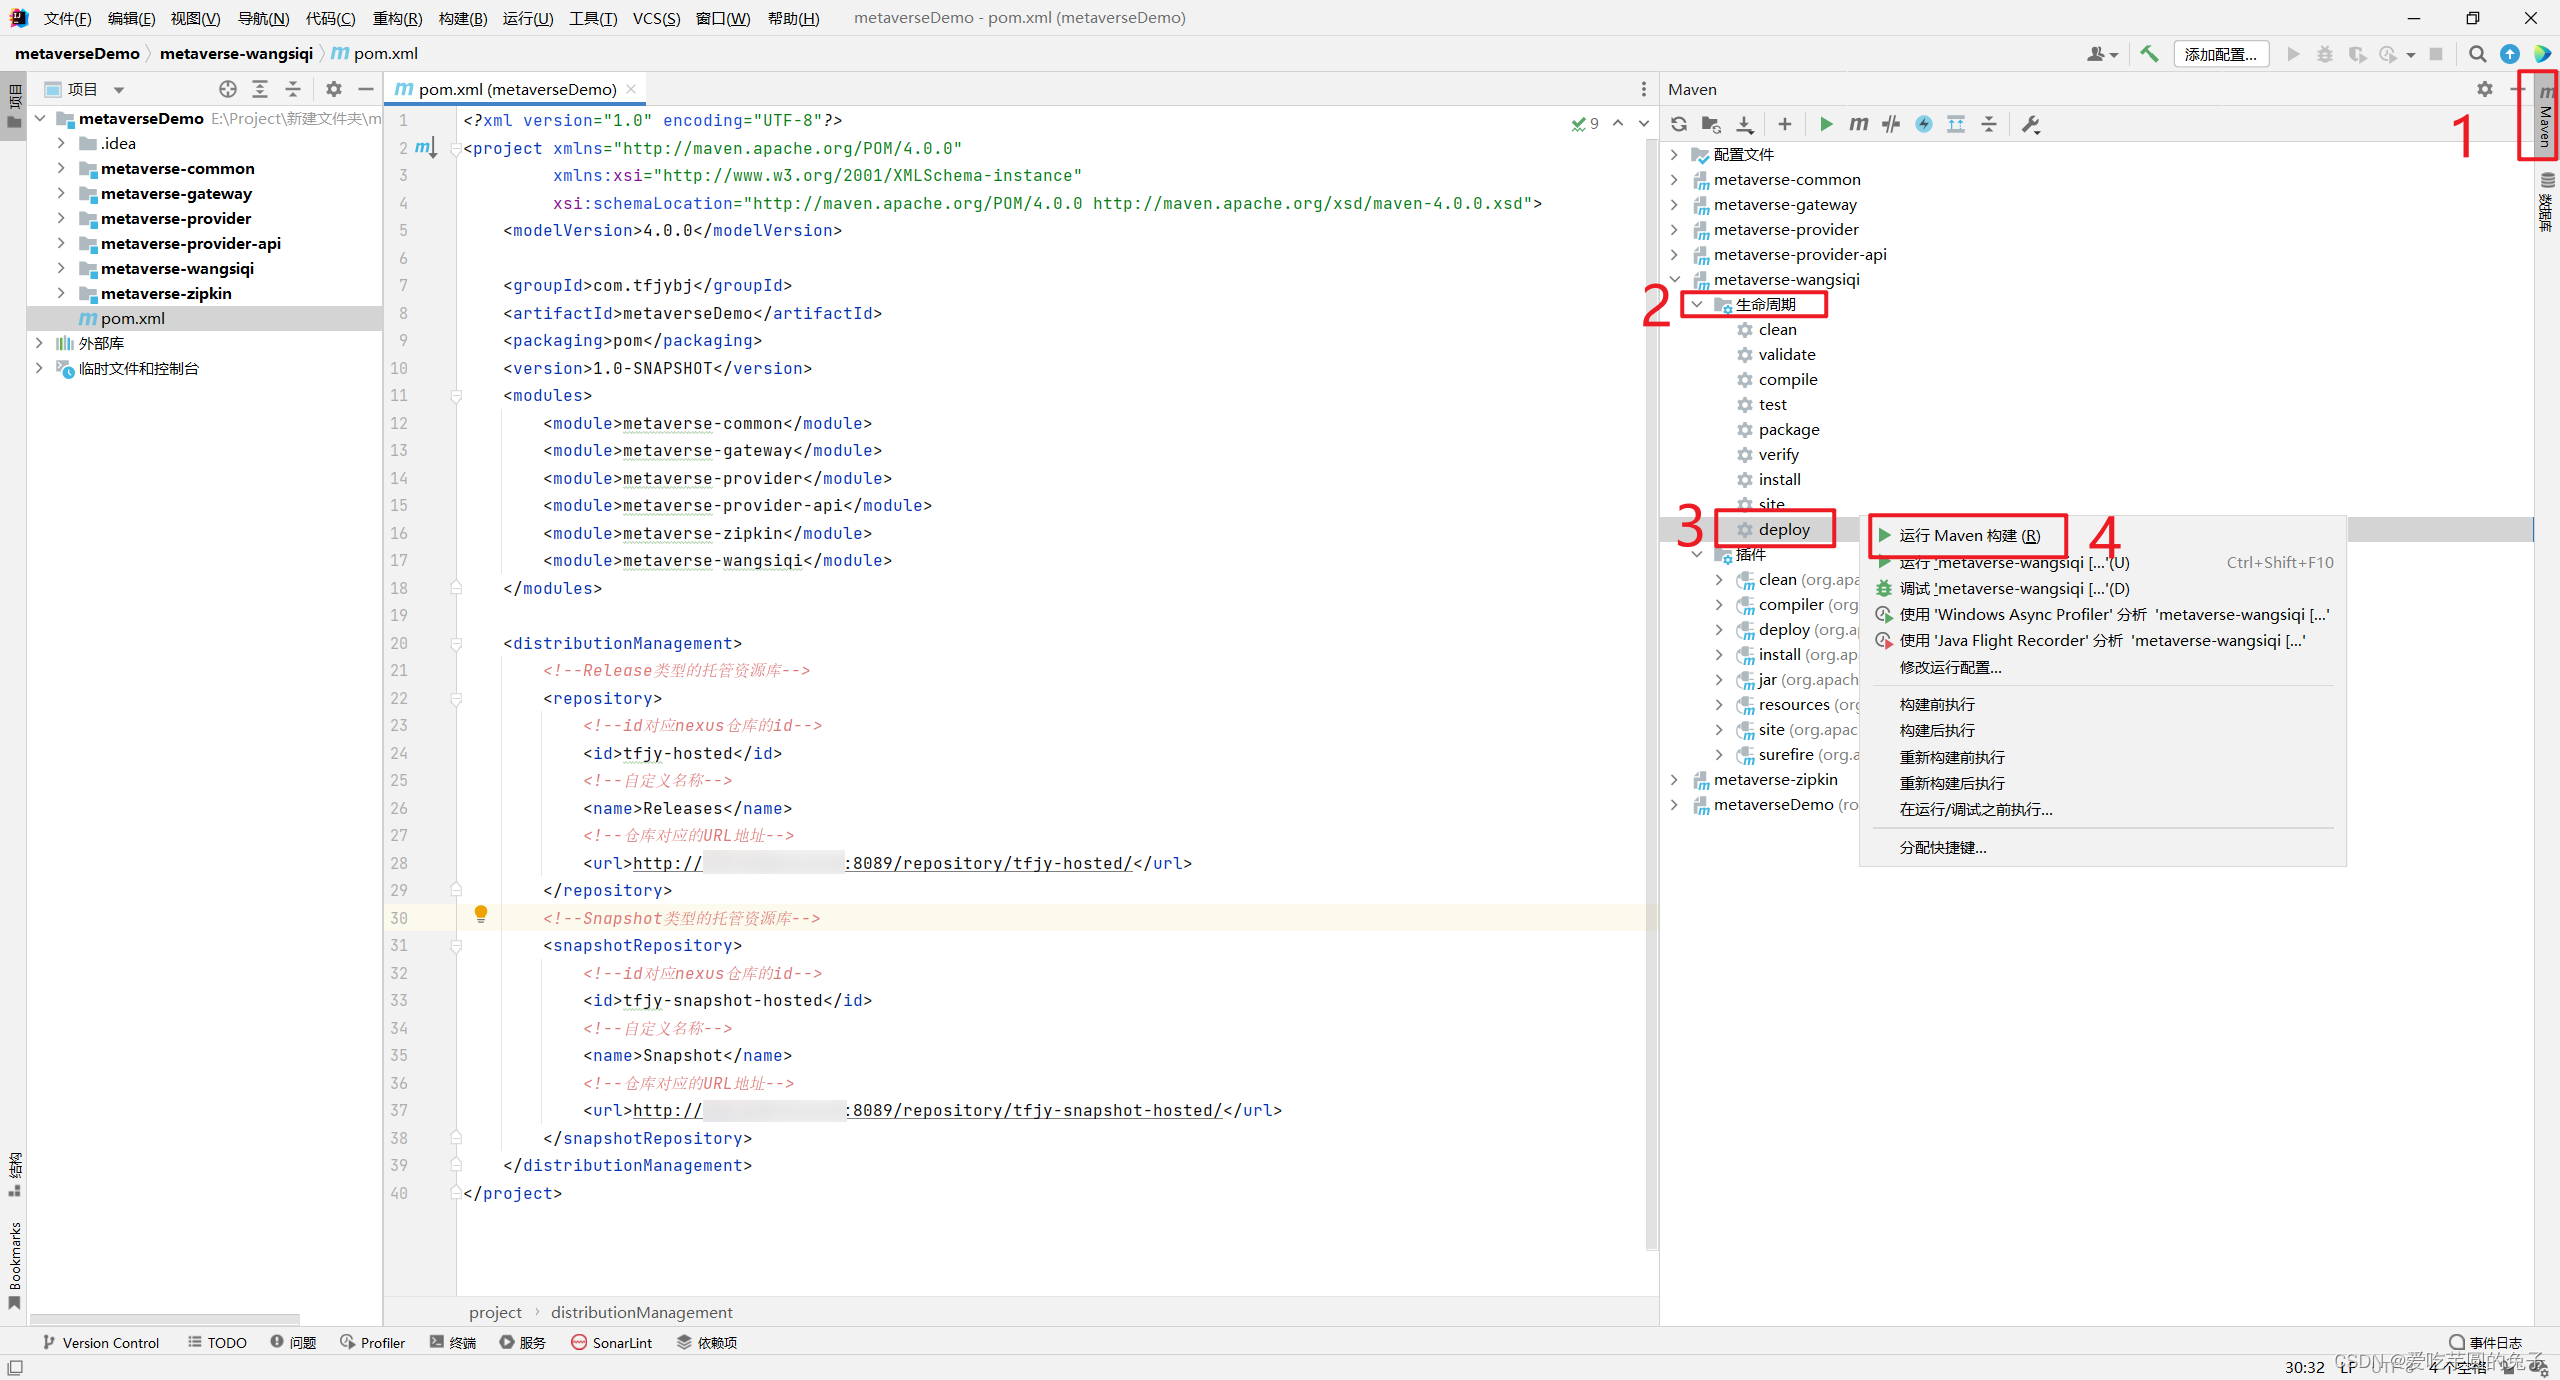
3、执行上传
注意:由于pom.xml文件的1.0-SNAPSHOT中以SNAPSHOT为后缀,最终会上传tfjy-snapshot-hosted资源库中,如果以RELEASE为后缀则会上传到tfjy-hosted资源库中。
①、点击Maven-Lifecycle-deploy-Run Maven Build
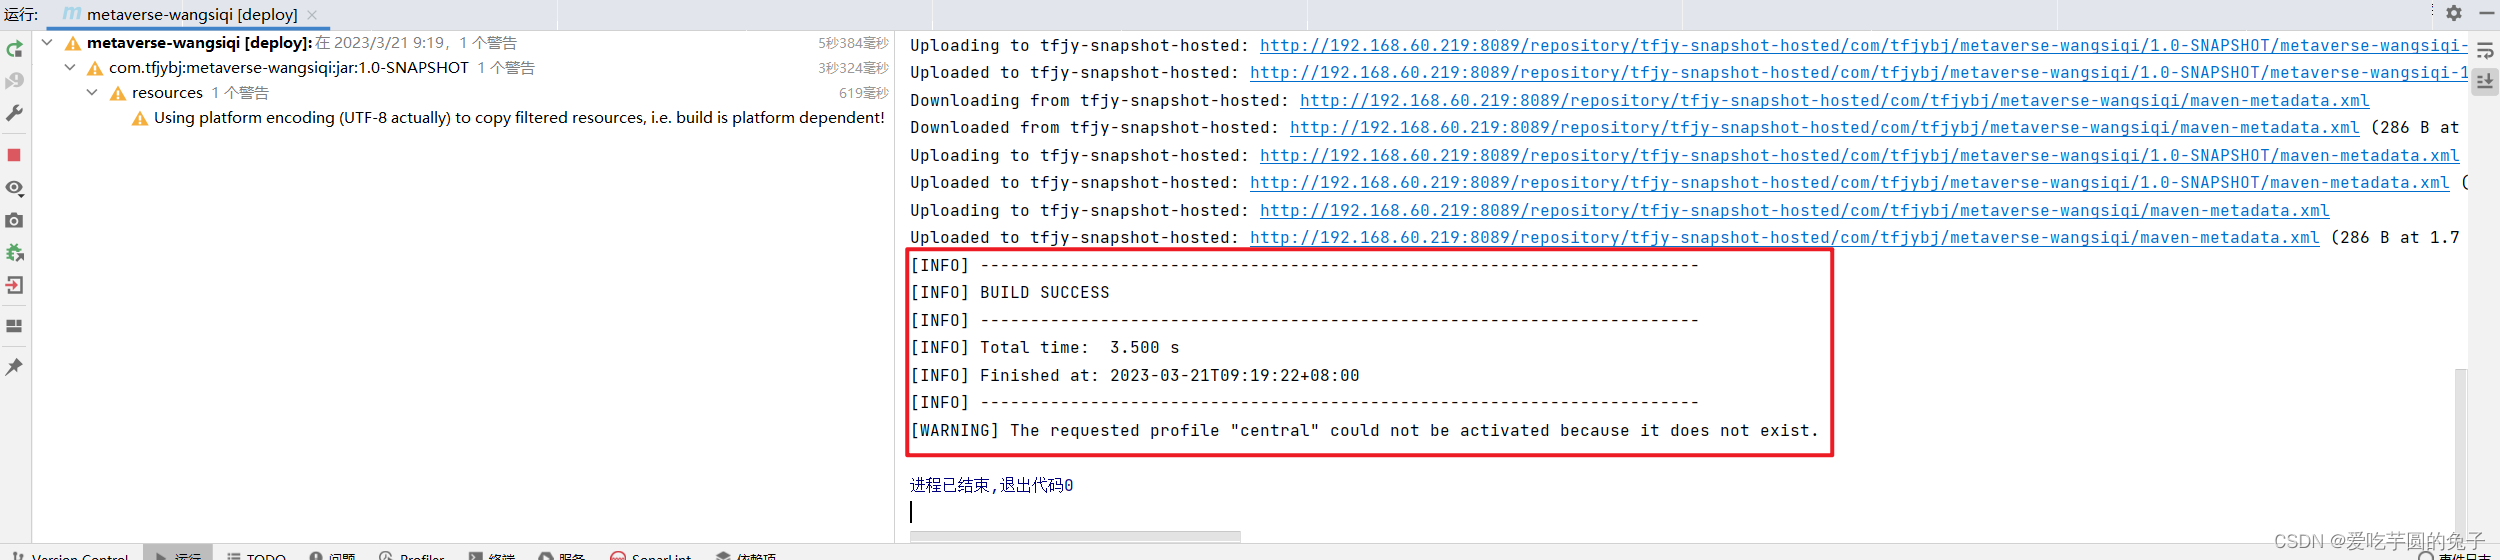
②、出现以下提示则上传成功
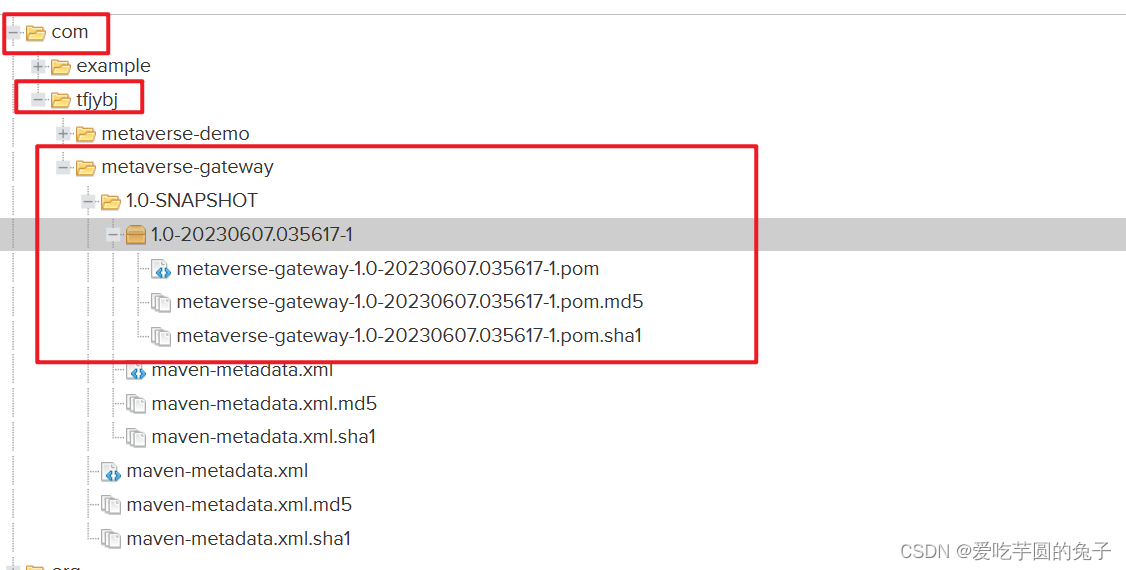
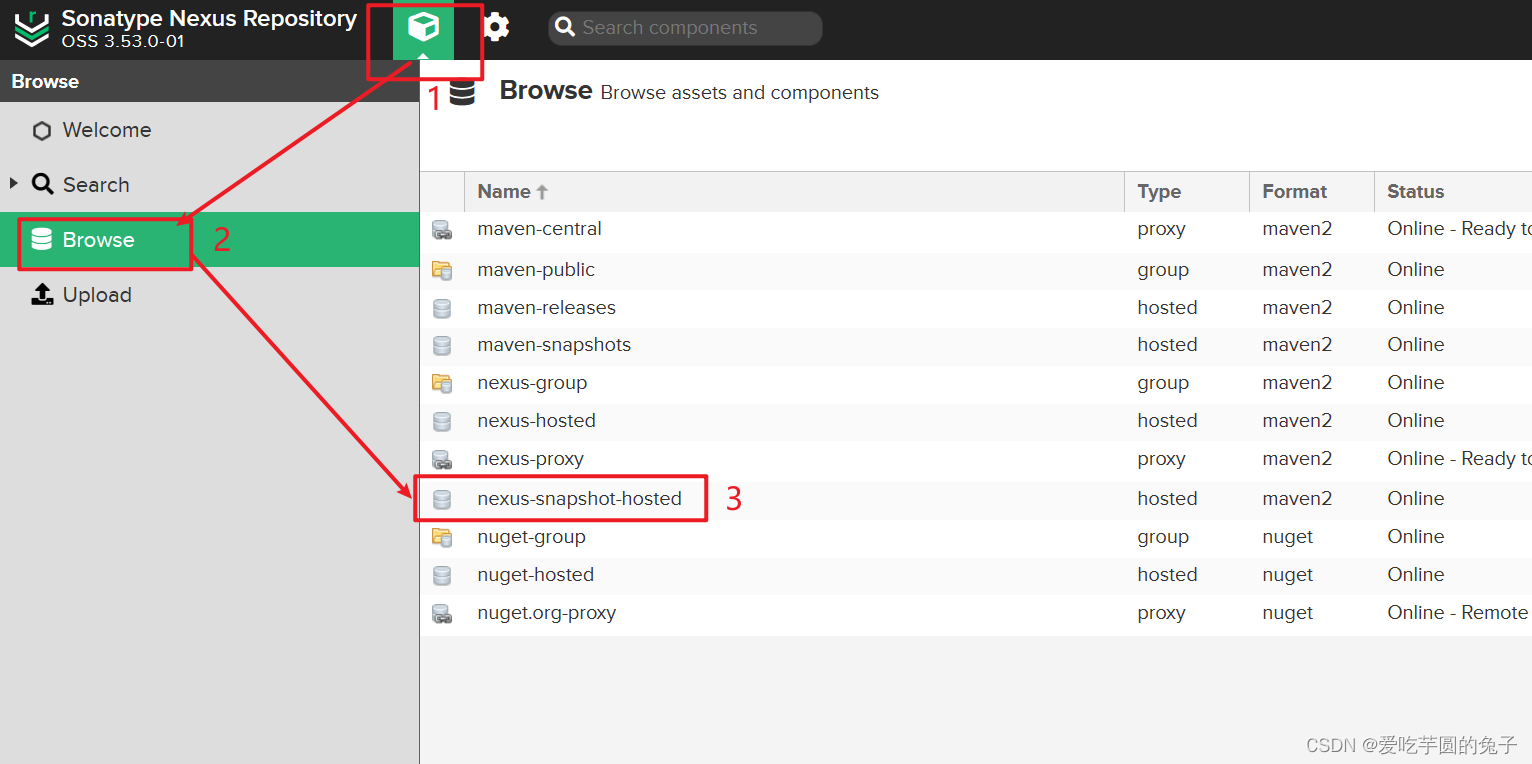
③、这时,在Nexus的nexus-snapshot-hosted(快照类型的托管资源库)查看是否上传成功
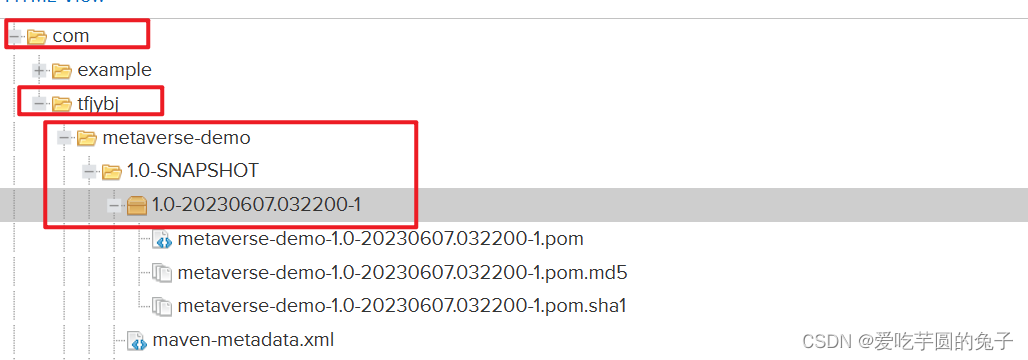
④、以下现象表示Maven项目上传jar包到Nexus仓库就已经完成了
三、使用Maven命令的方式上传jar至Nexus
1、在maven的settings.xml文件中添加
<!--nexus服务器-->
<servers>
  <!--id为对应资源库id-->
  <server>
    <id>nexus-snapshot-hosted</id>
    <username>admin</username>
    <password>nexus</password>
  </server>
  <server>
    <id>nexus-hosted</id>
    <username>admin</username>
    <password>nexus</password>
  </server>
  <server>
    <id>nexus</id>
    <username>admin</username>
    <password>nexus</password>
  </server>
</servers>
2、对应的mvn命令
1.mvn deploy:deploy-file
2.-DgroupId=对应pom中的groupId
3.-DartifactId=对应pom中的artifactId
4.-Dversion=对应pom中的version
5.-Dpackaging=对应pom中的packaging
6.-Dfile=文件路径
7.-DpomFile=表示需要上传的jar包对应的pom文件的绝对路径
8.-Durl=上传的服务器
9.-DrepositoryId=服务器的表示ID,setting.xml文件中配置的serverId,用来关联私服的用户名和密码
①、mvn命令举例
mvn deploy:deploy-file
-DgroupId=com.tfjybj
-DartifactId=metaverse-gateway
-Dversion=1.0-SNAPSHOT
-Dpackaging=pom
-Dfile=D:\project\Maven\apache-maven-3.6.1\reponsitory\com\tfjybj\metaverse-gateway\1.0-SNAPSHOT\metaverse-gateway-1.0-SNAPSHOT.pom
-Durl=http://IP或域名:8082/repository/nexus-snapshot-hosted/
-DrepositoryId=nexus-snapshot-hosted
②、获取-Dfile文件路径方式

3、输出结果

4、查看是否上传成功
①、这时,在Nexus的nexus-snapshot-hosted(快照类型的托管资源库)查看是否上传成功
②、以下现象表示Maven项目上传jar包到Nexus仓库就已经完成了