介绍
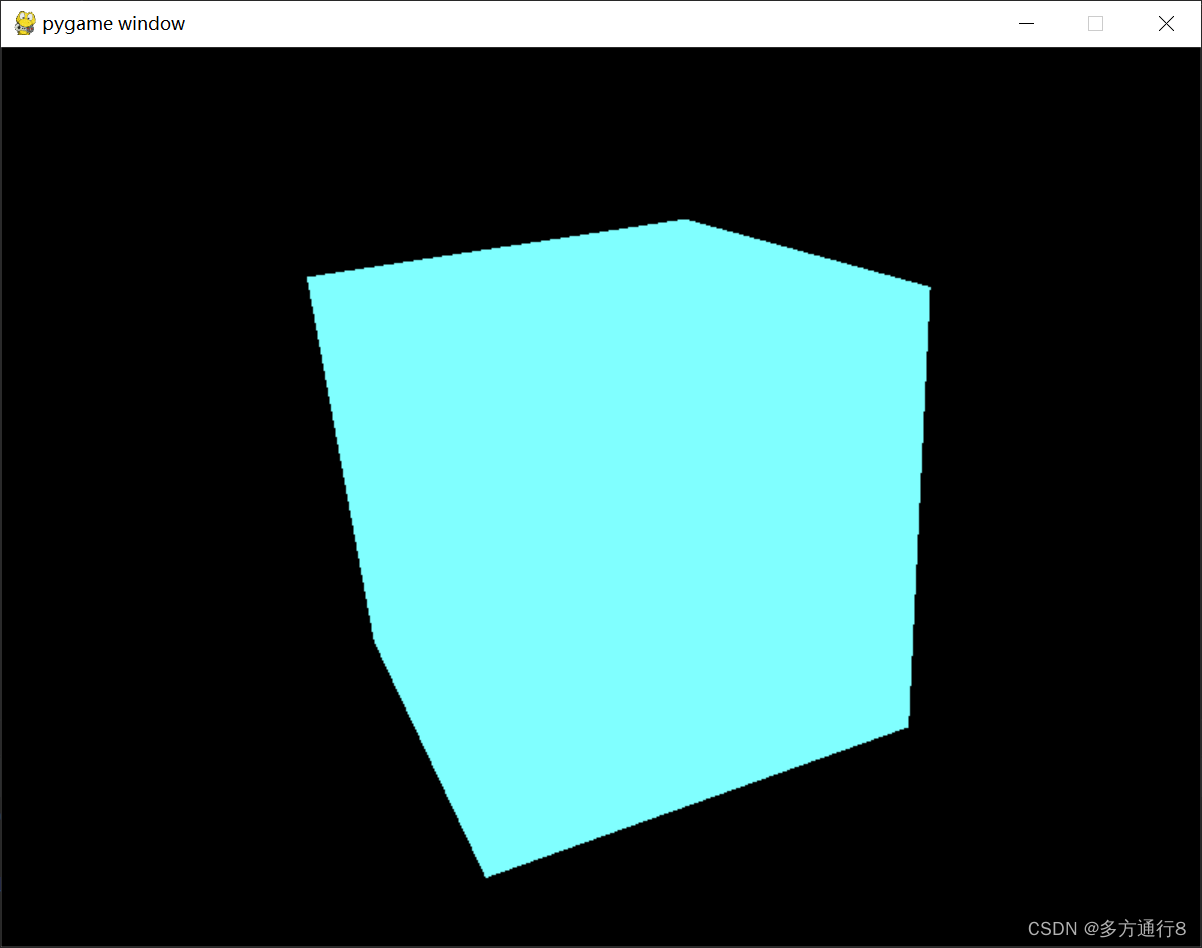
用python写一个黑窗口,窗口里面有一个白色的3D方块,左键按下后移动可以旋转以各个视角来看方块。
当然有需要的话,可以自己在代码中去更改颜色,直接通过RBG的参数进行更改即可。
做了两个函数:init[初始化]和draw_cube[绘制方块]。
如果需要旋转,将清空缓冲上面的 # glRotatef(1, 1, 1, 1) 取消注释即可。
![]()
这个函数的作用主要是刷新的帧率,比如填写120,就可以感觉到游戏里面卡顿的感觉了
需要安装的库
在终端执行:
pip install pygame
pip install PyOpenGL
源码:
import pygame
from OpenGL.GL import *
from OpenGL.GLU import *

# 初始化Pygame和OpenGL
def init():
    # 初始化Pygame库
    pygame.init()
    # 创建窗口800*600
    display = (800, 600)
    # 设置显示模式为OpenGl,并创建双缓冲的窗口对象
    pygame.display.set_mode(display, pygame.DOUBLEBUF | pygame.OPENGL)
    # 设置透视投影 45是视角的夹角,(display[0] / display[1])是窗口的宽高比,0.1是离裁剪的最近距离,50是裁剪的最远距离
    gluPerspective(45, (display[0] / display[1]), 0.1, 50.0)
    # 是xyz轴的平移量,z轴平移5
    glTranslatef(0.0, 0.0, -5)

# 绘制白色的3D正方体
def draw_cube():
    glBegin(GL_QUADS)
    # 设置颜色RGB
    glColor3f(1.0, 1.0, 1.0)
    """设置正方体的6个面的点"""
    glVertex3f(1.0, -1.0, -1.0)
    glVertex3f(1.0, 1.0, -1.0)
    glVertex3f(-1.0, 1.0, -1.0)
    glVertex3f(-1.0, -1.0, -1.0)

    glVertex3f(1.0, -1.0, 1.0)
    glVertex3f(1.0, 1.0, 1.0)
    glVertex3f(-1.0, 1.0, 1.0)
    glVertex3f(-1.0, -1.0, 1.0)

    glVertex3f(1.0, -1.0, -1.0)
    glVertex3f(1.0, 1.0, -1.0)
    glVertex3f(1.0, 1.0, 1.0)
    glVertex3f(1.0, -1.0, 1.0)

    glVertex3f(-1.0, -1.0, -1.0)
    glVertex3f(-1.0, 1.0, -1.0)
    glVertex3f(-1.0, 1.0, 1.0)
    glVertex3f(-1.0, -1.0, 1.0)

    glVertex3f(1.0, 1.0, -1.0)
    glVertex3f(1.0, 1.0, 1.0)
    glVertex3f(-1.0, 1.0, 1.0)
    glVertex3f(-1.0, 1.0, -1.0)

    glVertex3f(1.0, -1.0, -1.0)
    glVertex3f(1.0, -1.0, 1.0)
    glVertex3f(-1.0, -1.0, 1.0)
    glVertex3f(-1.0, -1.0, -1.0)
    glEnd()

# 主循环
def main():
    init()
    running = True
    rotate = False
    last_mouse_pos = (0, 0)

    while running:
        for event in pygame.event.get():
            if event.type == pygame.QUIT:
                running = False
            elif event.type == pygame.MOUSEBUTTONDOWN and event.button == 1:
                rotate = True
                last_mouse_pos = pygame.mouse.get_pos()
            elif event.type == pygame.MOUSEBUTTONUP and event.button == 1:
                rotate = False

        # glRotatef(1, 1, 1, 1)  # 每帧旋转1度
        glClear(GL_COLOR_BUFFER_BIT | GL_DEPTH_BUFFER_BIT) # 清空银色缓冲去和深度缓冲去,准备下一帧渲染
        draw_cube() # 重新绘制
        pygame.display.flip() # 渲染结果显示屏幕
        pygame.time.wait(10) # 等待10毫秒,控制每帧的渲染速度,通过参数调整帧率-->数值越大,越有游戏卡了的感觉

        if rotate:
            cur_mouse_pos = pygame.mouse.get_pos()
            diff_x = cur_mouse_pos[0] - last_mouse_pos[0]
            diff_y = cur_mouse_pos[1] - last_mouse_pos[1]
            glRotatef(diff_y * 0.1, 1, 0, 0)  # 根据鼠标纵向移动旋转y轴
            glRotatef(diff_x * 0.1, 0, 1, 0)  # 根据鼠标横向移动旋转x轴
            last_mouse_pos = cur_mouse_pos

    pygame.quit()

if __name__ == '__main__':
    main()
效果: