编写界面来显示返回的数据
用户友好性:通过界面设计和用户体验优化,可以使天气信息更易读、易理解和易操作。有效的界面设计可以提高用户满意度并提供更好的交互体验。
增加城市名字的TextView
    <TextView
        android:id="@+id/textViewCityName"
        android:layout_width="wrap_content"
        android:layout_height="wrap_content"
        android:width="200dp"
        android:height="50dp"
        app:layout_constraintTop_toBottomOf="@+id/buttonSearch"
        app:layout_constraintStart_toStartOf="parent"
        app:layout_constraintEnd_toEndOf="parent"
        android:textSize="20sp"
        android:gravity="center"/>
android:id="@+id/textViewCityName":给 TextView 设置了一个唯一的标识符,以便于在代码中对其进行引用。android:layout_width="wrap_content"和android:layout_height="wrap_content":设置 TextView 的宽度和高度分别根据文本内容自动调整。android:width="200dp"和android:height="50dp":指定 TextView 的宽度和高度为 200dp 和 50dp。app:layout_constraintTop_toBottomOf="@+id/buttonSearch":将 TextView 的顶部与 id 为 buttonSearch 的视图的底部对齐。app:layout_constraintStart_toStartOf="parent"和app:layout_constraintEnd_toEndOf="parent":将 TextView 的左侧与父容器的左侧对齐,将 TextView 的右侧与父容器的右侧对齐。android:textSize="20sp":设置 TextView 的文本字体大小为 20sp。android:gravity="center":将文本内容在 TextView 中水平和垂直居中。
增加温度显示部分
    <TextView
        android:id="@+id/textViewTemperature"
        android:layout_width="wrap_content"
        android:layout_height="wrap_content"
        app:layout_constraintTop_toBottomOf="@+id/textViewCityName"
        app:layout_constraintStart_toStartOf="parent"
        app:layout_constraintEnd_toEndOf="parent"
        android:textSize="30sp"
        android:gravity="center"/>

    <TextView
        android:layout_width="wrap_content"
        android:layout_height="wrap_content"
        app:layout_constraintTop_toTopOf="@+id/textViewTemperature"
        app:layout_constraintStart_toEndOf="@id/textViewTemperature"
        android:text="@string/degree"
        android:textSize="20sp"
        android:gravity="center" />

    <TextView
        android:id="@+id/textViewMaxMinTemperature"
        android:layout_width="wrap_content"
        android:layout_height="wrap_content"
        app:layout_constraintTop_toBottomOf="@id/textViewTemperature"
        app:layout_constraintStart_toStartOf="parent"
        app:layout_constraintEnd_toEndOf="parent"
        android:textSize="12sp"
        android:gravity="center" />
增加天气内容
    <TextView
        android:id="@+id/textViewWeather"
        android:layout_width="wrap_content"
        android:layout_height="wrap_content"
        app:layout_constraintTop_toBottomOf="@id/textViewMaxMinTemperature"
        app:layout_constraintStart_toStartOf="parent"
        app:layout_constraintEnd_toEndOf="parent"
        android:textSize="20sp"
        android:gravity="center" />
编写逻辑填充数据
    @SuppressLint("SetTextI18n")
    @Subscribe(threadMode = ThreadMode.MAIN)
    fun onEvent(event: WeatherResponseEvent) {


        val weatherResponse = event.weatherResponse
        val kelvins = 273.15
        val cityName = weatherResponse.name
        val temperature = weatherResponse.main?.temp?.minus(kelvins)
        val maxTemperature = weatherResponse.main?.temp_max?.minus(kelvins)
        val minTemperature = weatherResponse.main?.temp_min?.minus(kelvins)

        findViewById<TextView>(R.id.textViewCityName).text = cityName
        findViewById<TextView>(R.id.textViewTemperature).text = temperature?.toInt().toString()
        findViewById<TextView>(R.id.textViewMaxMinTemperature).text = "${

      maxTemperature?.toInt()} / ${

      minTemperature?.toInt()}"
        findViewById<TextView>(R.id.textViewWeather).text = "${

      weatherResponse.weather.first().main} | ${

      weatherResponse.weather.first().description}"

    }
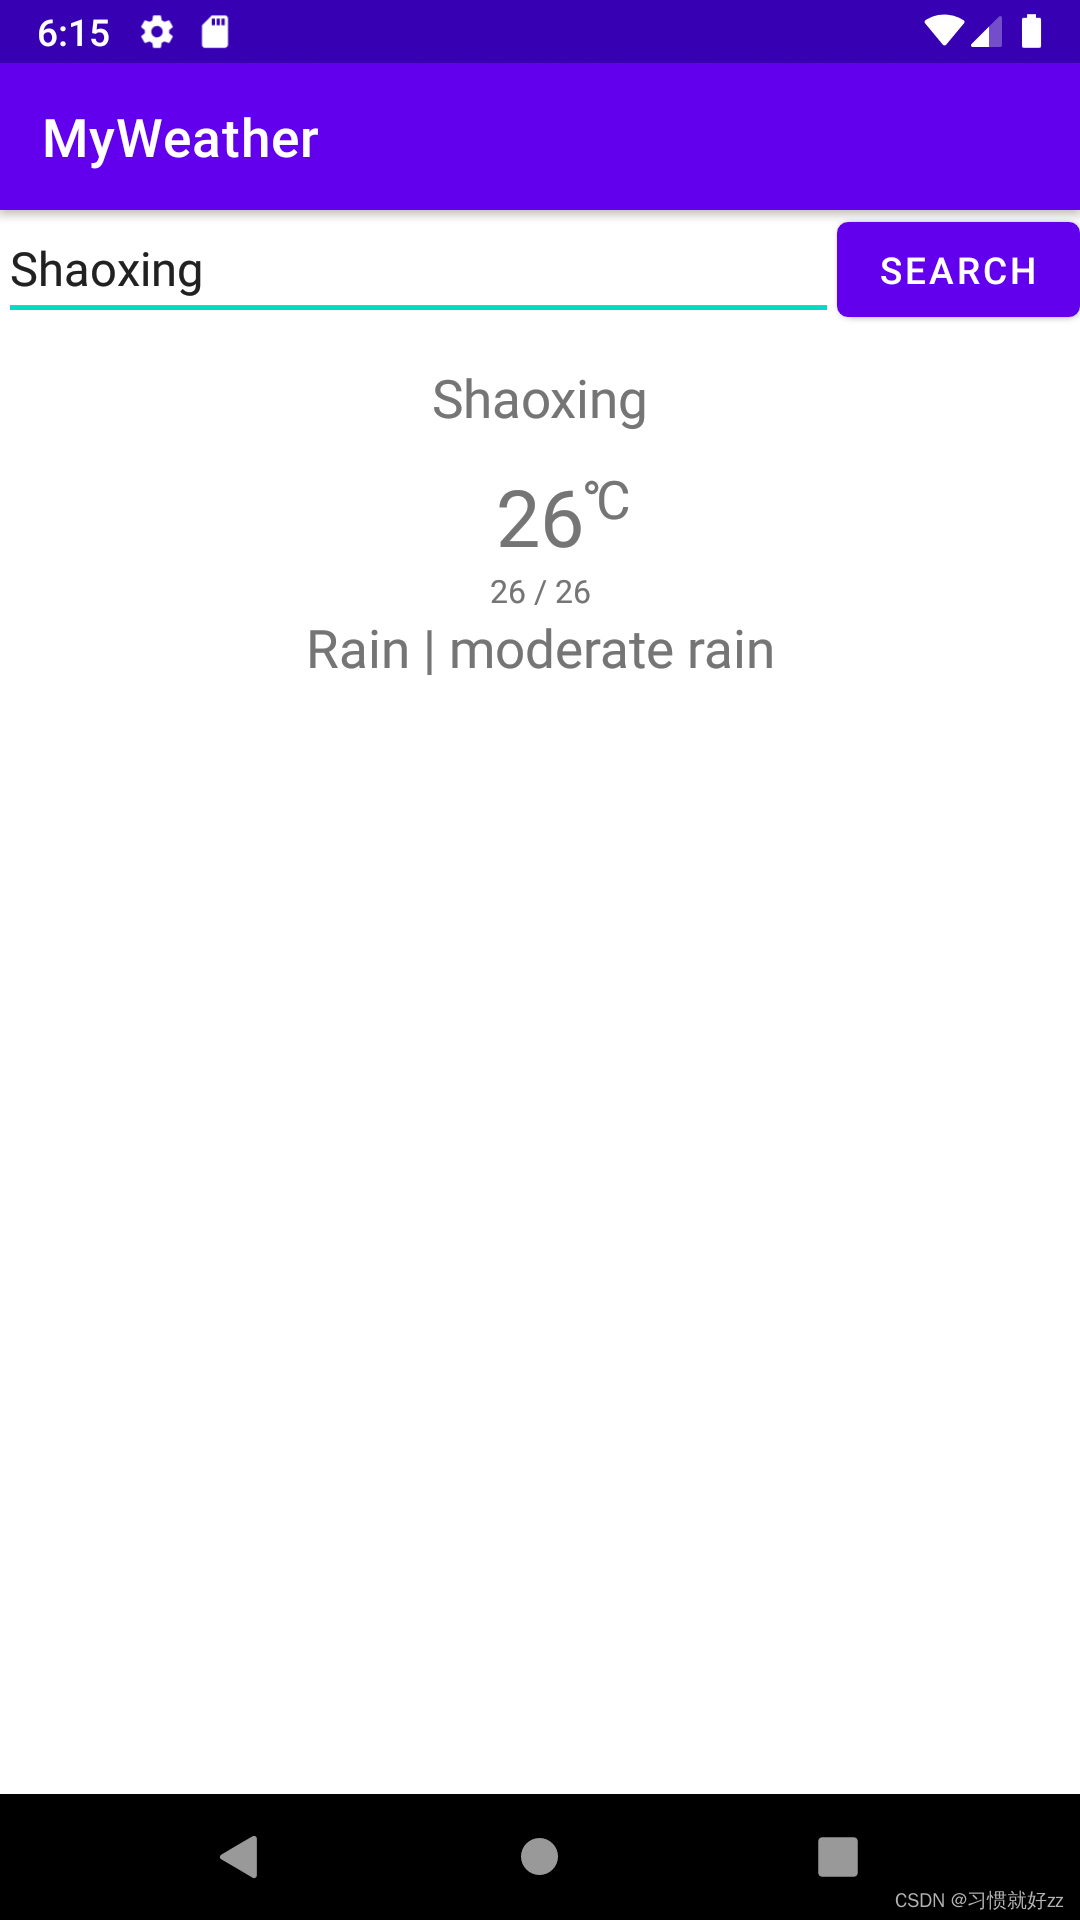
最后的效果: