目录
一,SpringBoot中读取配置文件的常用方法
1.1,使用@Value读取
在springBoot声明周期内,可以使用@Value注解从SpringBoot的默认配置文件中读取配置信息
例如在Controller中使用:
    // 在配置文件中读取属性名为web.images-path对应的值
    @Value("${web.images-path}")
    private String path;
@Value可以放到属性或方法上,能够正常使用的前提是所在类,必须在SpringBoot的生命周期内。
我们怎么把一个类放到Spring的生命周期中进行管理?使用的是@Component注解
因为@Controller和@Service本身就包含@Component。所以可以直接使用。
下面是单独使用@Component的例子
创建一个config包,然后创建一个BootProperties
package com.demo.config;

import lombok.Setter;
import org.springframework.beans.factory.annotation.Value;
import org.springframework.boot.context.properties.ConfigurationProperties;
import org.springframework.stereotype.Component;
import org.springframework.stereotype.Controller;


@Component
public class BootProperties {


    @Value("${web.images-path}")
    public String path;
}
然后在controller中写
@RestController
public class HelloController {
@Autowired
private BootProperties bootProperties;
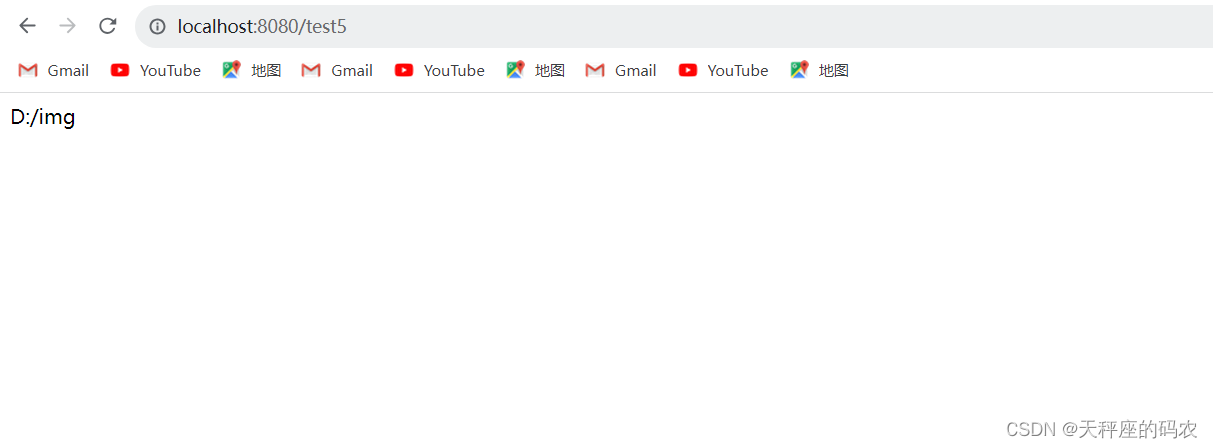
@RequestMapping("/test5")
public Object test5(){
return bootProperties.path;
}
}
使用ing类型写
package com.demo.config;

import lombok.Setter;
import org.springframework.beans.factory.annotation.Value;
import org.springframework.boot.context.properties.ConfigurationProperties;
import org.springframework.stereotype.Component;
import org.springframework.stereotype.Controller;


@Component
public class BootProperties {


    @Value("${web.images-path}")
    public String path;

	@Value("${server.port}")
    public int port;
}
@RestController
public class HelloController {
@Autowired
private BootProperties bootProperties;
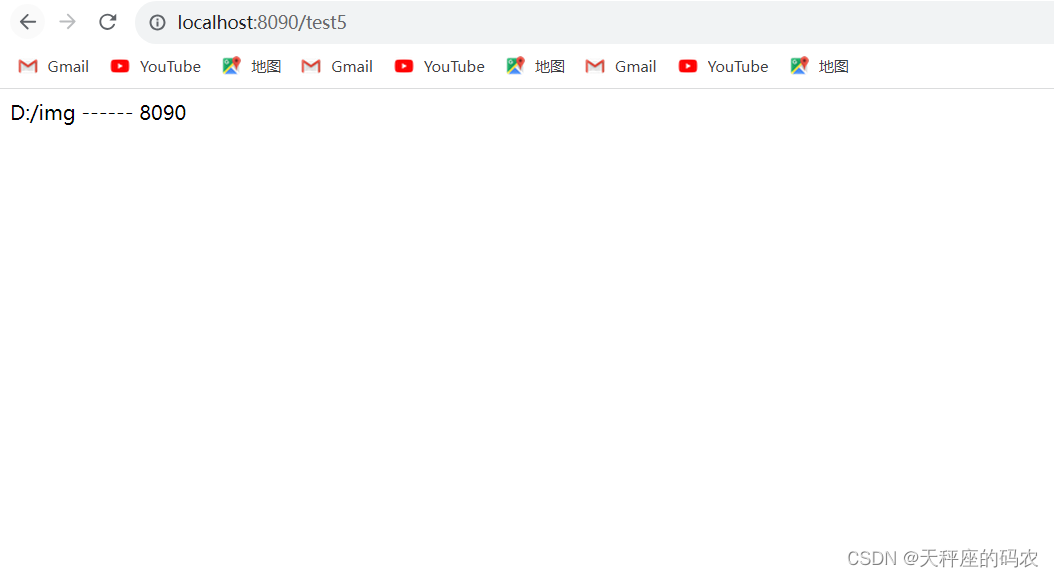
@RequestMapping("/test5")
public Object test5(){
return bootProperties.path + " ------ "+ bootProperties.port;
}
}
1.2,使用@ConfigurationProperties
BootProperties类
package com.demo.config;

import lombok.Setter;
import org.springframework.beans.factory.annotation.Value;
import org.springframework.boot.context.properties.ConfigurationProperties;
import org.springframework.stereotype.Component;
import org.springframework.stereotype.Controller;

@Setter  // lombok,生成set方法
@ConfigurationProperties(prefix = "server") // 配置属性类,并定制前缀
@Component  // 因为@ConfigurationProperties不能把此类放到boot容器中,所以要配合@Componpent使用
public class BootProperties {


    @Value("${web.images-path}")
    public String path;

    // 不使用@Value注解,需要保证:前缀+属性名=全路径。还需要此属性有对应的setter方法
    // @Value("${server.port}")
    public int port;


    // 使用@Value注解则需要写全路径
}
controller类
@RestController
public class HelloController {


    @Autowired
    private BootProperties bootProperties;

    @RequestMapping("/test5")
    public Object test5(){


    	return bootProperties.path +  " ------ "+ bootProperties.port;
    }

}

1.3,使用Environment
Environment是SpringCore中的一个用于读取配置文件的类,将此类使用@Autowired注入到类中就可以使用它的getProperty方法来获取某个配置项的值
@RestController
public class HelloController {
@Autowired
private Environment environment;
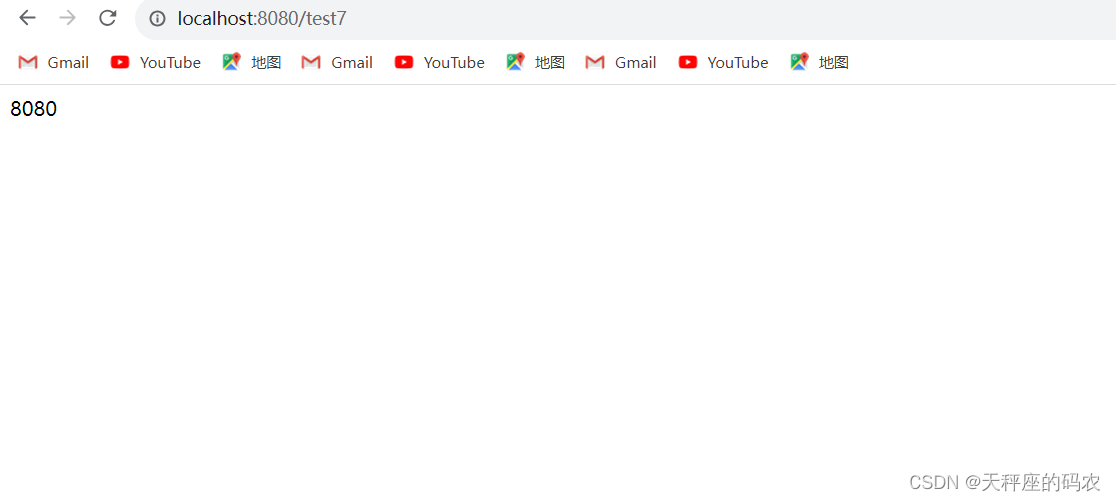
@RequestMapping("/test7")
public Object test7(){
return environment.getProperty("server.port");
}
}
1.4,自定义配置文件读取
使用之前的知识来理解下面的代码。
主要添加新的注解@PropertySource
创建一个config包,然后创建一个SysProperties
package com.demo.config;

import lombok.Getter;
import lombok.Setter;
import org.springframework.boot.context.properties.ConfigurationProperties;
import org.springframework.context.annotation.PropertySource;
import org.springframework.stereotype.Component;

@ConfigurationProperties(prefix = "sys")
@Component
@PropertySource("classpath:sys.properties")
@Getter
@Setter
public class SysProperties {


    private String param1;
    private String param2;
}
controller类
@RestController
public class HelloController {
@Autowired
private SysProperties sysProperties;
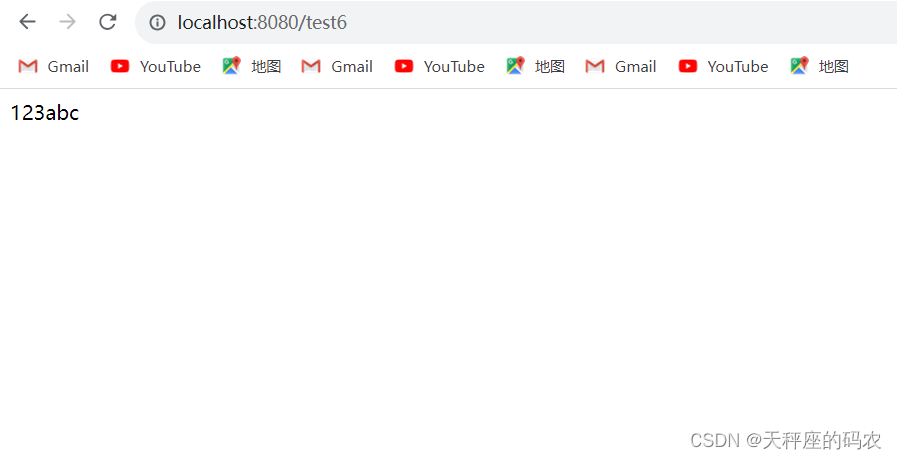
@RequestMapping("/test6")
public Object test6(){
return sysProperties.getParam1()+sysProperties.getParam2();
}
}
二,SpringBoot部署war项目到tomcat9和启动原理
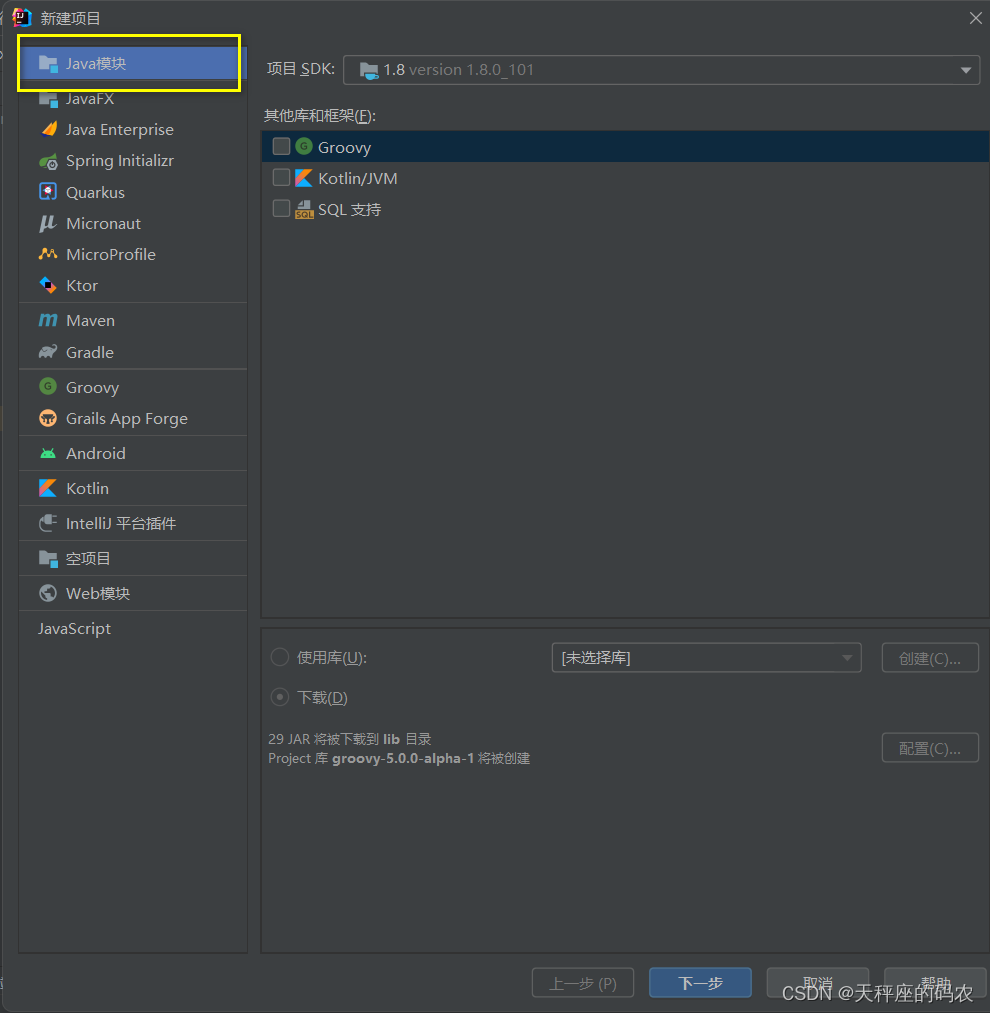
创建一个新项目
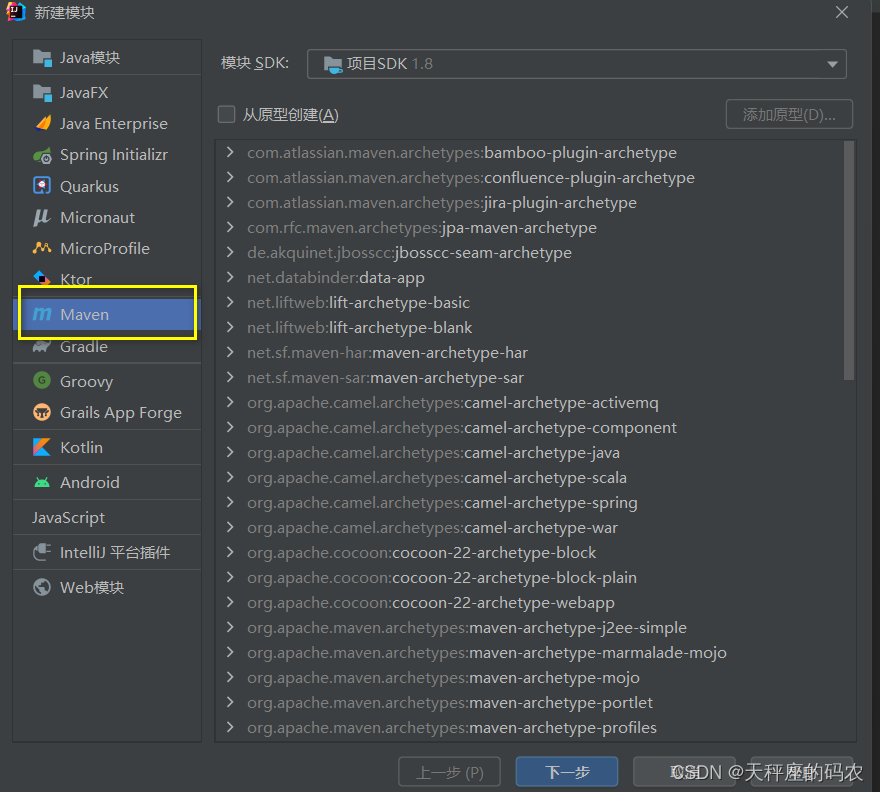
在添加个模块
然后在pom中添加依赖
    <packaging>war</packaging>

    <parent>
        <groupId>org.springframework.boot</groupId>
        <artifactId>spring-boot-starter-parent</artifactId>
        <version>2.0.1.RELEASE</version>
    </parent>

    <dependencies>
        <dependency>
            <groupId>org.springframework.boot</groupId>
            <artifactId>spring-boot-starter-web</artifactId>
        </dependency>
    </dependencies>


    <build>
        <finalName>passerby-war</finalName>
        <plugins>
            <plugin>
                <!-- 打包插件 -->
                <groupId>org.springframework.boot</groupId>
                <artifactId>spring-boot-maven-plugin</artifactId>
            </plugin>
        </plugins>
    </build>
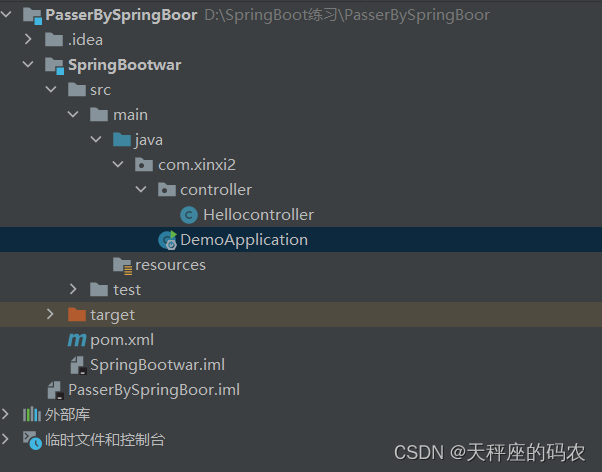
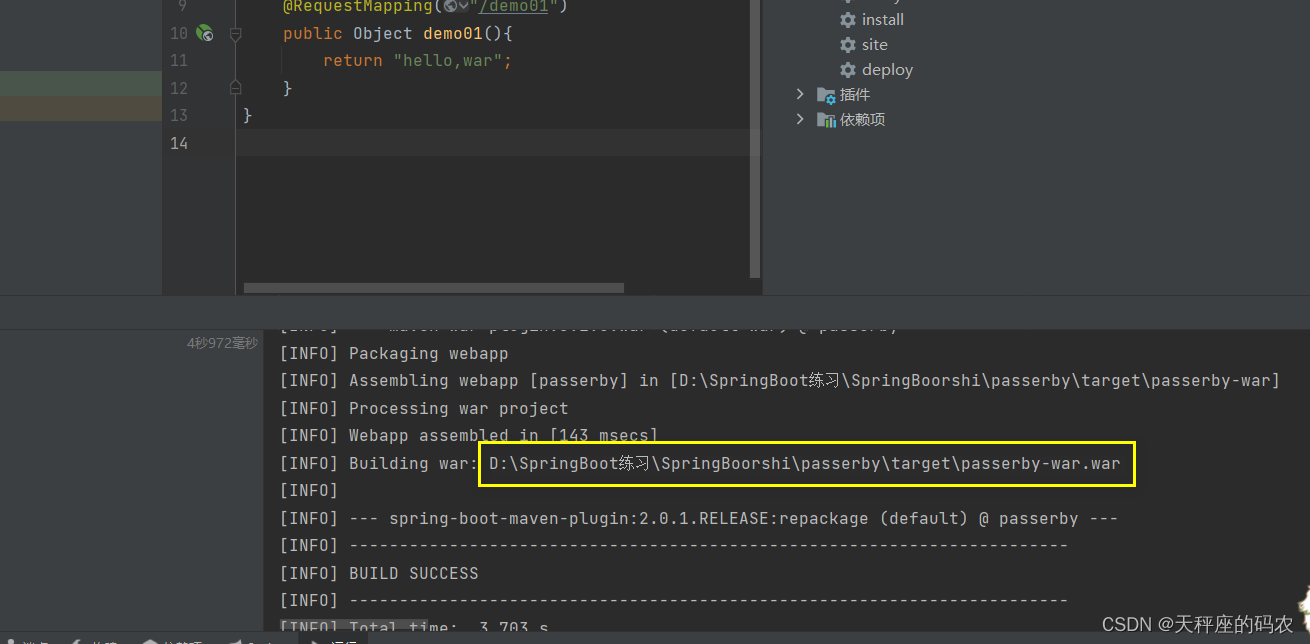
然后添加controller类和一个启动类
然后随便在Controller类里面加个方法
package com.demo.controller;
import org.springframework.web.bind.annotation.RequestMapping;
import org.springframework.web.bind.annotation.RestController;
@RestController
public class Controller {
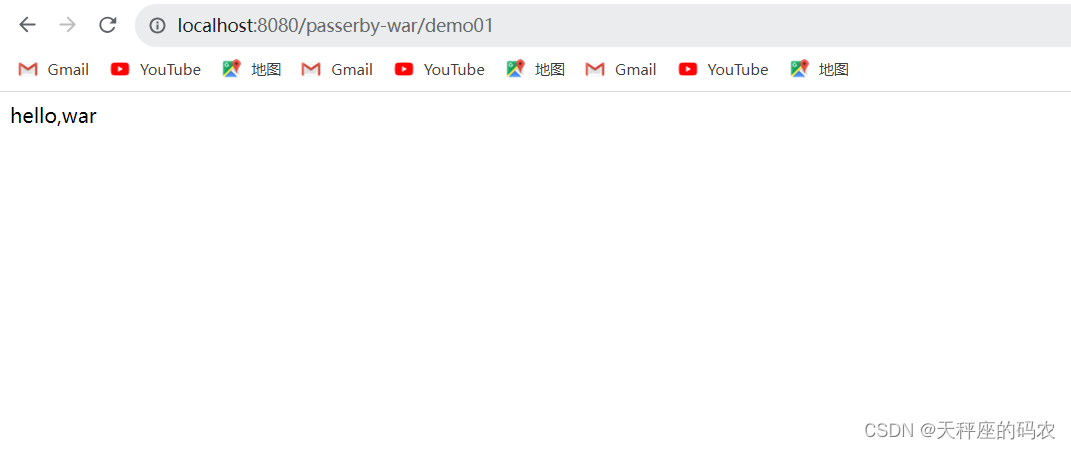
@RequestMapping("/demo01")
public Object demo01(){
return "hello,war";
}
}
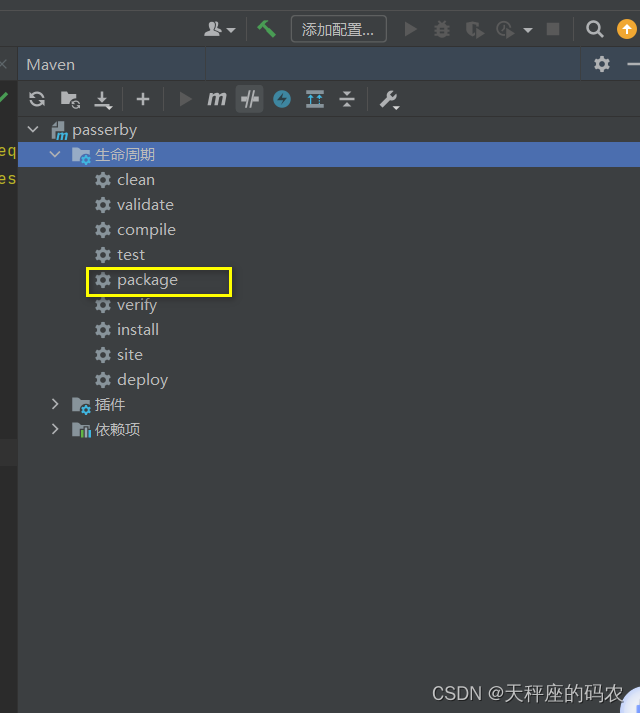
开始打包
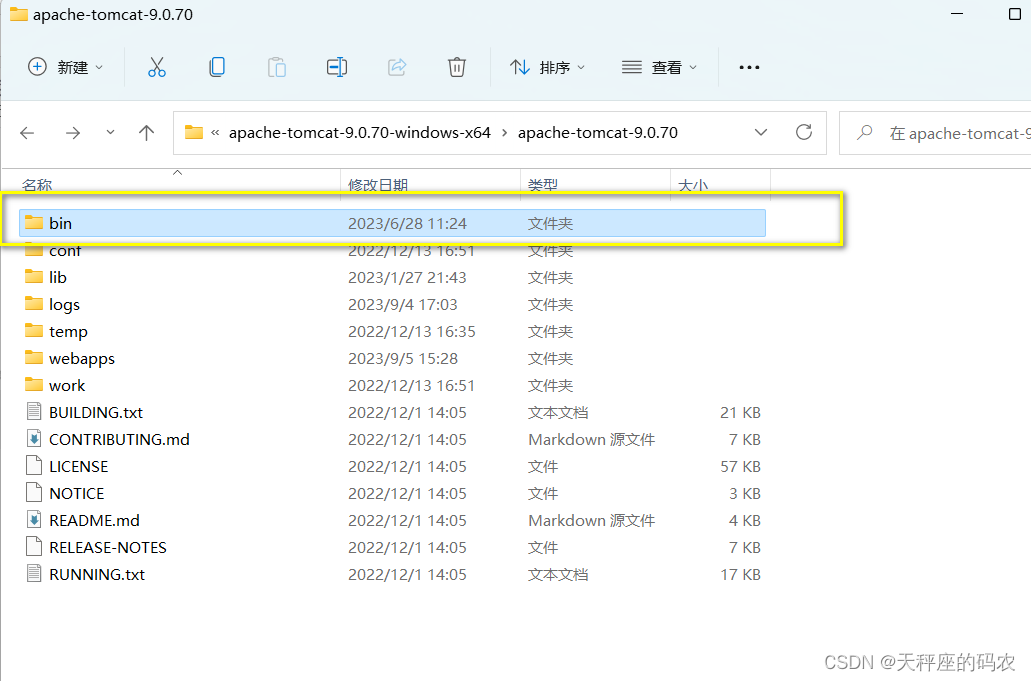
在文件夹中找到这个位置
找到后把刚打的war包复制下来
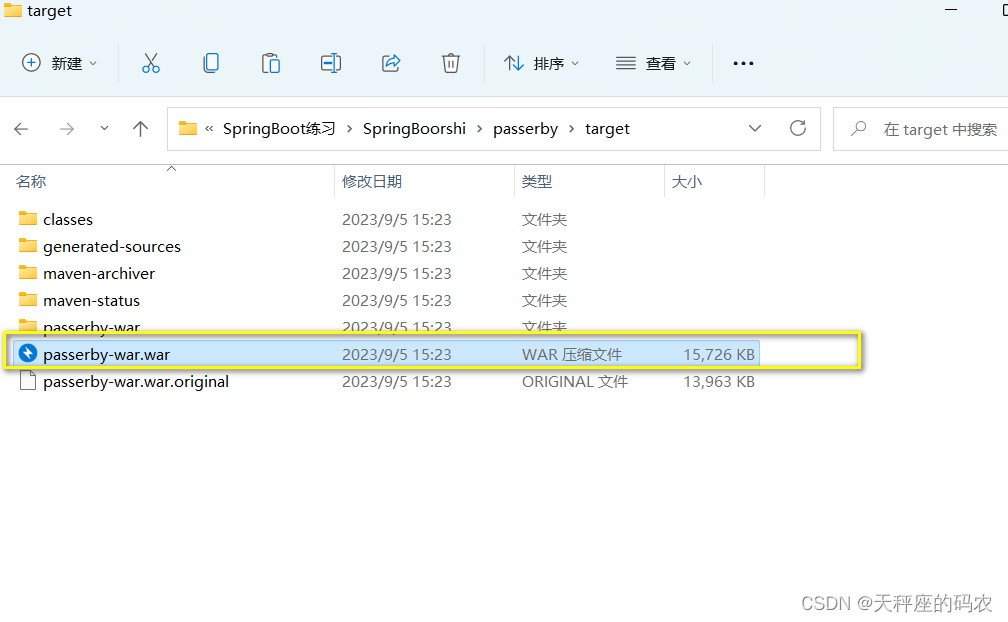
然后在到你Tomcat的位置
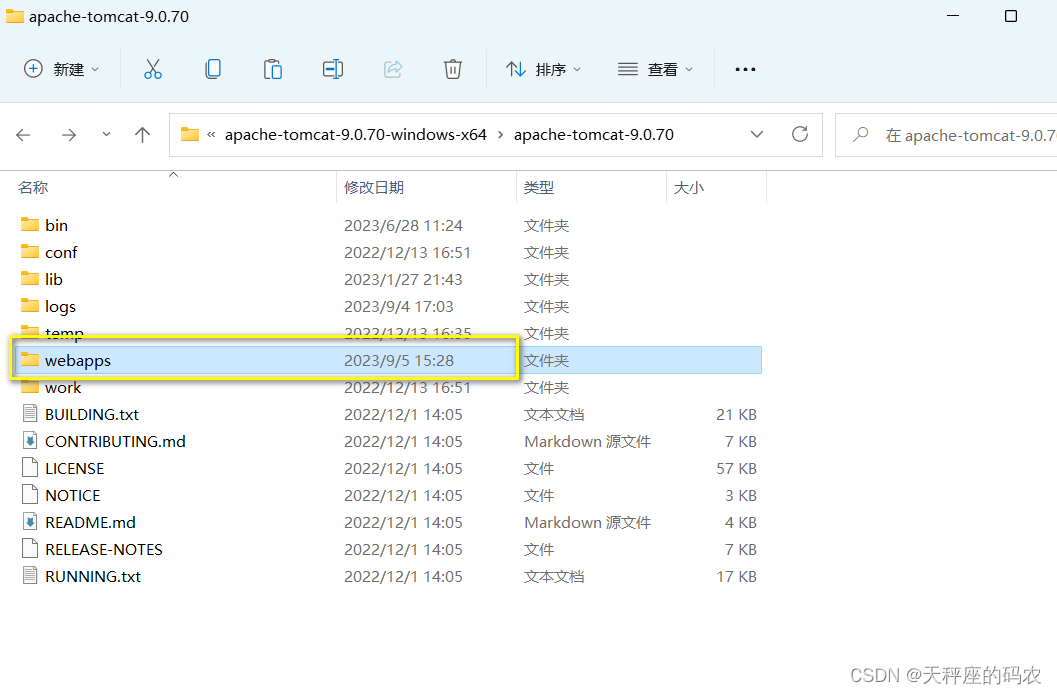
把war包复制到里面
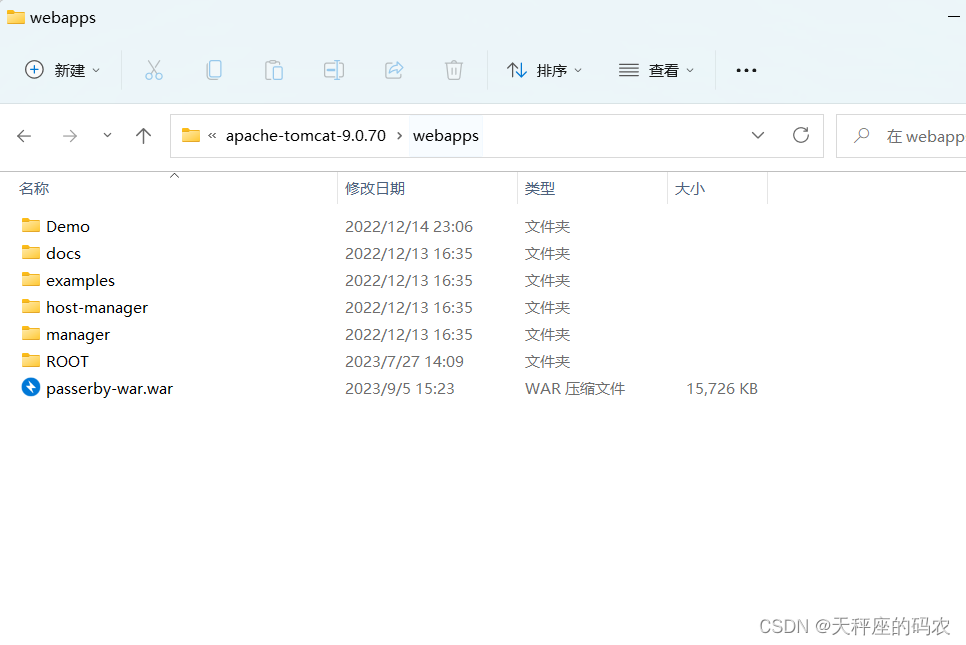
然后打开bin目录
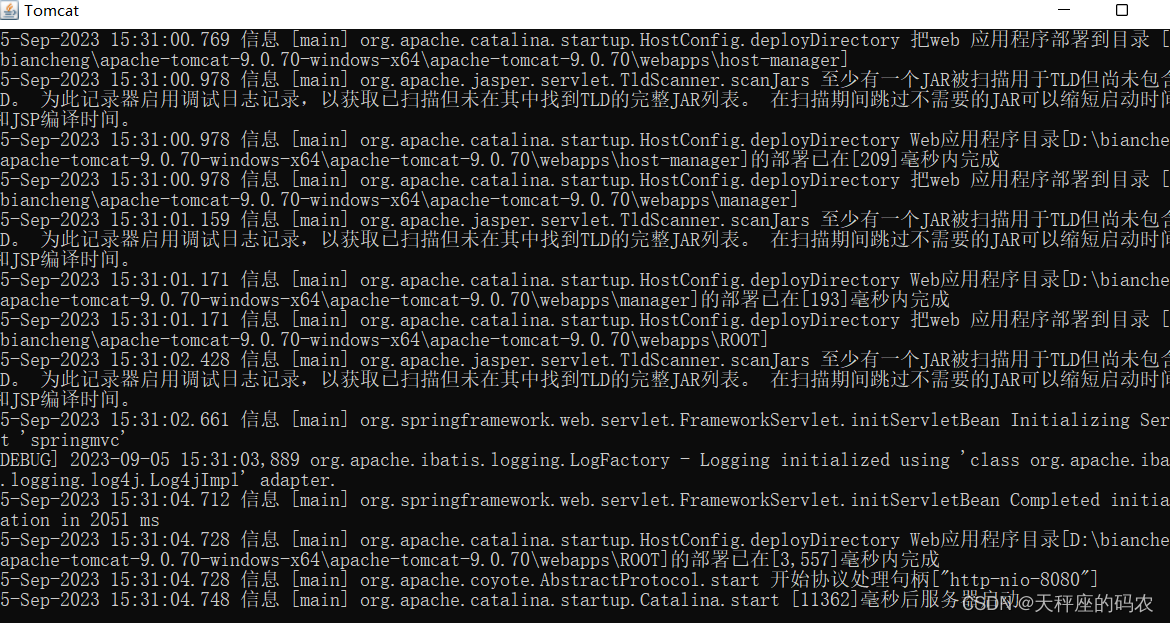
在里面找到startup.bat这个

打开等他运行完
然后在打开你刚才把war包粘贴的那个文件夹

现在就好了,打开浏览器试试
有什么不理解的可以私信!!!