FlexTools v2.3.6 plugin for SketchUp 3dWindow v.4.5 plugin for SketchUp
建筑师和3D艺术家使用FlexTools创建SketchUp门、窗、楼梯和其他建筑元素,具有卓越的速度和控制水平。
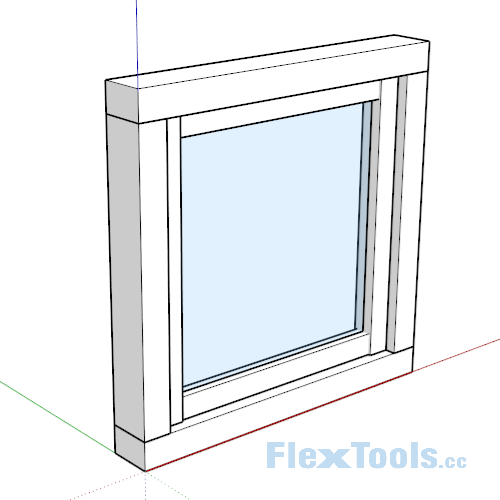
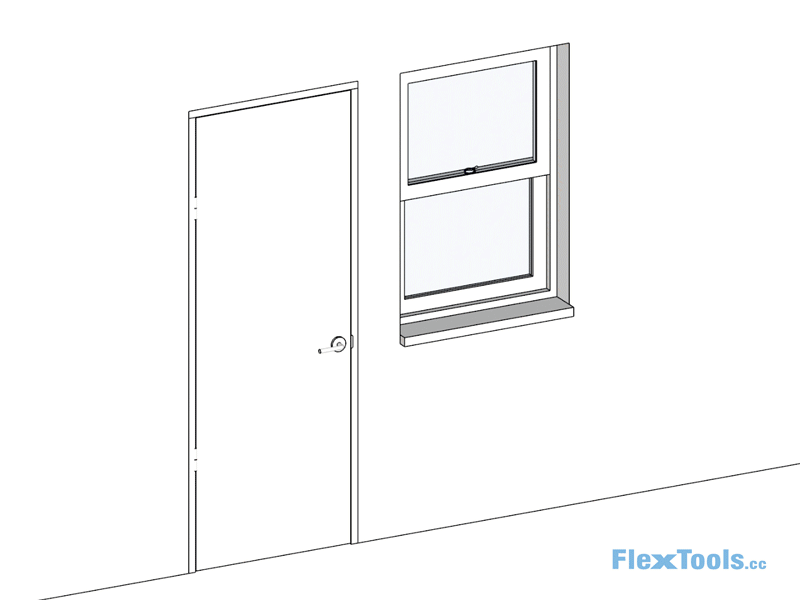
SketchUp功能强大但易于使用的扩展。对于在施工图或建筑图中使用SketchUp的每个人来说,此扩展都是必须的。在你的模型中创造出好看的框架、窗户和门从来没有这么容易过。而且只需要几秒钟!
![Flex Components in Action [gif]](https://img-blog.csdnimg.cn/img_convert/c46b50386bfd3843961a2355cefdc1d3.gif)
![]()
Responsive
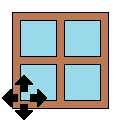
Scale components to fit precisely. All parameters and proportions are maintained.

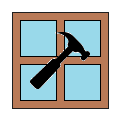
Fully Parametric
Components are fully parametric, so making changes is fast and easy. FlexTools fits perfectly into interactive design processes.
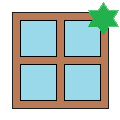
Total Customization
Every element of the components can be adjusted. Explore new design alternatives in seconds.
Save HOURS of modeling time on every project
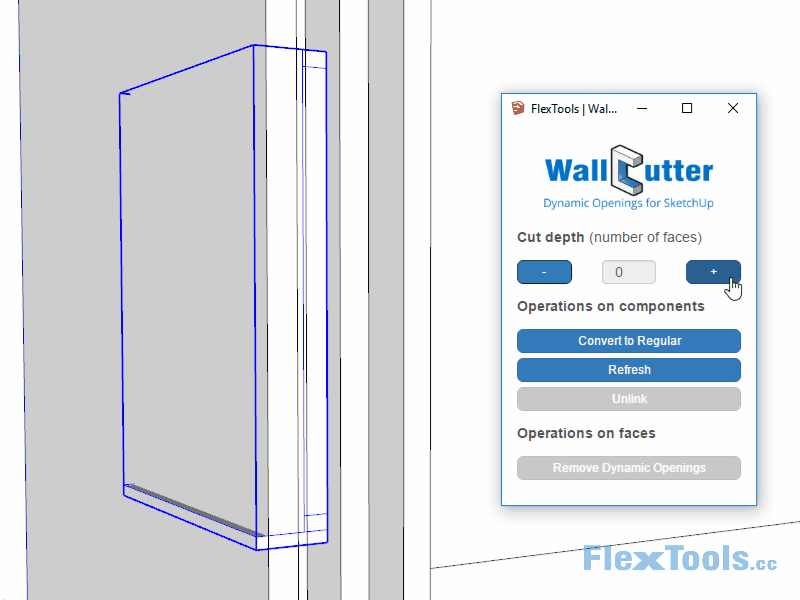

Instantly cut through multiple layered walls with dynamic openings that readjust automatically. Any Sketchup component can be converted into a wall-cutter!
![]()

Manage your locally saved components. Find and save the components you need easily.
* Also available for free (No components included)


Instant Plans & Elevations
Ready for Layout in a few clicks.

Section Fills
Full compatibility with Sketchup section fills.
The Dynamic Components


FlexDoor

FlexDoor Glass

Minimal Doors

Pocket Door

Bifold

Multi-Slider

Double Hung

Casement Single

Casement Double

Hopper / Awning

Fixed

Trapezoidal

FlexWindow Arch

FlexSlat

FlexPanel

FlexFence

FlexStairs

FlexSlope

FlexRamp
More in development...
![]()
Designed for optimal workflow with WallCutter
![]()
Powered by SketchUp's Dynamic Components Technology
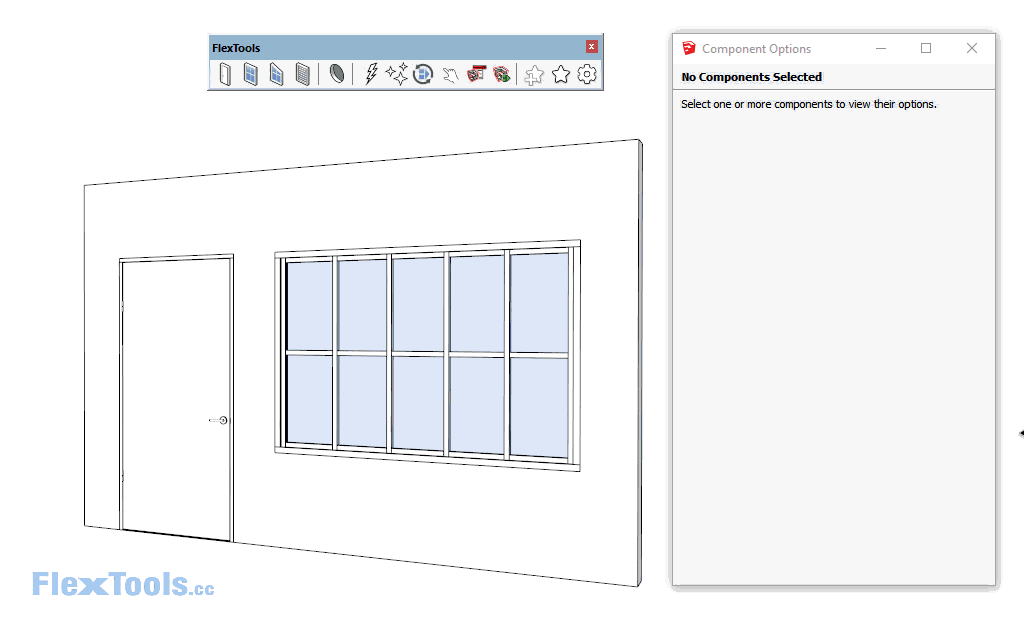
The Tools


Component Options
Adjust dynamic component parameters.
(Native SketchUp tool)

Open / Close
Open or close multiple FlexDoors at once.

Interact
Interact with dynamic components.
(Native SketchUp tool)

Make Unique
Makes a component unique.
(Native SketchUp tool)

WallCutter
Cut through multiple layered walls with dynamic openings that readjust automatically.

Make Totally Unique
Makes a component and all its subcomponents unique.

Refresh
Refresh the selected components.

Zapper
Remove dynamic behaviors while maintaining component instances and hierarchy.

Flip
Flip FlexDoor inside-out.

Cleaner
Delete deeply nested hidden geometry.

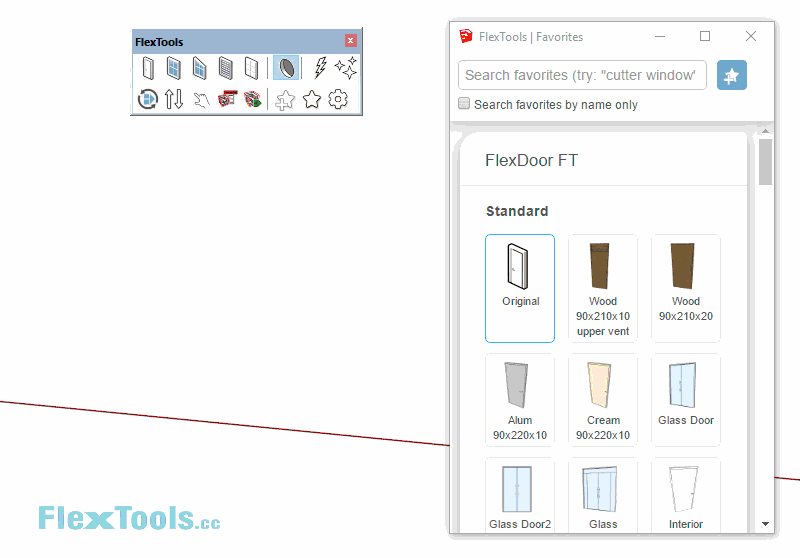
ComponentFinder
Manage your private 3D objects and models, find and save them easily.
* Also available as a free separate extension
3dWindow v.4.5 plugin for SketchUp
a powerful but easy to use extension for SketchUp. This extension is a must have for everyone who uses SketchUp in construction or architectural drawings. Never before has it been so easy to create great looking frames, windows and doors into your model. And it takes only seconds!
3dWindow is a powerful but easy to use extension for many versions of SketchUp indifferent if you are using an older free 'Make' version of SketchUp or the latest SketchUp Pro!
Terms and Definitions explained... (click on the images to zoom)
|
|
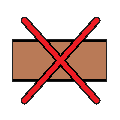
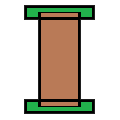
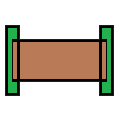
A frame is where it all starts with and contains stiles and rails. Ongoing stile Ongoing rail |
|
|
Frame Height Rail Stile Filling Frame Width |
|
|
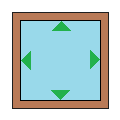
In a frame you can place fillings. Window Door Glass Slider window Panel Rackwork |
|
|
Recessed distance Stile size Frame depth Rail size |


3dWindow Toolbar explained
The 3dWindow toolbar can be used horizontally and be embedded with your other toolbar(s)...

... or being used as a pop-up window:

[It will never show all buttons 'enabled' and therefore in 'full color' though! The image has been manipulated to show all possibilities.
Only the icons that can be used at the state your model is in, will be in color and ready to be used.
For example row 8: these three icons represent the level of detail of the frame or filling. If it is in LOW level of detail (the left square wooden icon) you will see the MEDIUM and HIGH level icons lighten up expressing that you can switch to that state of the object. The left icon will be grey since the object cannot move to a state it is already in.)
Function and meaning of the icons in the toolbars
| ICON | FUNCTION |
|
|
With this button you can set general default values which will be available for all of your existing and future models. |
|
|
With this button you can set default color values which will be available for all of your existing and future models. |
|
|
Project settings are used to define your settings to be used in this model only. |
|
|
Project color settings are used to define your color settings to be used in this model only. |
|
|
The referral to this online web page. |
|
|
If you want to place a window or door frame without first drawing the square or rectangle area to define the exact measures and location of the frame, you can select this button. It will generate a default frame (with sizes that are predefined in the General Preferences) which then will stick to your mouse pointer and can be placed in a wall or surface with a single click. The exact measurements and other details can be altered afterwards. |
|
|
When you have created a rectangle or square on a surface and you have selected that area (so SketchUp marks the area) you can click this button to used the location and measurements. A windows will pop-up where you can define your specific needs. It will generally provide you with your predefined Project Preferences or even General Preferences if given. |
|
|
This button will offer you the possibility to change the settings of an existing frame (when selected). The menu contains the same parameters as if you were to create a new frame. |
|
|
This button will offer you the possibility to change the colors of the selected frame (and therefore overruling the Project or General Color preferences). |
|
|
|
|
|
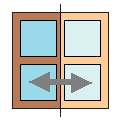
This option will mirror your frame. A window on the right side will be moved to the left and vice versa. |
|
|
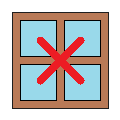
This will delete the frame (and all additional components and or fillings that you have created). |
|
|
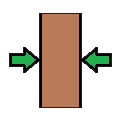
You can change the width or height of any individual stile by choosing this option and entering the new measurement. |
|
|
You can change the width or height of any individual rail by choosing this option and entering the new measurement. |
|
|
This will delete the selected individual stile. |
|
|
This will delete the selected individual rail. |
|
|
This function will enable you to change the way the connection endpoints of stiles are handled. |
|
|
This function will enable you to change the way the connection endpoints of rails are handled. |
|
|
This function will change the measurements of a filling (therefore moving rails and stiles). |
|
|
This function will change the status of rails and stiles surrounding a filling (turning them on/off). |
|
|
This will delete the filling inside a frame. |
|
|
This will present the complete window frame in a low level of detail. |
|
|
This will present the complete window frame in a medium level of detail. |
|
|
This will present the complete window frame in a high level of detail. |
|
|
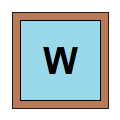
This will open a library of Windows. |
|
|
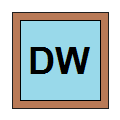
This will open a library of Double Windows. |
|
|
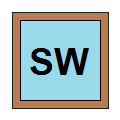
This will open a library of Slider Windows. |
|
|
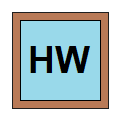
This will open a library of Hung Windows. |
|
|
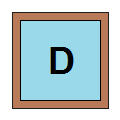
This will open a library of Doors. |
|
|
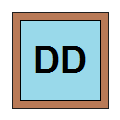
This will open a library of Double Doors. |
|
|
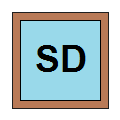
This will open a library of Slider Doors. |
|
|
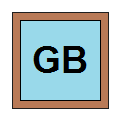
This will open a library of Glazing Beads. |
|
|
This will open a library of Glass types. |
|
|
This will open a library of Panels. |
|
|
This will open a library of Rack works. |
|
|
This will open the contents of your folder containing User Components. So you can insert any of your own .SKP models. Default location: "C:Users.[Your Computer name]. AppData.Roaming.SketchUp.SketchUp 20xx.SketchUp.Plugins.RS_Window.User_Components" You can define your own path in the General Preferences. |