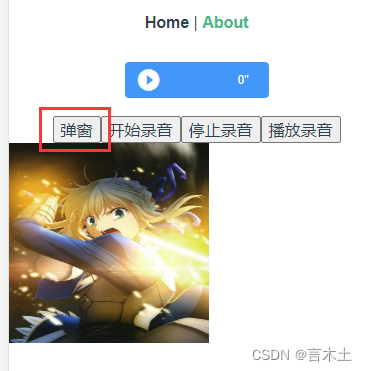
废话少说~~上图
实现思路主要是将第三方组件的v-moel语法糖拆分来分别处理,利用computed计算属性来获取父组件更新的value和上传子组件修改的value。
子组件代码:
<template>
<div>
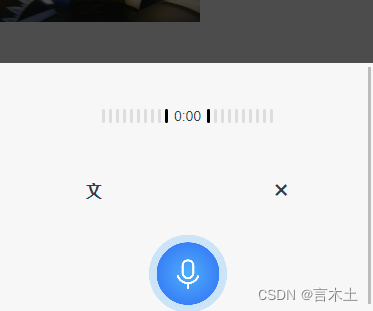
<van-popup
:value="innerValue"
@input="updateValue"
position="bottom"
:style="{ height: '40%' }"
>
<div class="record_container">
<!-- 弹窗内容 -->
</div></van-popup
>
</div>
</template>
<script>
import { Popup } from 'vant'
export default {
components: {
[Popup.name]: Popup
},
props: {
// 用来接收父组件v-model传递的数据
value: {
type: Boolean
}
},
computed: {
innerValue: {
get() {
return this.value
},
set(newValue) {
this.$emit('input', newValue)
}
},
},
methods: {
updateValue(value) {
this.innerValue = value
},
}
}
</script>
<style lang="scss" scoped>
</style>
使用:
<template>
  <div>
    <button @click="showDialog = true">弹窗</button>
    <button @click="startRecord">开始录音</button>
    <button @click="stopRecord">停止录音</button>
    <button @click="playRecord">播放录音</button>
    <CustomDialog v-model="showDialog"></CustomDialog>
  </div>
</template>
<script>
import CustomDialog from '@/components/CustomDialog.vue'

export default {
  components: {
    CustomDialog
  },
  data() {
    return {
      showDialog: false,
    }
  },
}
</script>
<style lang="scss" scoped>
</style>
不知道还有哪些更便捷的方法吗,有的话在评论区说一下