目录:导读
前言
在我们的测试场景中,一个登录接口有可能会有十几条到几十条测试用例,如果每组数据都编写一个方法,这样将会有更多的重复项代码,不仅执行效率不高,也不好维护。
接下来将会对框架进行优化,采用数据驱动方式:
把测试数据用excel表格管理起来,代码做封装;
用ddt来驱动测试,两部分相互独立。
openpyxl 模块介绍
openpyxl是python第三方模块,运用openpyxl库可以进行excel的读和写。
在了解openpyxl模块之前,我们需要先熟悉excel的结构,才能更好理解openpyxl是如何操作excel。
从外到内,首先是一个excel文件(名),打开excel之后,会看到底部有一个或多个sheet(工作簿),每个sheet里有很多单元格,总体来说,主要分为三个层级。
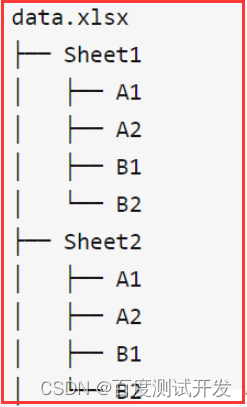
在opnepyxl里面,一个Excel文件对应着一个Workbook对象, 一个Sheet对应着一个Worksheet对象,而一个单元格对应着一个Cell对象。了解这些之后,对openpyxl是如何操作excel就比较清楚了。
openpyxl安装
pip install openpyxl
openpyxl简单使用
import openpyxl

if __name__ == '__main__':
    path = 'F:/case/test_case.xlsx'
    # 读取excel文件
    workbook = openpyxl.load_workbook(path)
    # 读取所有sheet
    sheet = workbook.get_sheet_names()
    # 获取某个sheet
    sheet = workbook[sheet[0]]
    # 获取某个cell的值
    cell_val = sheet.cell(row=2, column=2).value
    print(cell_val)
Excel用例管理
在项目下,新建一个文件夹:data,文件夹下新建一个cases.xlsx文件,用来存放测试用例

以下,是一个简单的登录测试用例设计模板:
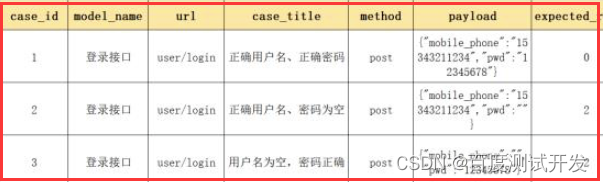
可以根据该表格生成实际结果,并将测试结果写入(Pass、Fail)表格。公众号后台回复:接口测试用例模板,可以获取完整接口测试用例Excle模板。
既然有了用例模板,我们就开始从用openpyxl模块对excel读写数据。如下,在common文件夹下,新建excel_handle.py,用于封装操作excel的类。

excel_handle.py
import openpyxl
class ExcelHandler:
    def __init__(self, file):
        self.file = file
    def open_excel(self, sheet_name):
        """打开Excel、获取sheet"""
        wb = openpyxl.load_workbook(self.file)
        # 获取sheet_name
        sheet = wb[sheet_name]
        return sheet
    def get_header(self, sheet_name):
        """获取header(表头)"""
        wb = self.open_excel(sheet_name)
        header = []
        # 遍历第一行
        for i in wb[1]:
            # 将遍历出来的表头字段加入列表
            header.append(i.value)
        return header
    def read_excel(self, sheet_name):
        """读取所有数据"""
        sheet = self.open_excel(sheet_name)
        rows = list(sheet.rows)
        data = []
        # 遍历从第二行开始的每一行数据
        for row in rows[1:]:
            row_data = []
            # 遍历每一行的每个单元格
            for cell in row:
                row_data.append(cell.value)
                # 通过zip函数将两个列表合并成字典
                data_dict = dict(zip(self.get_header(sheet_name),row_data))
            data.append(data_dict)
        return data
    @staticmethod
    def write_excel(file, sheet_name, row, cloumn,data):
        """Excel写入数据"""
        wb = openpyxl.load_workbook(file)
        sheet = wb[sheet_name]
        sheet.cell(row, cloumn).value = data
        wb.save(file)
        wb.close()
if __name__ == "__main__":
    # 以下为测试代码
    excel = ExcelHandler('../data/cases.xlsx')
    data = excel.read_excel('login')
ddt介绍及使用
ddt介绍:
名称:Data-Driven Tests,数据驱动测试
作用:由外部数据集合来驱动测试用例的执行
核心的思想:数据和测试代码分离
应用场景:一组外部数据来执行相同的操作
优点:当测试数据发生大量变化的情况下,测试代码可以保持不变
实际项目:excel存储测试数据,ddt读取测试数据到单元测试框架(测试用例中)
补充:
所谓数据驱动,就是数据的改变从而驱动自动化测试的执行,最终引起测试结果的改变。说的直白些,就是参数化的应用。
ddt安装:
pip install ddt
ddt使用:
要想知道ddt到底怎么使用,我们从ddt模块源码中提取出三个重要的函数ddt、unpack、data。
def ddt(cls):
    """
    Class decorator for subclasses of ``unittest.TestCase``.
    Apply this decorator to the test case class, and then
    decorate test methods with ``@data``.
    For each method decorated with ``@data``, this will effectively create as
    many methods as data items are passed as parameters to ``@data``.
    The names of the test methods follow the pattern
    ``original_test_name_{ordinal}_{data}``. ``ordinal`` is the position of the
    data argument, starting with 1.
    For data we use a string representation of the data value converted into a
    valid python identifier.  If ``data.__name__`` exists, we use that instead.
    For each method decorated with ``@file_data('test_data.json')``, the
    decorator will try to load the test_data.json file located relative
    to the python file containing the method that is decorated. It will,
    for each ``test_name`` key create as many methods in the list of values
    from the ``data`` key.
    """
    for name, func in list(cls.__dict__.items()):
        if hasattr(func, DATA_ATTR):
            for i, v in enumerate(getattr(func, DATA_ATTR)):
                test_name = mk_test_name(name, getattr(v, "__name__", v), i)
                test_data_docstring = _get_test_data_docstring(func, v)
                if hasattr(func, UNPACK_ATTR):
                    if isinstance(v, tuple) or isinstance(v, list):
                        add_test(
                            cls,
                            test_name,
                            test_data_docstring,
                            func,
                            *v
                        )
                    else:
                        # unpack dictionary
                        add_test(
                            cls,
                            test_name,
                            test_data_docstring,
                            func,
                            **v
                        )
                else:
                    add_test(cls, test_name, test_data_docstring, func, v)
            delattr(cls, name)
        elif hasattr(func, FILE_ATTR):
            file_attr = getattr(func, FILE_ATTR)
            process_file_data(cls, name, func, file_attr)
            delattr(cls, name)
    return cls
def unpack(func):
    """
    Method decorator to add unpack feature.
    """
    setattr(func, UNPACK_ATTR, True)
    return func
def data(*values):
    """
    Method decorator to add to your test methods.
    Should be added to methods of instances of ``unittest.TestCase``.
    """
    global index_len
    index_len = len(str(len(values)))
    return idata(values)
ddt:
装饰类,也就是继承自TestCase的类。
data:
装饰测试方法。参数是一系列的值。
unpack:
传递的是复杂的数据结构时使用。比如使用元组或者列表,添加unpack之后,ddt会自动把元组或者列表对应到多个参数上,字典也可以这样处理;当没有加unpack时,方法的参数只能填一个。
例子:
test_ddt.py
import unittest
import ddt
# 装饰类
@ddt.ddt
class DdtDemo(unittest.TestCase):
    def setUp(self):
        pass
    def tearDown(self):
        pass

    # 装饰方法
    @ddt.data(("15312344578", "12345678"), ("15387654321", "12345678"))
    @ddt.unpack
    def test_ddt(self, username,password):
        print(username,password)
if __name__ == '__main__':
    unittest.main(verbosity=2)
运行结果为:
Ran 2 tests in 0.001s
OK
15312344578 12345678
15387654321 12345678
test_login.py
import unittest
from common.requests_handler import RequestsHandler
from common.excel_handler import ExcelHandler
import ddt
import json
@ddt.ddt
class TestLogin(unittest.TestCase):
    # 读取excel中的数据
    excel = ExcelHandler('../data/cases.xlsx')
    case_data = excel.read_excel('login')
    print(case_data)
    def setUp(self):
        # 请求类实例化
        self.req = RequestsHandler()
    def tearDown(self):
        # 关闭session管理器
        self.req.close_session()
    @ddt.data(*case_data)
    def test_login_success(self,items):
        # 请求接口
        res = self.req.visit(method=items['method'],url=items['url'],json=json.loads(items['payload']),
                             headers=json.loads(items['headers']))
        try:
            # 断言:预期结果与实际结果对比
            self.assertEqual(res['code'], items['expected_result'])
            result = 'Pass'
        except AssertionError as e:
            result = 'Fail'
            raise e
        finally:
            # 将响应的状态码,写到excel的第9列,即写入返回的状态码
            TestLogin.excel.write_excel("../data/cases.xlsx", 'login', items['case_id'] + 1, 9, res['code'])
            # 如果断言成功,则在第10行(测试结果)写入Pass,否则,写入Fail
            TestLogin.excel.write_excel("../data/cases.xlsx", 'login', items['case_id'] + 1, 10, result)
if __name__ == '__main__':
    unittest.main()
| 下面是我整理的2023年最全的软件测试工程师学习知识架构体系图 |
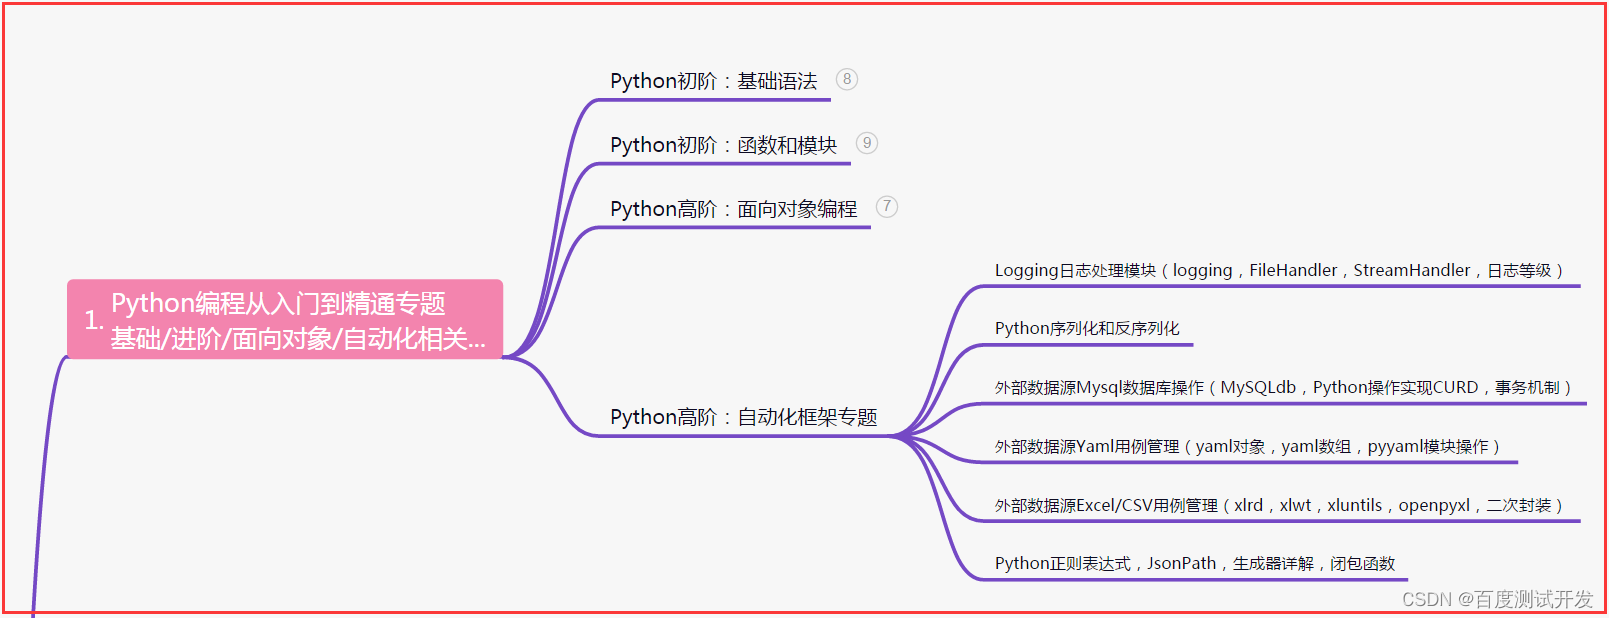
一、Python编程入门到精通
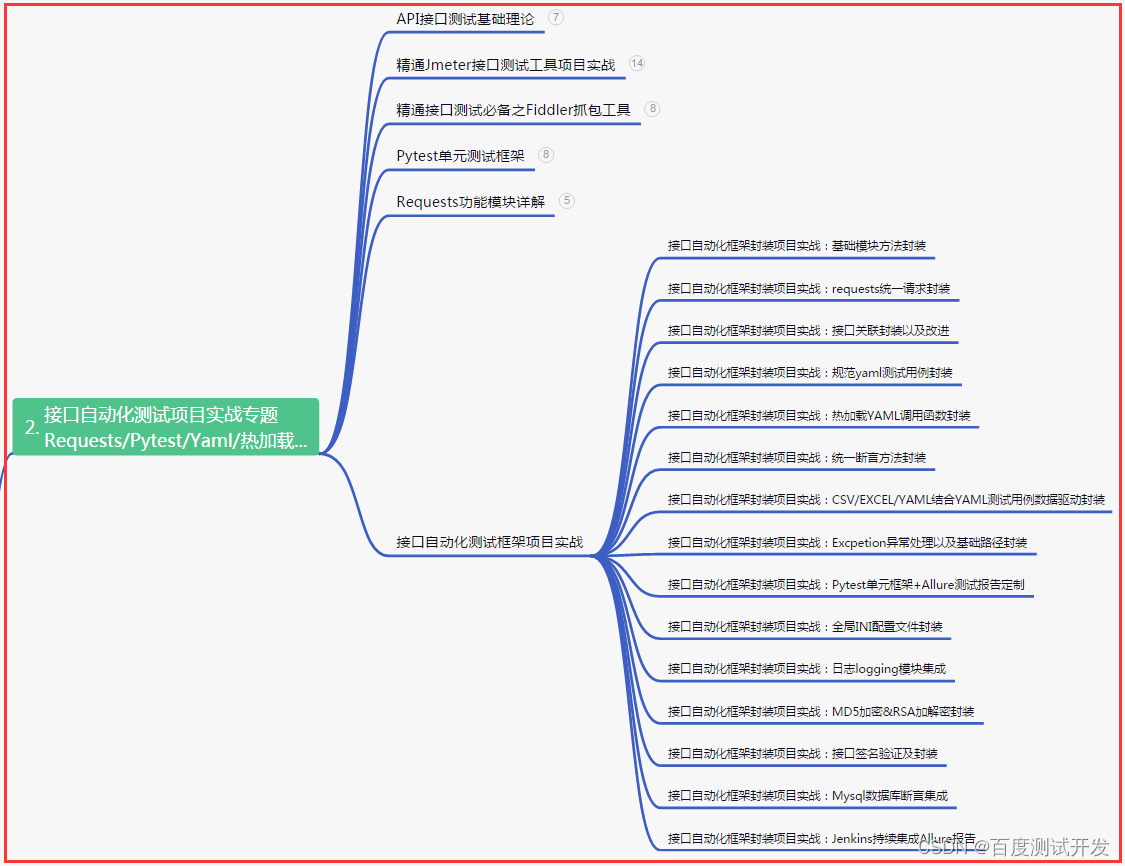
二、接口自动化项目实战
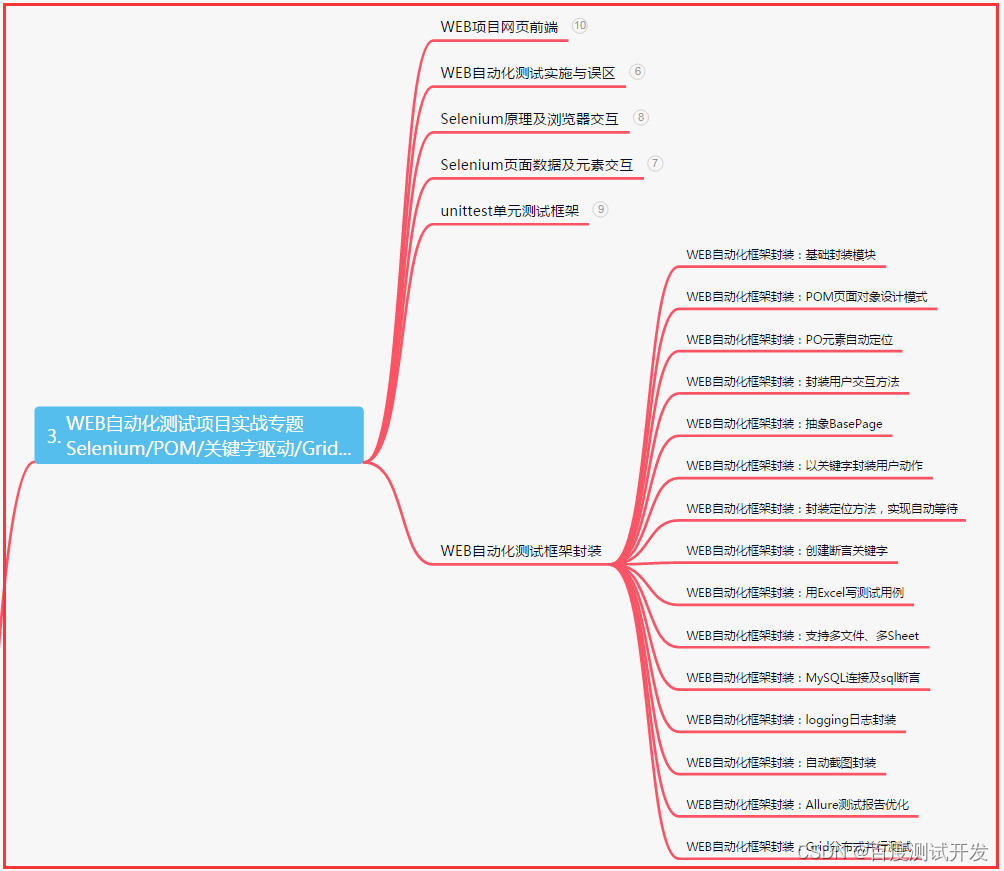
三、Web自动化项目实战
四、App自动化项目实战

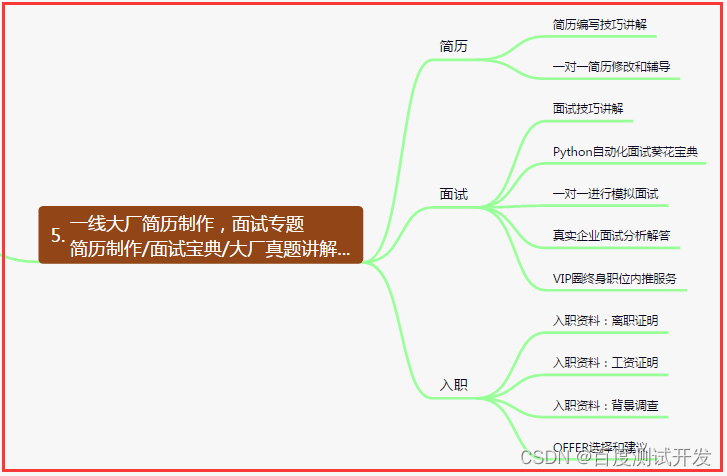
五、一线大厂简历
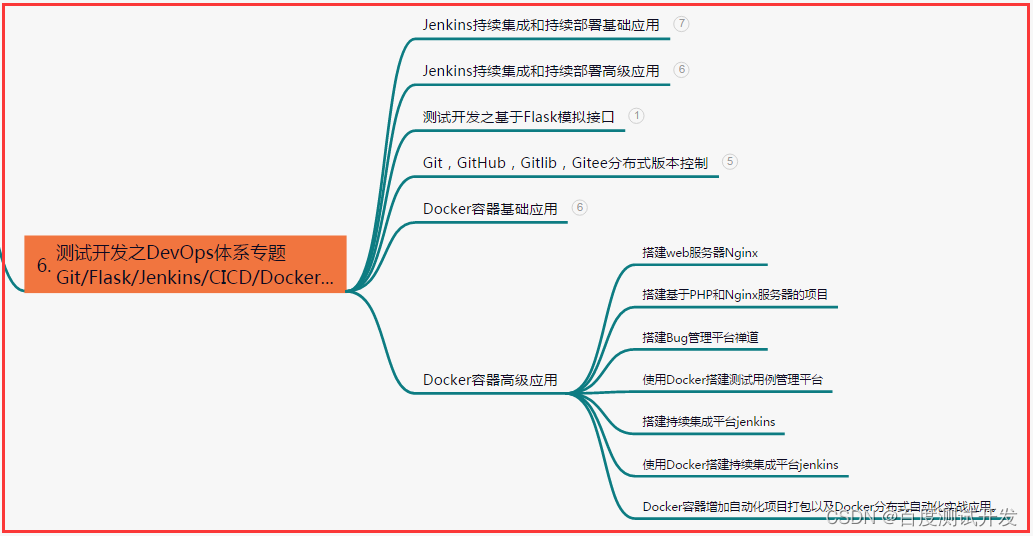
六、测试开发DevOps体系
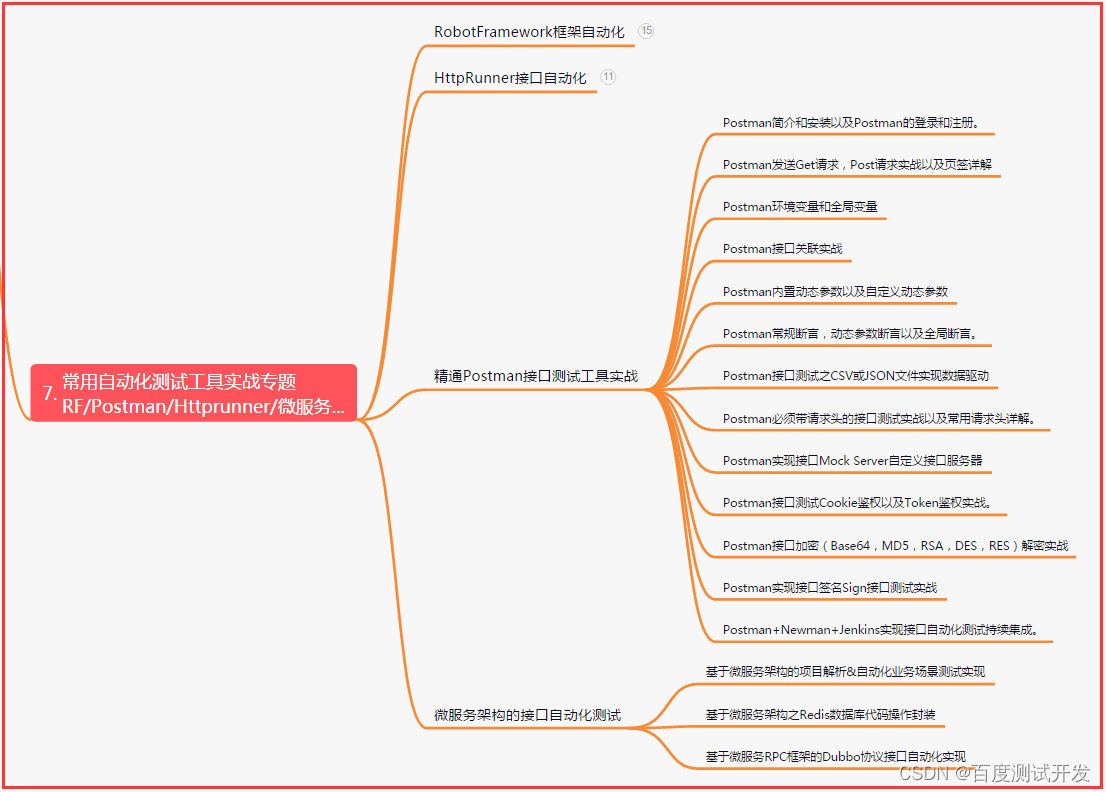
七、常用自动化测试工具
八、JMeter性能测试

九、总结(尾部小惊喜)
不要停下脚步,不要畏惧失败,奋斗的路上或许孤独漫长,但坚持与努力将点亮前行的道路。梦想的实现需要付出汗水与泪水,只要心中燃起激情的火焰,你就能创造属于自己的辉煌人生。
勇往直前,不畏艰辛,奋斗的力量铸就伟业。用激情驱动,用努力铺就,追逐梦想的道路从不平坦,但每一次坚持都将离成功更近一步。
无论昨日多么颓废,今天都是重新开始的机会。奋斗不仅是拼搏的过程,更是改变命运的力量。相信自己的能力,坚持追求,方能在辛勤的汗水中绽放属于自己的辉煌,创造令人骄傲的人生。