代码运行
代码地址:https://github.com/cvg/nice-slam/tree/master
环境配置
-
下载压缩包,打开environment.yaml文件

-
向yaml文件中添加如下代码
  - https://mirrors.tuna.tsinghua.edu.cn/anaconda/pkgs/free/
  - https://mirrors.ustc.edu.cn/anaconda/pkgs/free/

貌似还要注释掉channels:里面的- pytorch才行
- 按照github里面的环境配置教程,在base环境下运行:
sudo apt-get install libopenexr-dev
conda env create -f environment.yaml
上一个命令会创建一个nice-slam环境,激活环境
conda activate nice-slam
在这个环境里面后,貌似还要写一个requirements.txt文件来把需要pip安装的加了(最好带清华源进行安装)
Visualizing NICE-SLAM Results
-
下载数据集
我们这里测试Apartment的可视化效果
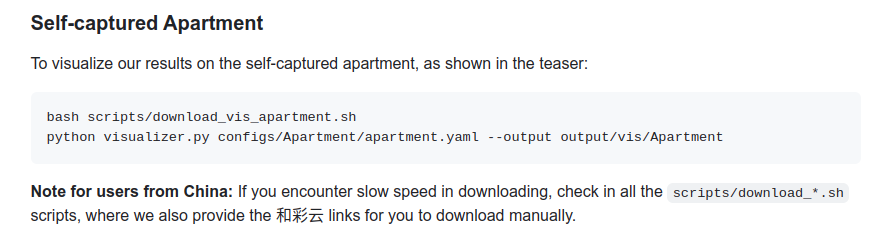
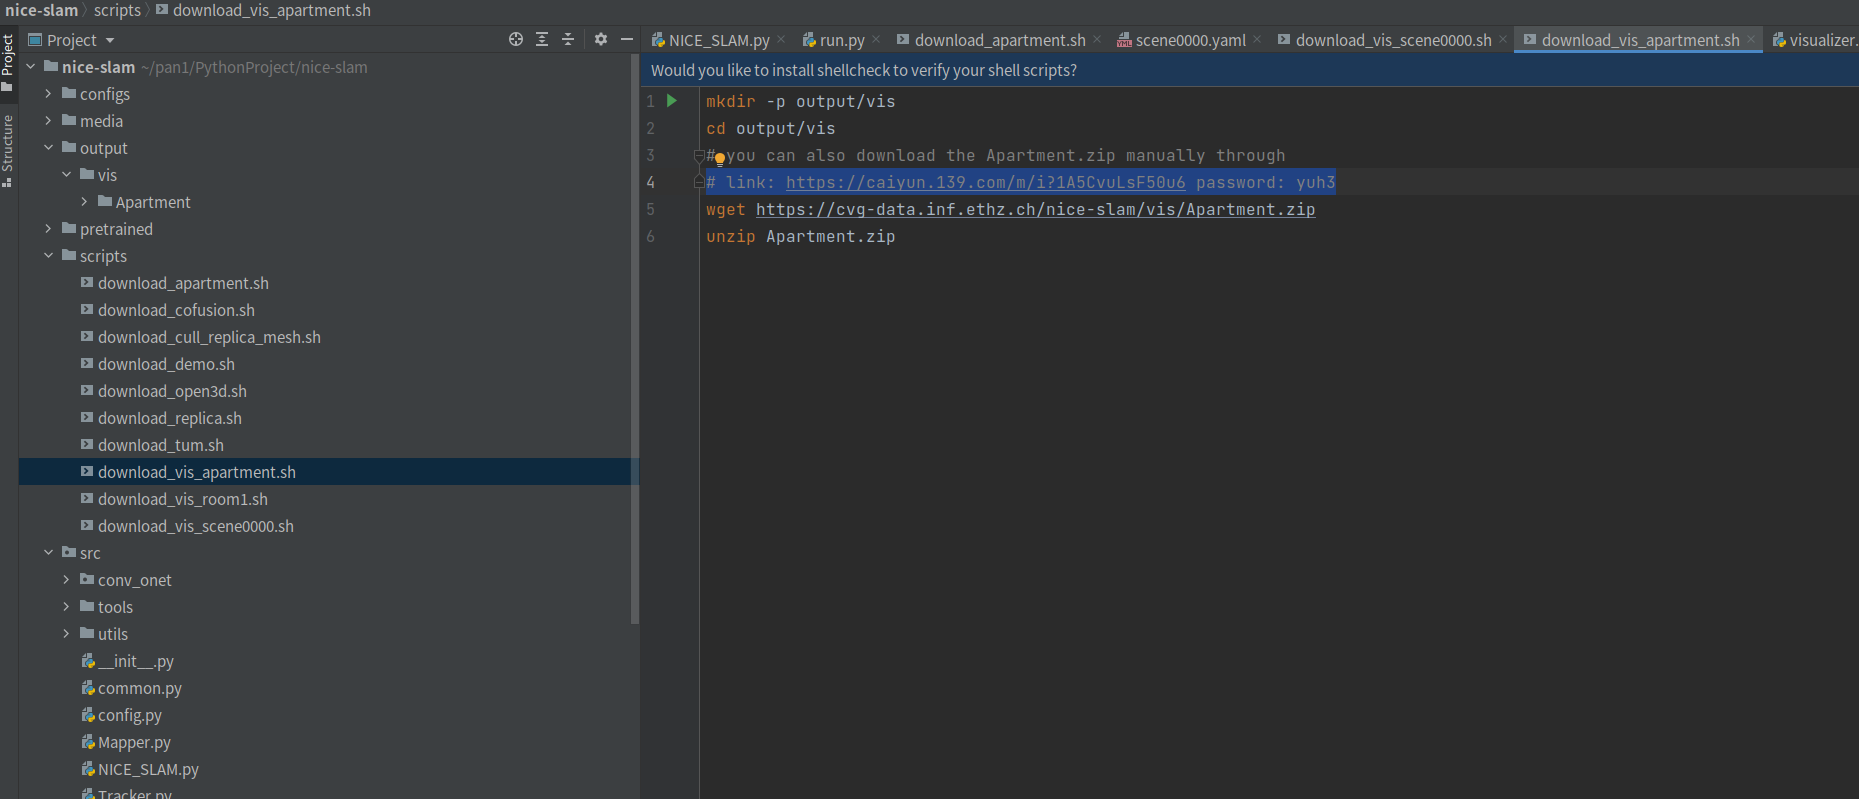
按照github的说法,咱国内选手最好选哪个下载脚本里面额外的那个数据集手动下载,如下(非常良心,这个云盘居然不下载不限速)
-
把下载下来的压缩包解压到ouput对应的文件夹下,运行:
python visualizer.py configs/Apartment/apartment.yaml --output output/vis/Apartment
就可以看到如下的效果:
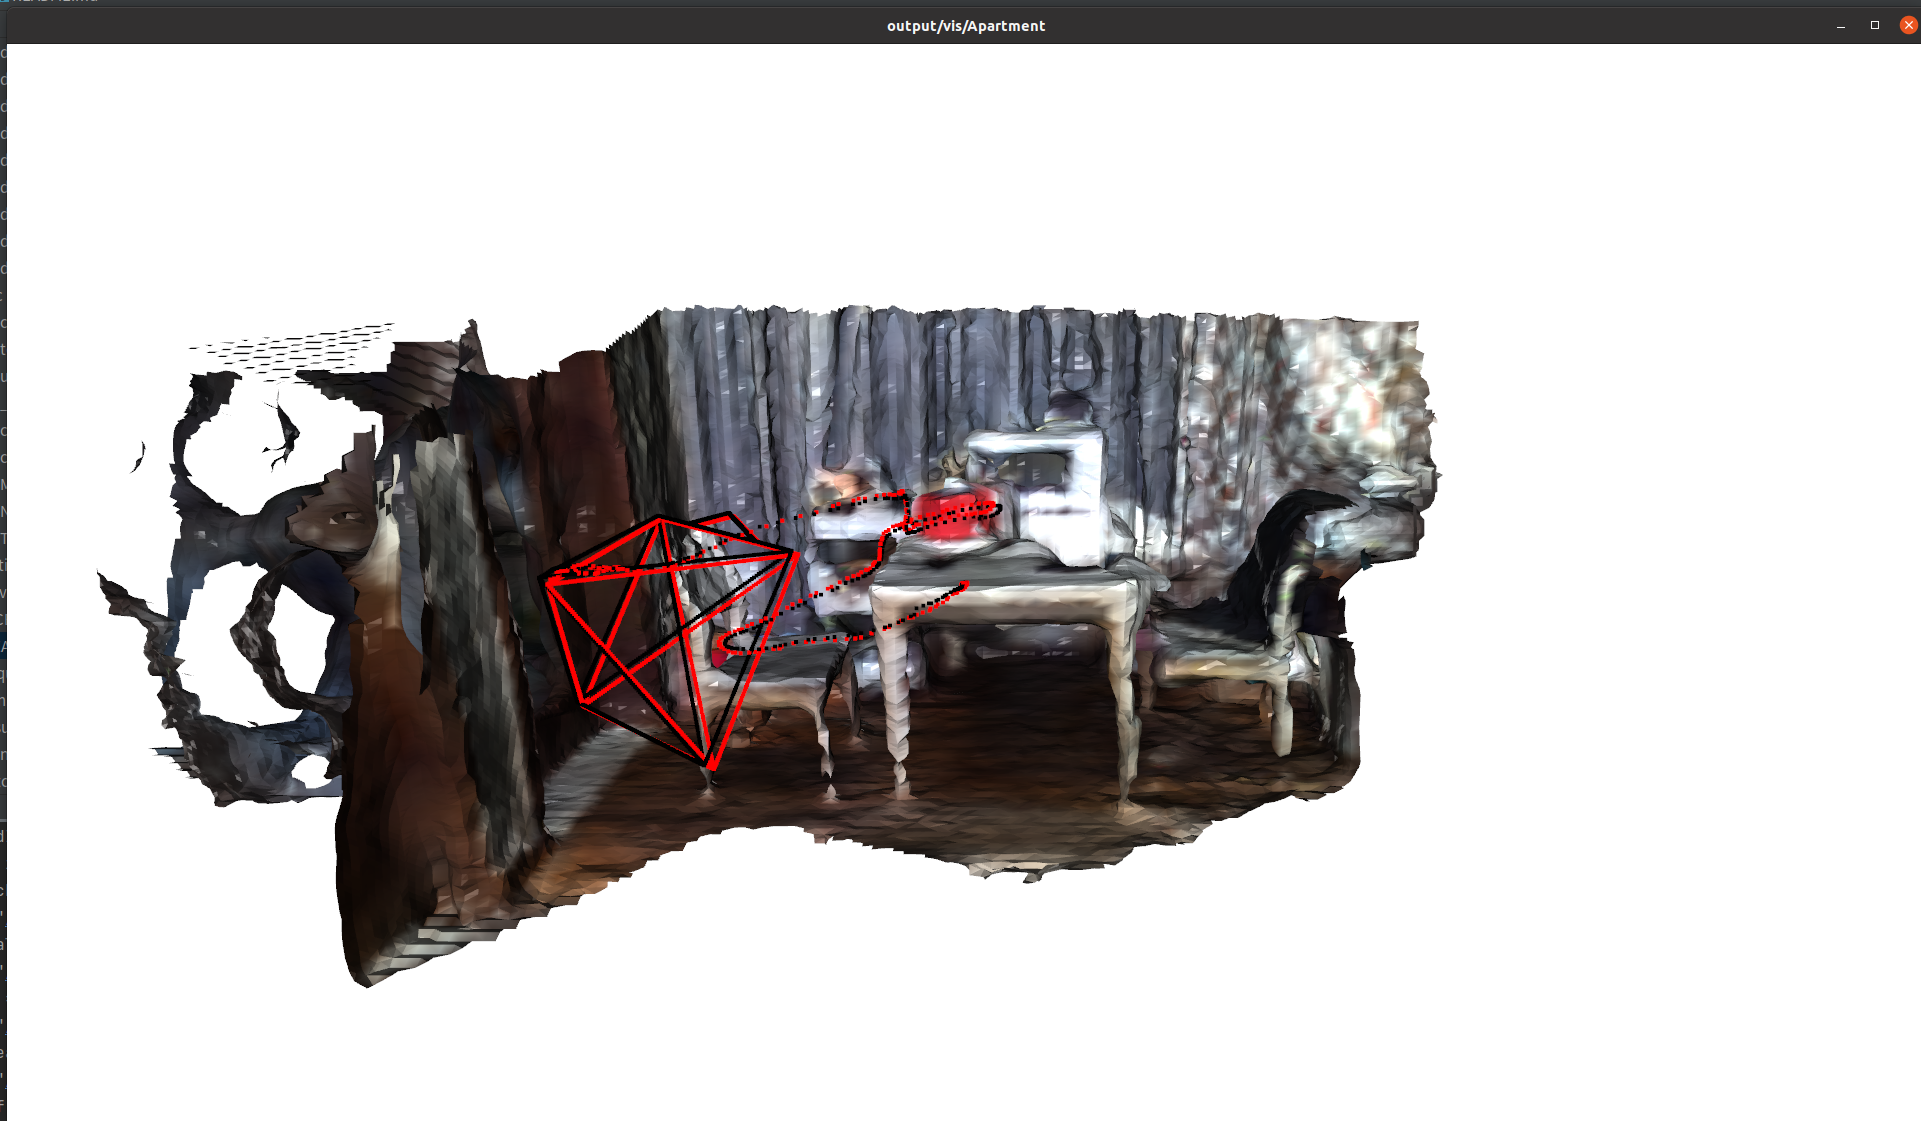
3. 运行完成后,效果还是不错

运行Demo
-
下载数据集
方法同上,下载后放到在给工程下创建的./Datasets,解压 -
运行
python -W ignore run.py configs/Demo/demo.yaml
阿西吧~~~

我的GTX3070寄了,游戏结束~