前言:在安装Elasticsearch 前最好设置一下静态IP,本教程为es单节点启动。
- 下载ES压缩包
wget https://artifacts.elastic.co/downloads/elasticsearch/elasticsearch-8.7.1-linux-x86_64.tar.gz- 解压到指定目录
在根目录创建一个文件夹用于放ES文件
mkdir elastic解压到 /elastic/
tar -xzf elasticsearch-8.7.1-linux-x86_64.tar.gz -C /elastic
- 创建ES用户
ES不能直接运行在root用户下,所以需要创建一个专用于启动ES的用户
useradd elastic为elastic用户设置密码
passwd elastic将 elastic 文件夹的用户指定为elastic用户
chown -R elastic /elastic- 修改配置文件
1. 调整ES虚拟内存,虚拟内存默认最大映射数为65530,无法满足ES系统要求,需要调整为262144以上。
打开配置文件
vim /etc/sysctl.conf添加如下配置
vm.max_map_count = 262144重新加载/etc/sysctl.conf配置
sysctl -p2. 修改es进程打开的最大文件数量
vim /etc/security/limits.conf#* soft core 0
#* hard rss 10000
#@student hard nproc 20
#@faculty soft nproc 20
#@faculty hard nproc 50
#ftp hard nproc 0
#@student - maxlogins 4
* soft nofile 65536
* hard nofile 65536
* soft nproc 4096
* hard nproc 4096
# End of file
3. 修改es配置文件
vim /elastic/elasticsearch-8.7.1/config/elasticsearch.yml node.name: node-1
# ---------------------------------- Network -----------------------------------
# 本机ip
network.host: 192.168.8.128
# 端口号
http.port: 9200
# --------------------------------- Discovery ----------------------------------
# 单机只保留一个node
cluster.initial_master_nodes: ["node-1"]
#
xpack.security.enabled: false
xpack.security.transport.ssl.enabled: false4. 修改jvm.options内存设置
vim /elastic/elasticsearch-8.7.1/config/jvm.options默认1G,启动后会占用700M,所以机器内存至少2G以上
-Xms1g
-Xmx1g- 启动ES
进入ES根目录
cd /elastic/elasticsearch-8.7.1/切换到elastic用户
su elastic启动ES服务
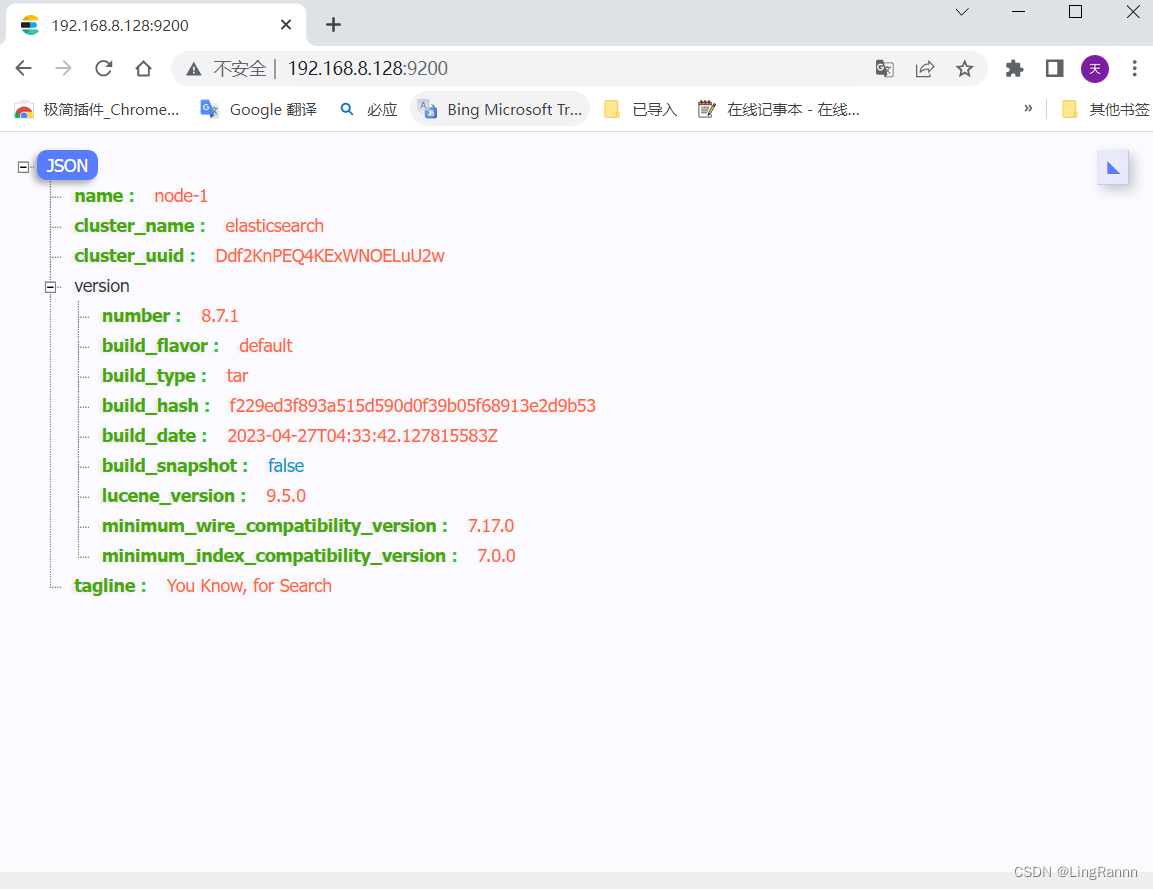
./bin/elasticsearch成功启动