前言
第一次用swagger,看了些资料,还需要配置类,感觉很麻烦,这里提供通过application.properties的配置方法。
环境
sringboot3.1.1,java17
具体操作
- 在pom.xml里引入依赖
        <dependency>
            <groupId>org.springdoc</groupId>
            <artifactId>springdoc-openapi-starter-webmvc-ui</artifactId>
            <version>2.0.2</version>
            <exclusions>
                <exclusion>
                    <artifactId>slf4j-api</artifactId>
                    <groupId>org.slf4j</groupId>
                </exclusion>
            </exclusions>
        </dependency>
(注:Springdoc 是基于 OpenAPI(前身为 Swagger)规范的库,它支持 OpenAPI 3.0 版本。而 Springfox 是基于 Swagger 规范的库,它支持 Swagger 2.0 版本。)
- 在application.properties中写入
# 启用 Springdoc 自动生成 API 文档
springdoc.api-docs.enabled=true
# 配置生成的 API 文档的访问路径,默认为 "/v3/api-docs"
springdoc.api-docs.path=/v3/api-docs
# 配置 Swagger-UI 的访问路径,默认为 "/swagger-ui.html"
springdoc.swagger-ui.path=/swagger-ui.html
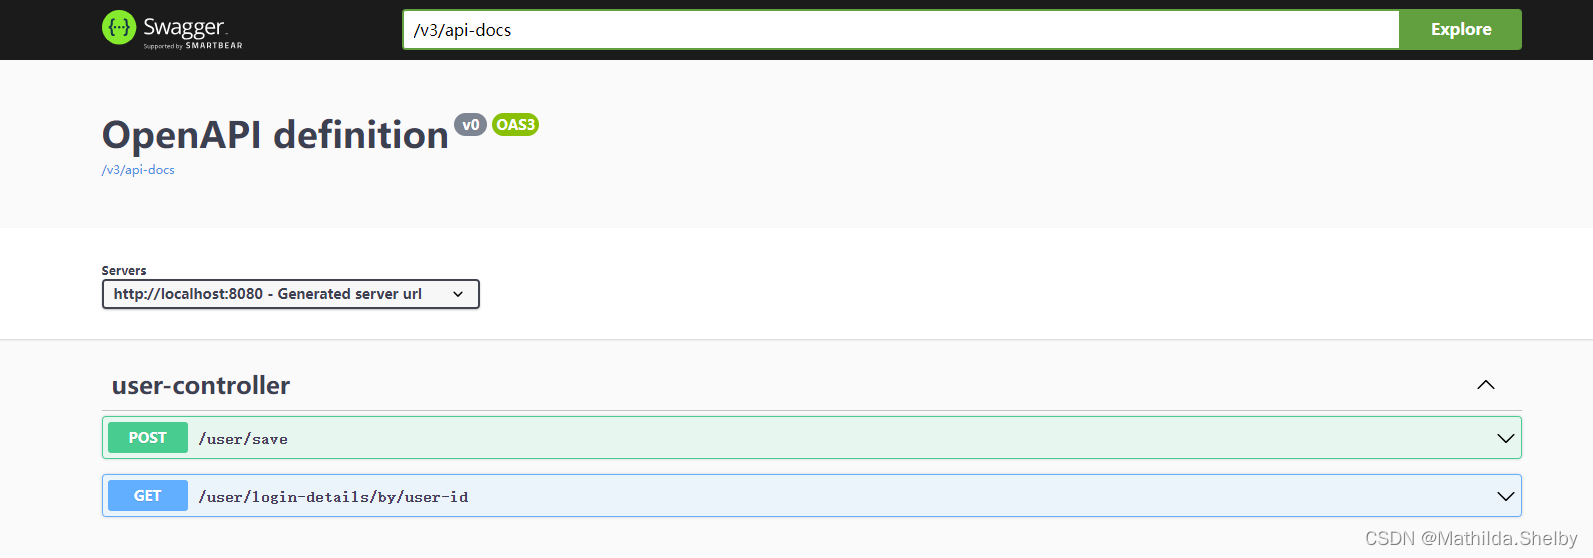
- 访问 http://localhost:8080/swagger-ui.html(上述配置的路径)即可,需要其他可以再进一步配置
附
除了通过application.properties的方式。也可以通过写配置类
import io.swagger.v3.oas.models.ExternalDocumentation;
import io.swagger.v3.oas.models.OpenAPI;
import io.swagger.v3.oas.models.info.Info;
import io.swagger.v3.oas.models.info.License;
import org.springframework.context.annotation.Bean;
import org.springframework.context.annotation.Configuration;


@Configuration
public class SwaggerConfig {


    @Bean
    public OpenAPI springShopOpenAPI() {


        return new OpenAPI()
                .info(new Info().title("标题")
                        .description("我的API文档")
                        .version("v1")
                        .license(new License().name("Apache 2.0").url("http://springdoc.org")))
                .externalDocs(new ExternalDocumentation()
                        .description("外部文档")
                        .url("https://springshop.wiki.github.org/docs"));
    }

}