目录
一、环境搭建
创建项目
采用 vite 作为前端项目的打包,构建工具
npm init vite@latest
按照提示操作

cd 项目目录
npm install
npm run dev
编码 IDE
推荐采用微软的 VSCode 作为开发工具,到它的官网 Visual Studio Code - Code Editing. Redefined 下载安装即可。

要对 *.vue 做语法支持,还要安装一个 Volar 插件

修改端口
打开项目根目录下 vite.config.ts
import { defineConfig } from 'vite'
import vue from '@vitejs/plugin-vue'

// https://vitejs.dev/config/
export default defineConfig({
  plugins: [vue()],
  server: {
    port: 7070
  }
})配置代理
为了避免前后端服务器联调时, fetch、xhr 请求产生跨域问题,需要配置代理,同样是修改项目根目录下 vite.config.ts
import { defineConfig } from 'vite'
import vue from '@vitejs/plugin-vue'

// https://vitejs.dev/config/
export default defineConfig({
  plugins: [vue()],
  server: {
    port: 7070,
    proxy: {
      '/api': {
        target: 'http://localhost:8080',
        changeOrigin: true
      }
    }
  }
})
项目架构

-
index.html 为主页面
-
package.json npm 配置文件
-
tsconfig.json typescript 配置文件
-
vite.config.ts vite 配置文件
-
public 静态资源
-
src/components 可重用组件
-
src/model 模型定义
-
src/router 路由
-
src/store 共享存储
-
src/views 视图组件
二、Vue组件
ue 的组件文件以 .vue 结尾,每个组件由三部分组成
<script setup lang="ts"></script>

<template></template>

<style scoped></style>-
script 代码部分,控制模板的数据来源和行为
-
template 模板部分,由它生成 html 代码
-
style 样式部分
根组件是 src/App.vue,先来个 Hello,world 例子
<script setup lang="ts">
import { ref } from "vue";
let msg = ref("hello"); // 把数据变成响应式的

function change() {
  msg.value = "world";
  console.log(msg);
}
</script>
<template>
  <h1>{

   { msg }}</h1>
  <input type="button" value="修改msg" @click="change" />
</template>-
{ {msg}} 用来把一个变量绑定到页面上某个位置
-
绑定的变量必须用 ref 函数来封装
-
ref 返回的是【响应式】数据,即数据一旦变化,页面展示也跟着变化
-
main.ts
import { createApp } from 'vue'
import './style.css'
import App from './App.vue'

createApp(App)
.mount('#app')-
createApp 是创建一个 Vue 应用程序,它接收的参数 App 即之前我们看到的根组件
-
mount 就是把根组件生成的 html 代码片段【挂载】到 index.html 中 id 为 app 的 html 元素上
可以修改自己的组件文件,挂载到主页面。
新建 src/views/E0.vue,内容如下
<script setup lang="ts">
import { ref } from 'vue'
const msg = ref('Hello, World!!')
</script>
<template>
  <h1>{

   { msg }}</h1>
</template>
修改 main.ts 将自己的组件文件挂载
import { createApp } from 'vue'
import './style.css'
// import App from './App.vue'
import E0 from './views/E0.vue'

createApp(E0).mount('#app')
打开浏览器控制台,进入 Vue 的开发工具,尝试做如下修改

当把 msg 的值由 "Hello, World" 改为 "你好" 时,会发现页面展示同步发生了变化 ,这个就是响应式。
属性绑定
-
【:属性名】用来将标签属性与【响应式】变量绑定 v-bind
<script setup lang="ts">
import { ref } from 'vue'
const path = ref('/src/assets/vue.svg')

</script>

<template>
  <img :src="path" alt="">
</template>
事件绑定
-
【@事件名】用来将标签属性与函数绑定,事件发生后执行函数内代码
<script setup lang="ts">
import { ref } from 'vue'
const count = ref(0)
function dec() {
  count.value--
}
function inc() {
  count.value++
}
</script>

<template>
  <input type="button" value="-" @click="dec">
  <h2>{

   {count}}</h2>
  <input type="button" value="+" @click="inc">
</template>
表单绑定
-
用 v-model 实现双向绑定,即
-
javascript 数据可以同步到表单标签
-
反过来用户在表单标签输入的新值也会同步到 javascript 这边
-
-
双向绑定只适用于表单这种带【输入】功能的标签,其它标签的数据绑定,单向就足够了
-
复选框这种标签,双向绑定的 javascript 数据类型一般用数组
<script setup lang="ts">
import { ref } from "vue";
const user = ref({
  name:'张三',
  age:18,
  sex:'男',
  fav:['游泳','打球']
})

function saveUser() {
  console.log(user.value)
}
</script>

<template>
  <div class="outer">
    <div>
      <label for="">请输入姓名</label>
      <input type="text" v-model="user.name"/>
    </div>
    <div>
      <label for="">请输入年龄</label>
      <input type="text" v-model="user.age"/>
    </div>
    <div>
      <label for="">请选择性别</label>
      男 <input type="radio" value="男" v-model="user.sex"/>
      女 <input type="radio" value="女" v-model="user.sex"/>
    </div>
    <div>
      <label for="">请选择爱好</label>
      游泳 <input type="checkbox" value="游泳" v-model="user.fav"/>
      打球 <input type="checkbox" value="打球" v-model="user.fav"/>
      健身 <input type="checkbox" value="健身" v-model="user.fav"/>
    </div>
    <div>
      <input type="button" value="保存" @click="saveUser">
    </div>
  </div>
</template>

<style scoped>
  div {
    margin-bottom: 8px;
  }
  .outer {
    width: 100%;
    position: relative;
    padding-left: 80px;
  }
  label {
    text-align: left;
    width: 100px;
    display: inline-block;
    position: absolute;
    left :0;
  }
</style>
计算属性
有时在数据展示时要做简单的计算
<script setup lang="ts">
import { ref } from 'vue'
const firstName = ref('三')
const lastName = ref('张')

</script>

<template>
  <h2>{

   {lastName + firstName}}</h2>
  <h3>{

   {lastName + firstName}}</h3>
  <h4>{

   {lastName + firstName}}</h4>
</template>
看起来较为繁琐,可以用计算属性改进
<script setup lang="ts">
import { ref, computed } from 'vue'
const firstName = ref('三')
const lastName = ref('张')
const fullName = computed(() => {
  console.log('enter')
  return lastName.value + firstName.value
})
</script>

<template>
  <h2>{

   {fullName}}</h2>
  <h3>{

   {fullName}}</h3>
  <h4>{

   {fullName}}</h4>
</template>-
fullName 即为计算属性,它具备缓存功能,即 firstName 和 lastName 的值发生了变化,才会重新计算
-
如果用函数实现相同功能,则没有缓存功能。
<script setup lang="ts">
import { ref } from 'vue'
const firstName = ref('三')
const lastName = ref('张')
function fullName() {
  console.log('enter')
  return lastName.value + firstName.value
}
</script>

<template>
  <h2>{

   {fullName()}}</h2>
  <h3>{

   {fullName()}}</h3>
  <h4>{

   {fullName()}}</h4>
</template>
xhr
浏览器中有两套 API 可以和后端交互,发送请求、接收响应,fetch api 前面我们已经介绍过了,另一套 api 是 xhr,基本用法如下。
const xhr = new XMLHttpRequest()
xhr.onload = function() {
    console.log(xhr.response)
}
xhr.open('GET', 'http://localhost:8080/api/students')
xhr.responseType = "json"
xhr.send()
xhr.onload函数会在xhr接收到响应后才执行方法。
但这套 api 虽然功能强大,但比较老,不直接支持 Promise,因此有必要对其进行改造。
function get(url: string) {
  return new Promise((resolve, reject)=>{
    const xhr = new XMLHttpRequest()
    xhr.onload = function() {
      if(xhr.status === 200){
        resolve(xhr.response)
      } else if(xhr.status === 404) {
        reject(xhr.response)
      } // 其它情况也需考虑,这里简化处理
    }
    xhr.open('GET', url)
    xhr.responseType = 'json'
    xhr.send()
  })
}-
Promise 对象适合用来封装异步操作,并可以配合 await 一齐使用
-
Promise 在构造时,需要一个箭头函数,箭头函数有两个参数 resolve 和 reject
-
resolve 是异步操作成功时被调用,把成功的结果传递给它,最后会作为 await 的结果返回
-
reject 在异步操作失败时被调用,把失败的结果传递给它,最后在 catch 块被捉住
-
-
await 会一直等到 Promise 内调用了 resolve 或 reject 才会继续向下运行
走代理和不走代理速度比较
调用示例1:同步接收结果,不走代理
try {
  const resp = await get("http://localhost:8080/api/students")
  console.log(resp)
} catch (e) {
  console.error(e)
}
调用示例2:走代理
try {
  const resp = await get('/api/students')
  console.log(resp)
} catch(e) {
  console.log(e)
}
会发现,走代理明显速度慢不少。
axios
axios 就是对 xhr api 的封装,手法与前面例子类似。
安装
npm install axios一个简单的例子
<script setup lang="ts">
import { ref, onMounted } from "vue";
import axios from "axios";

let count = ref(0);

async function getStudents() {
  try {
    const resp = await axios.get("/api/students");
    count.value = resp.data.data.length;
  } catch (e) {
    console.log(e);
  }
}

onMounted(() => {
  getStudents()
})
</script>

<template>
  <h2>学生人数为:{

   { count }}</h2>
</template>-
onMounted 指 vue 组件生成的 html 代码片段,挂载完毕后被执行
再来看一个 post 例子
<script setup lang="ts">
import { ref } from "vue";
import axios from "axios";

const student = ref({
  name: '',
  sex: '男',
  age: 18
})

async function addStudent() {
  console.log(student.value)
  const resp = await axios.post('/api/students', student.value)
  console.log(resp.data.data)
}
</script>

<template>
  <div>
    <div>
      <input type="text" placeholder="请输入姓名" v-model="student.name"/>
    </div>
    <div>
      <label for="">请选择性别</label>
      男 <input type="radio" value="男" v-model="student.sex"/>
      女 <input type="radio" value="女" v-model="student.sex"/>
    </div>
    <div>
      <input type="number" placeholder="请输入年龄" v-model="student.age"/>
    </div>
    <div>
      <input type="button" value="添加" @click="addStudent"/>
    </div>
  </div>
</template>
<style scoped>
div {
  font-size: 14px;
}
</style>
环境变量
-
开发环境下,联调的后端服务器地址是
http://localhost:8080, -
上线改为生产环境后,后端服务器地址为
http://itheima.com
这就要求我们区分开发环境和生产环境,这件事交给构建工具 vite 来做
默认情况下,vite 支持上面两种环境,需要我们分别在对应根目录下创建两个配置文件
-
.env.development - 开发环境
-
.env.production - 生产环境
针对以上需求,分别在两个文件中加入
VITE_BACKEND_API_BASE_URL = 'http://localhost:8080'和
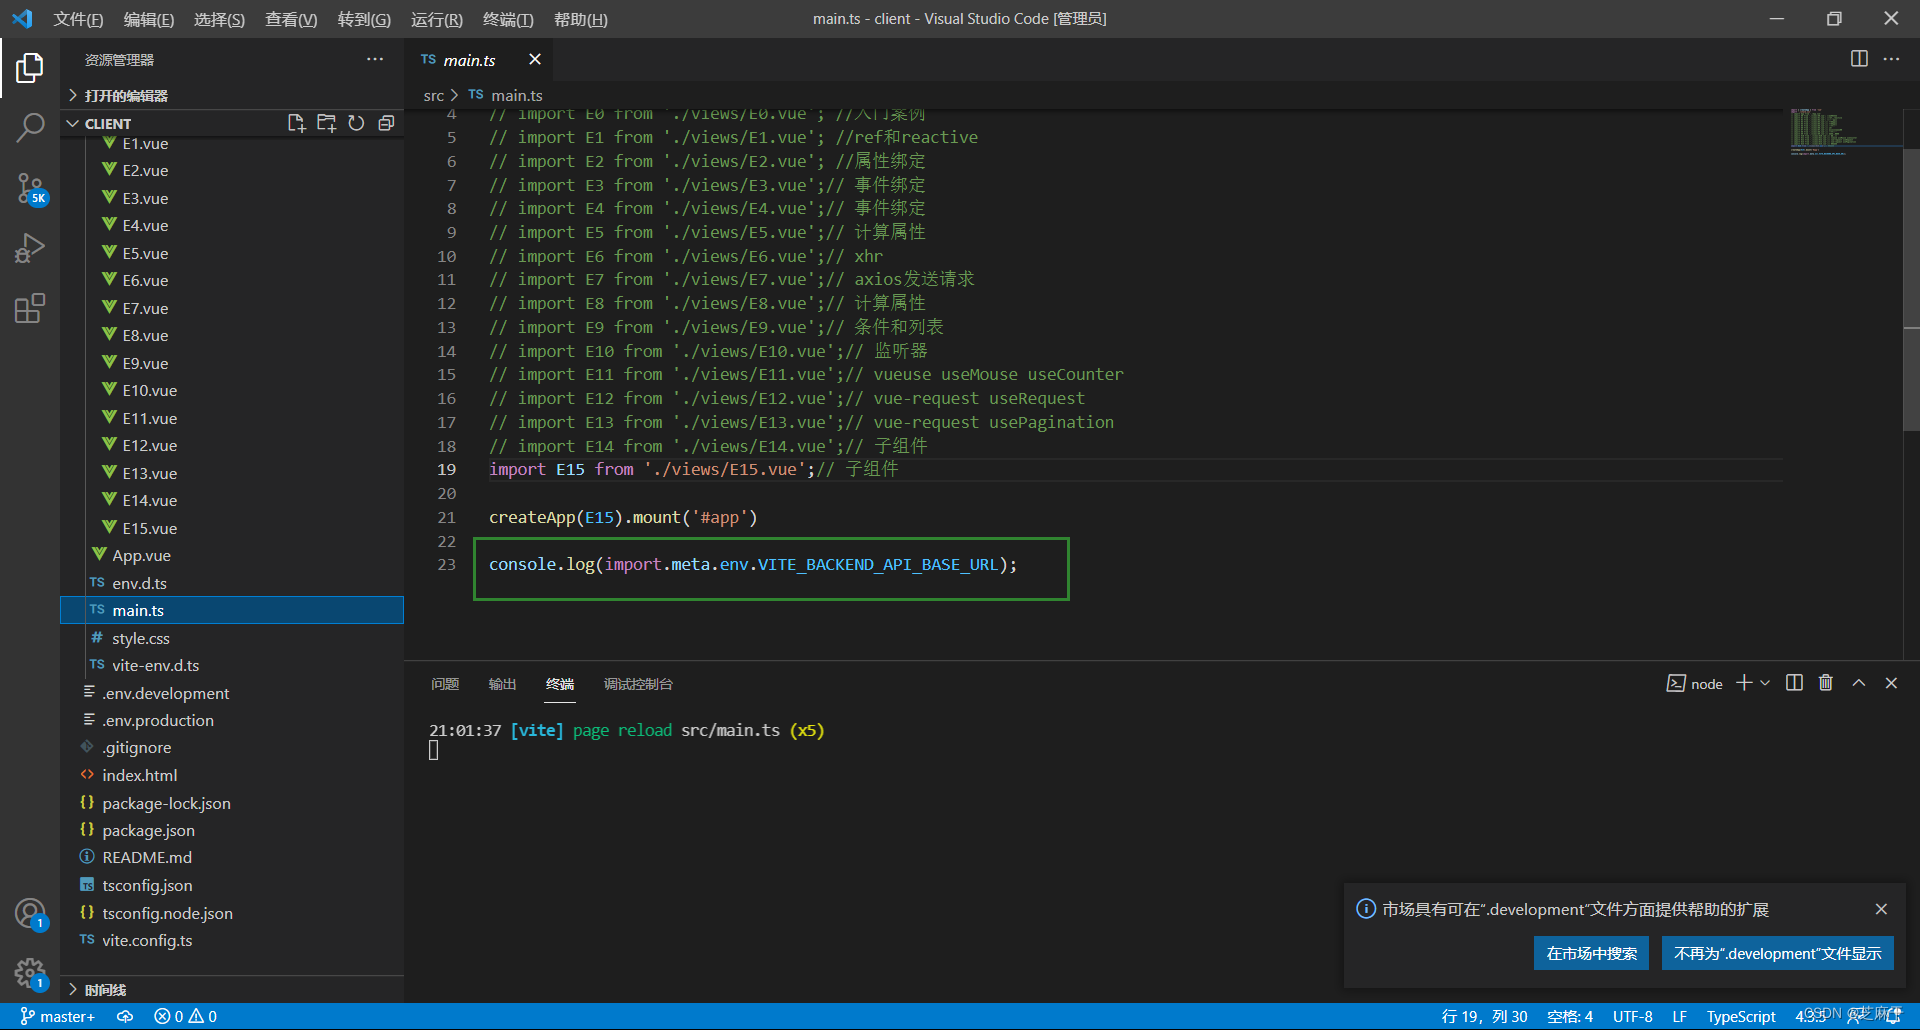
VITE_BACKEND_API_BASE_URL = 'http://itheima.com' 然后在代码中使用 vite 给我们提供的特殊对象 import.meta.env,就可以获取到 VITE_BACKEND_API_BASE_URL 在不同环境下的值
import.meta.env.VITE_BACKEND_API_BASE_URL默认情况下,不能智能提示自定义的环境变量,做如下配置:新增文件 src/env.d.ts 并添加如下内容
/// <reference types="vite/client" />

interface ImportMetaEnv {
  readonly VITE_BACKEND_API_BASE_URL: string
  // 更多环境变量...
}

interface ImportMeta {
  readonly env: ImportMetaEnv
}
baseURL
可以自己创建一个 axios 对象,方便添加默认设置,新建文件 /src/api/request.ts
// 创建新的 axios 对象
import axios from 'axios'
const _axios = axios.create({
  baseURL: import.meta.env.VITE_BACKEND_API_BASE_URL
})

export default _axios
然后在其它组件中引用这个 ts 文件,例如 /src/views/E8.vue,就不用自己拼接路径前缀了
<script setup lang="ts">
import axios from '../api/request'
// ...
await axios.post('/api/students', ...)
</script>
拦截器
// 创建新的 axios 对象
import axios from 'axios'
const _axios = axios.create({
  baseURL: import.meta.env.VITE_BACKEND_API_BASE_URL
})

// 请求拦截器
_axios.interceptors.request.use(
  (config)=>{ // 统一添加请求头
    config.headers = {
      Authorization: 'aaa.bbb.ccc'
    }
    return config
  },
  (error)=>{ // 请求出错时的处理
    return Promise.reject(error)
  }
)

// 响应拦截器
_axios.interceptors.response.use(
  (response)=>{ // 状态码  2xx
    // 这里的code是自定义的错误码
    if(response.data.code === 200) {
      return response
    }
    else if(response.data.code === 401) {
      // 情况1
      return Promise.resolve({})
    }
    // ...
  },
  (error)=>{ // 状态码 > 2xx, 400,401,403,404,500
    console.error(error) // 处理了异常
    if(error.response.status === 400) {
      // 情况1
    } else if(error.response.status === 401) {
      // 情况2
    }
    // ...
    return Promise.resolve({})
  }
)

export default _axios
处理响应时,又分成两种情况
-
后端返回的是标准响应状态码,这时会走响应拦截器第二个箭头函数,用 error.response.status 做分支判断
-
后端返回的响应状态码总是200,用自定义错误码表示出错,这时会走响应拦截器第一个箭头函数,用 response.data.code 做分支判断
另外
-
Promise.reject(error) 类似于将异常继续向上抛出,异常由调用者(Vue组件)来配合 try ... catch 来处理
-
Promise.resolve({}) 表示错误已解决,返回一个空对象,调用者中接到这个空对象时,需要配合 ?. 来避免访问不存在的属性。
条件和列表
首先,新增模型数据 src/model/Model8080.ts
export interface Student {
  id: number;
  name: string;
  sex: string;
  age: number;
}

// 如果 spring 错误,返回的对象格式
export interface SpringError {
  timestamp: string,
  status: number,
  error: string,
  message: string,
  path: string
}

// 如果 spring 成功,返回 list 情况
export interface SpringList<T> {
  data: T[],
  message?: string,
  code: number
}

// 如果 spring 成功,返回 page 情况
export interface SpringPage<T> {
  data: { list: T[], total: number },
  message?: string,
  code: number
}

// 如果 spring 成功,返回 string 情况
export interface SpringString {
  data: string,
  message?: string,
  code: number
}

import { AxiosResponse } from 'axios'
export interface AxiosRespError extends AxiosResponse<SpringError> { }
export interface AxiosRespList<T> extends AxiosResponse<SpringList<T>> { }
export interface AxiosRespPage<T> extends AxiosResponse<SpringPage<T>> { }
export interface AxiosRespString extends AxiosResponse<SpringString> { }
其中
-
AxiosRespPage 代表分页时的响应类型
-
AxiosRespList 代表返回集合时的响应类型
-
AxiosRespString 代表返回字符串时的响应类型
-
AxiosRespError 代表 Spring 出错时时的响应类
<script lang="ts" setup>
import { ref, onMounted } from "vue";
import axios from "../api/request";
import { Student, SpringList } from "../model/Model8080";

// 说明 students 数组类型为 Student[]
const students = ref<Student[]>([]);

async function getStudents() {
  // 说明 resp.data 类型是 SpringList<Student>
  const resp = await axios.get<SpringList<Student>>("/api/students");
  console.log(resp.data.data);
  students.value = resp.data.data;
}

onMounted(() => getStudents());
</script>
<template>
  <div class="outer">
    <div class="title">学生列表</div>
    <div class="thead">
      <div class="row bold">
        <div class="col">编号</div>
        <div class="col">姓名</div>
        <div class="col">性别</div>
        <div class="col">年龄</div>
      </div>
    </div>
    <div class="tbody">
      <div v-if="students.length === 0">暂无数据</div>
      <template v-else>
        <div class="row" v-for="s of students" :key="s.id">
          <div class="col">{

   { s.id }}</div>
          <div class="col">{

   { s.name }}</div>
          <div class="col">{

   { s.sex }}</div>
          <div class="col">{

   { s.age }}</div>
        </div>
      </template>
    </div>
  </div>
</template>
<style scoped>
.outer {
  font-family: 华文行楷;
  font-size: 20px;
  width: 500px;
}

.title {
  margin-bottom: 10px;
  font-size: 30px;
  color: #333;
  text-align: center;
}

.row {
  background-color: #fff;
  display: flex;
  justify-content: center;
}

.col {
  border: 1px solid #f0f0f0;
  width: 15%;
  height: 35px;
  text-align: center;
  line-height: 35px;
}

.bold .col {
  background-color: #f1f1f1;
}
</style>-
加入泛型是为了更好的提示
-
v-if 与 v-else 不能和 v-for 处于同一标签
-
template 标签还有一个用途,就是用它少生成一层真正 html 代码
-
可以看到将结果封装为响应式数据还是比较繁琐的,后面会使用 useRequest 改进
监听器
利用监听器,可以在【响应式】的基础上添加一些副作用,把更多的东西变成【响应式的】
-
原本只是数据变化 => 页面更新
-
watch 可以在数据变化时 => 其它更新
下述代码就可以通过watch监听事件和sessionStorage 来实现响应式数据。
watch监听当数据发生变化是,存入sessionStorage,然后在通过sessionStorage获取新值
<template>
  <input type="text" v-model="name" />
</template>

<script setup lang="ts">
import { ref, watch } from "vue";
function useStorage(name: string) {
  const data = ref(sessionStorage.getItem(name) ?? "");
  watch(data, (newValue) => {
    sessionStorage.setItem(name, newValue);
  });
  return data;
}
const name = useStorage("name");
</script>-
名称为 useXXXX 的函数,作用是返回带扩展功能的【响应式】数据
-
localStorage 即使浏览器关闭,数据还在
-
sessionStorage 数据工作在浏览器活动期间
vueuse
安装
npm install @vueuse/core一些函数的用法
useMouse:鼠标移动、useCount:数字运算、useStorage: 存取数据
<template>
  <h3>X: {

   {x}}</h3>
  <h3>Y: {

   {y}}</h3>

  <h3>{

   {count}}</h3>
  <input type="button" @click="inc()" value="+">
  <input type="button" @click="dec()" value="-">

  <input type="text" v-model="name">
</template>
<script setup lang="ts">
import { useMouse, useCounter, useStorage } from '@vueuse/core'

const {x, y} = useMouse()

const {count, inc, dec} = useCounter()

const name = useStorage("name", "")
</script>
useRequest
响应式的 axios 封装,官网地址 一个 Vue 请求库 | VueRequest (attojs.org)
首先安装 vue-request
npm install vue-request@next组件
<template>
  <h3 v-if="students.length === 0">暂无数据</h3>
  <ul v-else>
    <li v-for="s of students" :key="s.id">
      <span>{

   {s.name}}</span>
      <span>{

   {s.sex}}</span>
      <span>{

   {s.age}}</span>
    </li>
  </ul>
</template>
<script setup lang="ts">
import axios from "../api/request"
import { useRequest } from 'vue-request'
import { computed } from 'vue'
import { AxiosRespList, Student } from '../model/Model8080'

// data 代表就是 axios 的响应对象
const { data } = useRequest<AxiosRespList<Student>>(() => axios.get('/api/students'))

const students = computed(()=>{
  return data?.value?.data.data || []
})
</script>
<style scoped>
ul li {
  list-style: none;
  font-family: "华文行楷";
}

li span:nth-child(1) {
  font-size: 24px;
}
li span:nth-child(2) {
  font-size: 12px;
  color: crimson;
  vertical-align: bottom;
}
li span:nth-child(3) {
  font-size: 12px;
  color: darkblue;
  vertical-align: top;
}
</style>-
data.value 的取值一开始是 undefined,随着响应返回变成 axios 的响应对象
-
用 computed 进行适配
usePagination(分页)
在 src/model/Model8080.ts 中补充类型说明
export interface StudentQueryDto {
  name?: string,
  sex?: string,
  age?: string, // 18,20
  page: number,
  size: number
}-
js 中类似于 18,20 这样以逗号分隔字符串,会在 get 传参时转换为 java 中的整数数组
编写组件
<template>
  <input type="text" placeholder="请输入姓名" v-model="dto.name">
  <select v-model="dto.sex">
    <option value="" selected>请选择性别</option>
    <option value="男">男</option>
    <option value="女">女</option>
  </select>
  <input type="text" placeholder="请输入年龄范围" v-model="dto.age">
  <br>
  <input type="text" placeholder="请输入页码" v-model="dto.page">
  <input type="text" placeholder="请输入页大小" v-model="dto.size">
  <input type="button" value="搜索" @click="search">
  <hr>
  <h3 v-if="students.length === 0">暂无数据</h3>
  <ul v-else>
    <li v-for="s of students" :key="s.id">
      <span>{

   {s.name}}</span>
      <span>{

   {s.sex}}</span>
      <span>{

   {s.age}}</span>
    </li>
  </ul>
  <hr>
  总记录数{

   {total}} 总页数{

   {totalPage}}
</template>
<script setup lang="ts">
import axios from "../api/request"
import { usePagination } from 'vue-request'
import { computed, ref } from 'vue'
import { AxiosRespPage, Student, StudentQueryDto } from '../model/Model8080'

const dto = ref<StudentQueryDto>({name:'', sex:'', age:'', page:1, size:5})

// data 代表就是 axios 的响应对象
// 泛型参数1: 响应类型
// 泛型参数2: 请求类型
const { data, total, totalPage, run } = usePagination<AxiosRespPage<Student>, StudentQueryDto[]>(
  (d) => axios.get('/api/students/q', {params: d}), // 箭头函数
  {
    defaultParams: [ dto.value ], // 默认参数, 会作为参数传递给上面的箭头函数
    pagination: {
      currentKey: 'page', // 指明当前页属性
      pageSizeKey: 'size', // 指明页大小属性
      totalKey: 'data.data.total' // 指明总记录数属性
    }
  } // 选项
)

const students = computed(()=>{
  return data?.value?.data.data.list || []
})

function search() {
  run(dto.value) // 会作为参数传递给usePagination的箭头函数
}
</script>
<style scoped>
ul li {
  list-style: none;
  font-family: "华文行楷";
}

li span:nth-child(1) {
  font-size: 24px;
}
li span:nth-child(2) {
  font-size: 12px;
  color: crimson;
  vertical-align: bottom;
}
li span:nth-child(3) {
  font-size: 12px;
  color: darkblue;
  vertical-align: top;
}
input,select {
  width: 100px;
}
</style>
usePagination 只需要定义一次,后续还想用它内部的 axios 发请求,只需调用 run 函数子组件
例1
定义子组件 Child1
<template>
  <div class="container">
    <div class="card">
      <div>
        <p class="name">{

   {name}}</p>
        <p class="location">{

   {country}}</p>
      </div>
      <img :src="avatar || '/src/assets/vue.svg'"/>
    </div>
  </div>
</template>
<script setup lang="ts">
// 定义属性,  编译宏
defineProps<{name:string,country:string,avatar?:string}>()
</script>
<style scoped>
.container {
  width: 100%;
  display: flex;
  flex-wrap: wrap;
  justify-content: space-evenly;
  flex-direction: row-reverse;
}
.name {
  font-weight: bold;
}
.location {
  font-size: 0.8em;
  color: #6d597a;
}
.card {
  display: flex;
  justify-content: space-evenly;
  padding: 1em;
  margin: 1rem;
  border-radius: 5px;
  background: #fff;
  width: 200px;
  box-shadow: 0 14px 28px rgba(0, 0, 0, 0.25), 0 10px 10px rgba(0, 0, 0, 0.22);
}

.card:hover {
  transform: rotate(-5deg);
}

.card img {
  margin-left: 1em;
  border-radius: 50%;
  max-width: 55px;
  max-height: 55px;
}
</style>
父组件引用
<template>
  <Child1 name="张三" country="中国" avatar="/src/assets/vue.svg"></Child1>
  <Child1 name="李四" country="印度" avatar="/vite.svg"></Child1>
  <Child1 name="王五" country="韩国" ></Child1>
</template>
<script lang="ts" setup>
import Child1 from '../components/Child1.vue';
</script>
例2
首先添加类型说明 model/ModelRandomUser.ts
import { AxiosResponse } from "axios";
export interface AxiosRespResults extends AxiosResponse<Results>{}

export interface Results {
  info: {
    page: number,
    results: number
  },
  results: Result[]
}

export interface Result {
  gender: 'male' | 'female',
  name: {
    first: string,
    last: string
  },
  location: {
    country: string
  },
  picture: {
    medium: string
  },
  login: {
    username: string
  }
}
子组件不变,父组件使用子组件
<!-- 父组件 -->
<template>
  <Child1 v-for="u of users"
    :name="u.name.first"
    :country="u.location.country"
    :avatar="u.picture.medium"
    :key="u.login.username"></Child1>
</template>
<script setup lang="ts">
import axios from "axios";
import { useRequest } from "vue-request";
import { computed } from "vue";
import { AxiosRespResults } from '../model/ModelRandomUser'
import Child1 from "../components/Child1.vue";

const { data } = useRequest<AxiosRespResults>(
  ()=>axios.get('https://randomuser.me/api/?results=3')
)

const users = computed(()=>{
  return data.value?.data.results || []
})
</script>
如果觉得 Result 数据结构嵌套太复杂,还可以做一个类型映射
<!-- 父组件 -->
<template>
  <Child1 v-for="u of users"
    :name="u.name"
    :country="u.country"
    :avatar="u.avatar"
    :key="u.username"></Child1>
</template>
<script setup lang="ts">
import axios from "axios";
import { useRequest } from "vue-request";
import { computed } from "vue";
import { AxiosRespResults, Result } from '../model/ModelRandomUser'
import Child1 from "../components/Child1.vue";

const { data } = useRequest<AxiosRespResults>(
  ()=>axios.get('https://randomuser.me/api/?results=3')
)

const users = computed(()=>{
  return data.value?.data.results.map(resultToUser) || []
})

interface User {
  name: string,
  country: string,
  avatar: string,
  username: string
}
function resultToUser(r:Result):User {
  return {
    name: r.name.first,
    country: r.location.country,
    avatar: r.picture.medium,
    username: r.login.username
  }
}
</script>-
resultToUser 将 Result 类型映射为 User 类型