一、简介
Seata 是一款开源的分布式事务框架。致力于在微服务架构下提供高性能和简单易用的分布式事务服 务。在 Seata 开源之前,Seata 对应的内部版本在阿里经济体内部一直扮演着分布式一致性中间件的⻆ 色,帮助经济体平稳的度过历年的双11,对各业务单元业务进行了有力的支撑。经过多年沉淀与积累, 商业化产品先后在阿里云、金融云进行售卖。2019.1 为了打造更加完善的技术生态和普惠技术成果, Seata 正式宣布对外开源,未来 Seata 将以社区共建的形式帮助其技术更加可靠与完备。
Seata:https://seata.io/zh-cn/index.html
seata的github地址:https://github.com/seata/seata
Seata产品模块
Seata 中有三大模块,分别是 TM、RM 和 TC。其中 TM 和 RM 是作为 Seata 的客户端与业务系统集成在一起,TC 作为 Seata 的服务端独立部署。
-
TC (Transaction Coordinator) - 事务协调者维护全局和分支事务的状态,驱动全局事务提交或回滚。
-
TM (Transaction Manager) - 事务管理器 定义全局事务的范围:开始全局事务、提交或回滚全局事务。
-
RM (Resource Manager) - 资源管理器 管理分支事务处理的资源,与TC交谈以注册分支事务和报告分支事务的状态,并驱动分支事务提交或回滚。
二、部署
1. Centos部署Seata
1)下载
Seata Server 就是 TC,直接从官方仓库下载启动即可,下载地址:https://github.com/seata/seata/releases
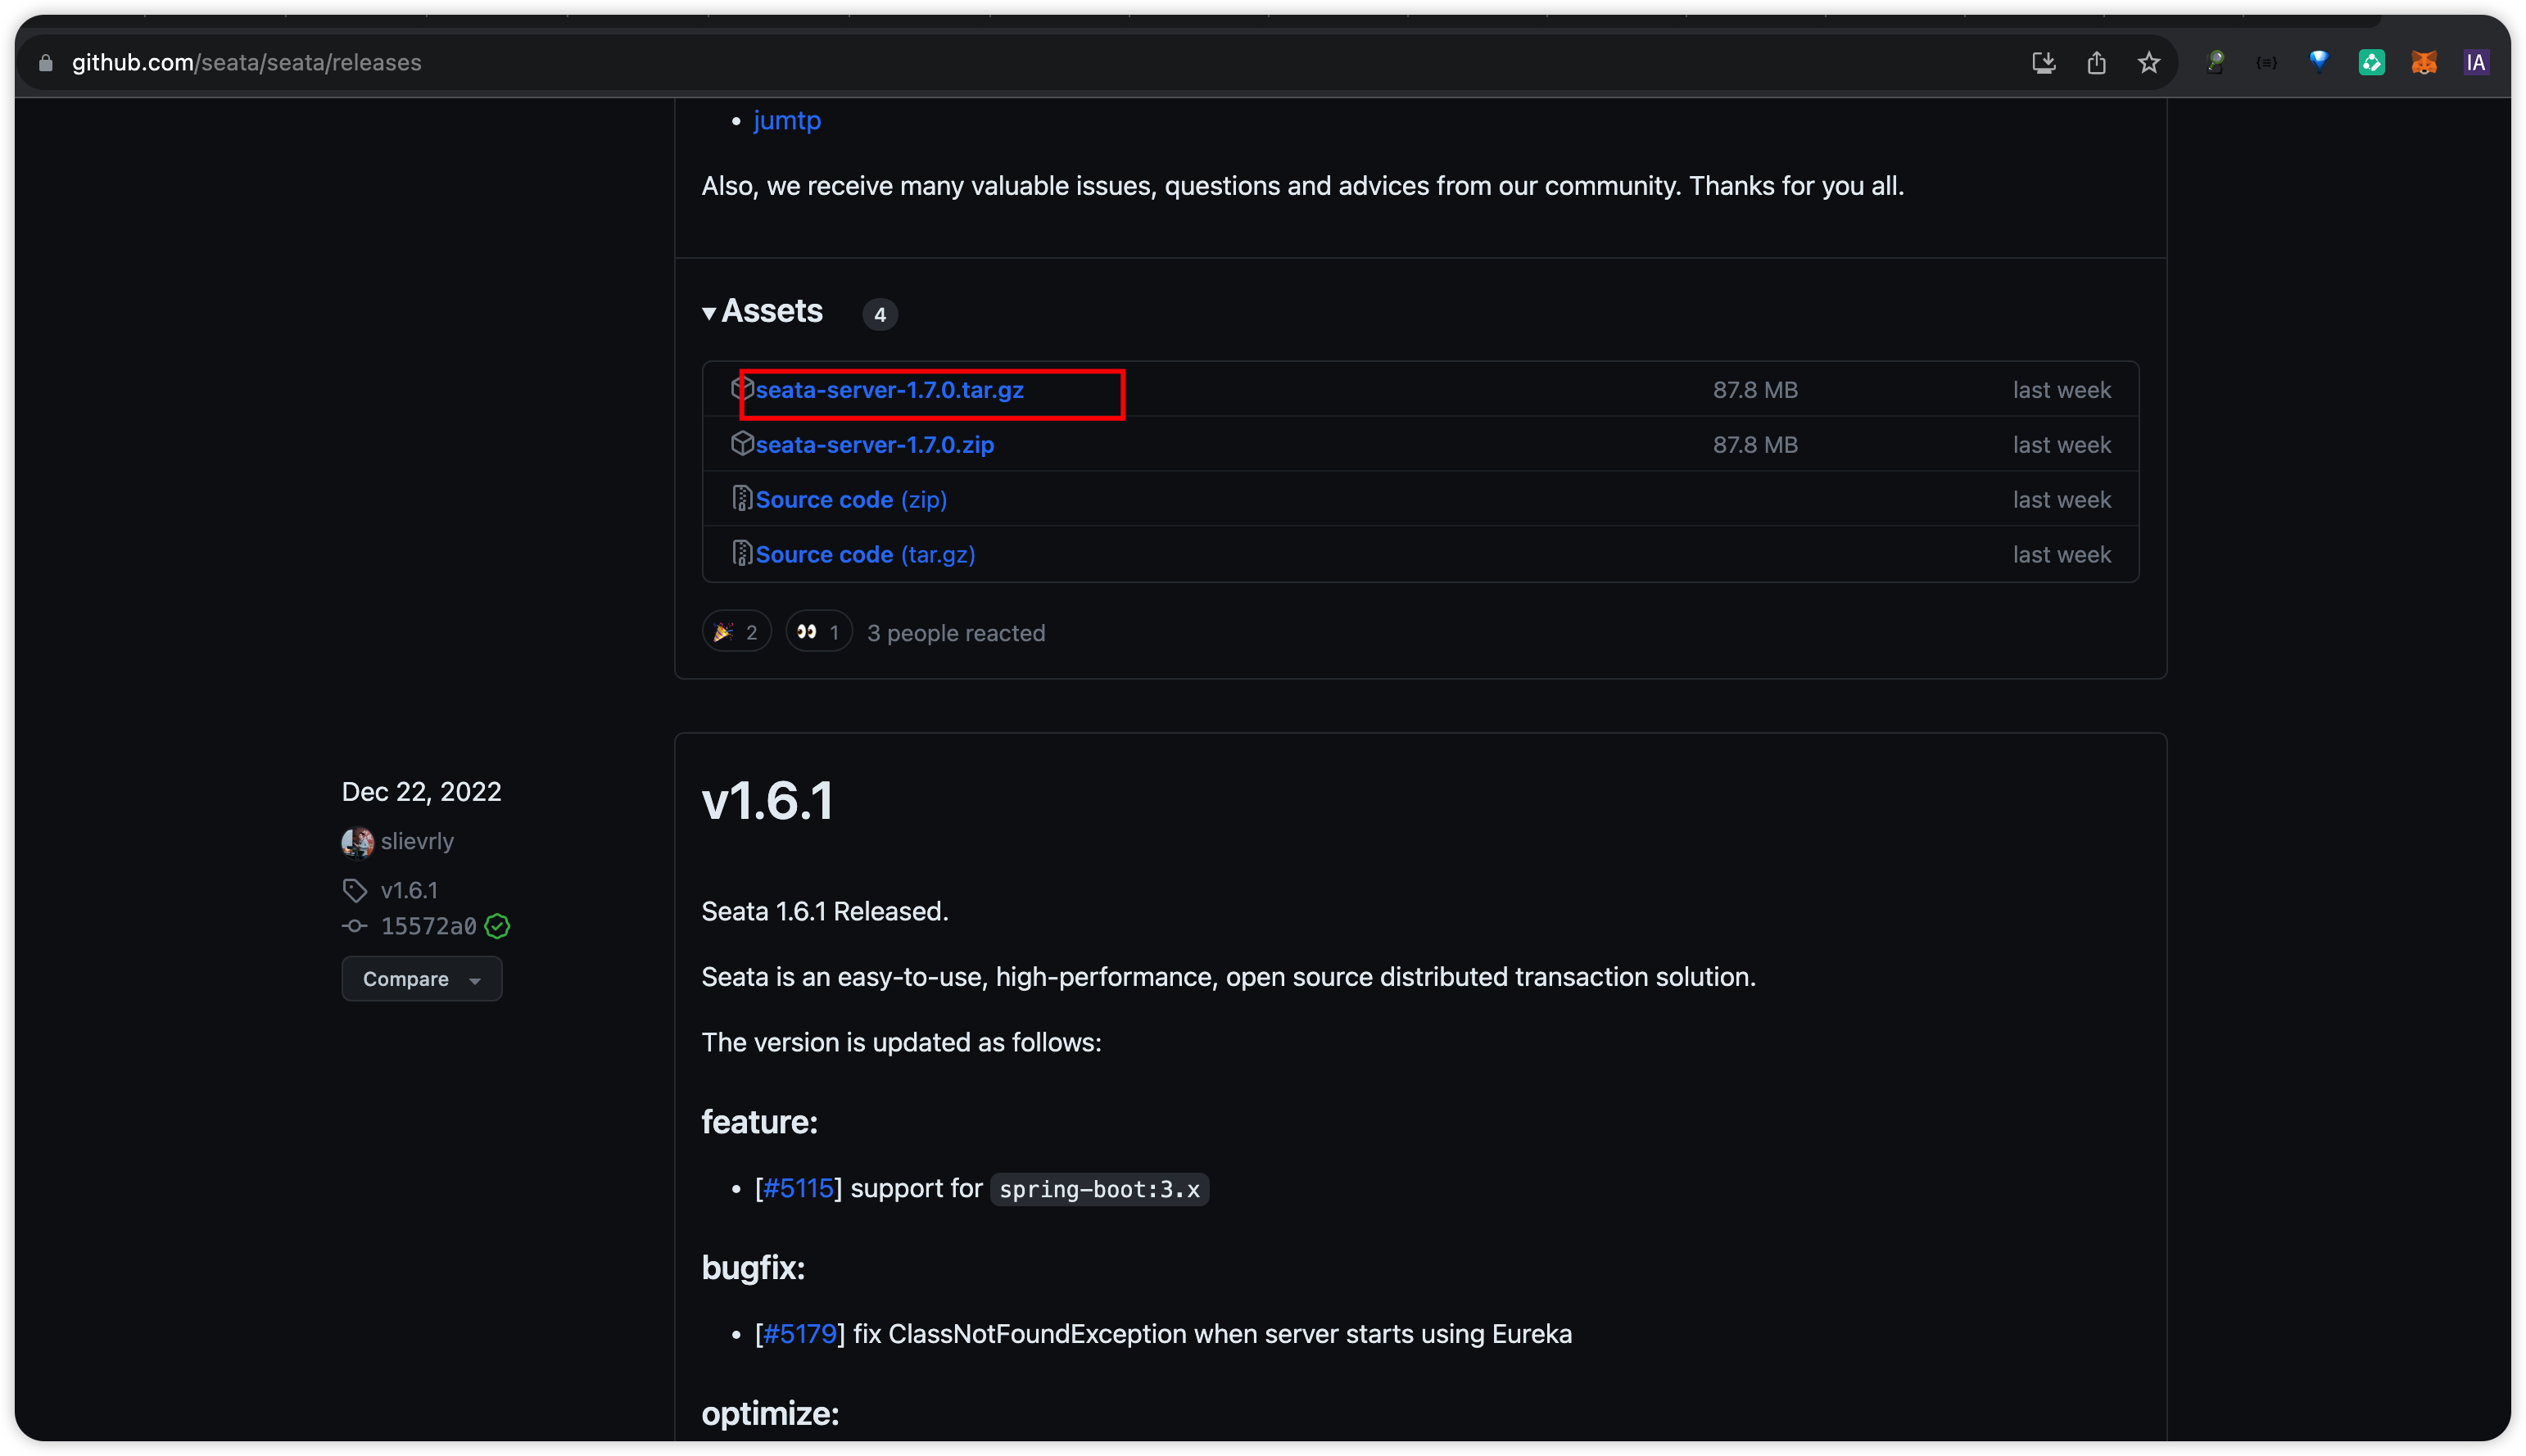
下载后将安装包解压到CENTOS的目录下。
[root@docker_124 seata]# ls
bin  conf  Dockerfile  ext  lib  LICENSE  logs  script  target
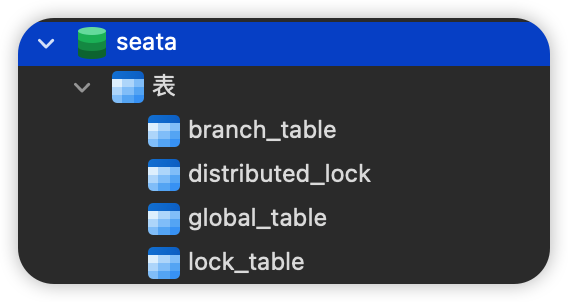
2)准备数据库
此处使用MySQL,表初始化脚本在安装包的/script/server/db目录下,对应脚本是mysql.sql
[root@docker_124 db]# pwd
/data/seata/script/server/db
[root@docker_124 db]# ls
mysql.sql  oracle.sql  postgresql.sql
[root@docker_124 db]#
创建数据库seata并执行脚本 ,步骤略。
3)配置NACOS
创建nacos配置,dataId seataserver.properties,Group SEATA_GROUP

修改配置,填入存储配置,因为我即将配置的存储是Mysql,所以只需要复制数据库配置,配置在 https://github.com/seata/seata/blob/develop/script/config-center/config.txt 文本中复制
#These configurations are required if the `store mode` is `db`. If `store.mode,store.lock.mode,store.session.mode` are not equal to `db`, you can remove the configuration block.
store.db.datasource=druid
store.db.dbType=mysql
store.db.driverClassName=com.mysql.jdbc.Driver
store.db.url=jdbc:mysql://127.0.0.1:3306/seata?useUnicode=true&rewriteBatchedStatements=true
store.db.user=username
store.db.password=password
store.db.minConn=5
store.db.maxConn=30
store.db.globalTable=global_table
store.db.branchTable=branch_table
store.db.distributedLockTable=distributed_lock
store.db.queryLimit=100
store.db.lockTable=lock_table
store.db.maxWait=5000
每一项配置的介绍参考文档链接 https://seata.io/zh-cn/docs/user/configurations.html
4)修改配置文件
修改软件conf目录下的application.yml配置(旧版的配置可能是类似json的配置,我这新版的是yaml),同目录中提供了application.example.yml 样例以供参考
#  Copyright 1999-2019 Seata.io Group.
#
#  Licensed under the Apache License, Version 2.0 (the "License");
#  you may not use this file except in compliance with the License.
#  You may obtain a copy of the License at
#
#  http://www.apache.org/licenses/LICENSE-2.0
#
#  Unless required by applicable law or agreed to in writing, software
#  distributed under the License is distributed on an "AS IS" BASIS,
#  WITHOUT WARRANTIES OR CONDITIONS OF ANY KIND, either express or implied.
#  See the License for the specific language governing permissions and
#  limitations under the License.

# 服务商品
server:
  port: 7091

spring:
  application:
    name: seata-server

logging:
  config: classpath:logback-spring.xml
  file:
    path: ${

    user.home}/logs/seata
  extend:
    logstash-appender:
      destination: 127.0.0.1:4560
    kafka-appender:
      bootstrap-servers: 127.0.0.1:9092
      topic: logback_to_logstash
# 控制台的用户名密码,类似nacos
console:
  user:
    username: seata
    password: seata
seata:
	# 配置中心,使用nacos,并配置nacos的地址等
  config:
    # support: nacos, consul, apollo, zk, etcd3
    type: nacos
    nacos:
      server-addr: http://10.4.7.1:8848
      # namespace: 7392baed-d98b-48a4-8676-34e1b38eade6
      namespace: e2df44d5-bd8e-4135-9314-7315f633077e
      group: SEATA_GROUP
      username: nacos
      password: nacos
      ##if use MSE Nacos with auth, mutex with username/password attribute
      #access-key: ""
      #secret-key: ""
      data-id: seataServer.properties
  # 注册中心,使用nacos,并配置
  registry:
    # support: nacos, eureka, redis, zk, consul, etcd3, sofa
    type: nacos
    nacos:
      server-addr: http://10.4.7.1:8848
      # namespace: 7392baed-d98b-48a4-8676-34e1b38eade6
      namespace: e2df44d5-bd8e-4135-9314-7315f633077e
      group: SEATA_GROUP
      username: nacos
      password: nacos
      ##if use MSE Nacos with auth, mutex with username/password attribute
      #access-key: ""
      #secret-key: ""
      data-id: seataServer.properties
  # 存储,使用db,在nacos中配置了数据库的信息
  store:
    # support: file 、 db 、 redis
    mode: db
#  server:
#    service-port: 8091 #If not configured, the default is '${server.port} + 1000'
  security:
    secretKey: SeataSecretKey0c382ef121d778043159209298fd40bf3850a017
    tokenValidityInMilliseconds: 1800000
    ignore:
      urls: /,/**/*.css,/**/*.js,/**/*.html,/**/*.map,/**/*.svg,/**/*.png,/**/*.jpeg,/**/*.ico,/api/v1/auth/login
5)启动
配置好后就可以执行bin目录下的seata-server.sh脚本进行启动了。启动好以后访问http://ip:7091使用seata/seata即可进行登录

如果 启动有问题,可以查看 seata/logs/start.out进行排查
本次配置和启动的过程中遇到了一些问题:
- mysql 因为dockerhub突然的失灵所以必须重新安装,重新配置远程访问权限,导致一些连不上mysql的问题
- 配置
application.yml时,config配置了nacos以及nacos相关的配置,但是registry虽然type配置了nacos,但是并没有配置nacos的详细配置信息,导致日志中报localhost:8848无法访问的问题。
2. Docker部署Seata
官方文档在这里,也很详细
http://seata.io/zh-cn/docs/ops/deploy-by-docker.html
1)准备数据库与nacos
这部分与centos相同,步骤省略
2)下载镜像及启动
下载镜像,可以在docker hub上搜索镜像,不要用默认的latest,有可能不是release版本,jdk也可能不一样。

我选择的是 1.6.1版本
[root@docker_124 conf]# docker pull seataio/seata-server:1.6.1
1.6.1: Pulling from seataio/seata-server
001c52e26ad5: Pull complete
d9d4b9b6e964: Pull complete
2068746827ec: Pull complete
9daef329d350: Pull complete
d85151f15b66: Pull complete
52a8c426d30b: Pull complete
8754a66e0050: Pull complete
5ed2ec2d6ee2: Pull complete
b71086c56a63: Pull complete
1181f8e565af: Pull complete
6d058363682a: Pull complete
adc1f51855c8: Pull complete
5b571cda842d: Pull complete
Digest: sha256:07796d3dff51cc34f4980d55ecde87c5271a34824fe1eeea9ddb57dbfee6b9e6
Status: Downloaded newer image for seataio/seata-server:1.6.1
docker.io/seataio/seata-server:1.6.1
ps: 我在mac上面下载镜像时还出了一点小插曲,我的vmware中可以正常docker pull镜像,但是在mac中总是retry,不知道为什么,于是我使用docker save -o seata-server-1.6.1.tar seataio/seata-server:1.6.1命令把镜像从虚拟机中导出,然后在mac中使用docker import seata-server-1.6.1.tar seataio/seata-server:1.6.1进行镜像导入。
启动一个临时的seata容器然后将配置文件从容器中拷贝到本机目录中
# 启动临时seata容器
docker run -d --name seata-serve seataio/seata-server:latest
# 导出配置文件
docker cp seata-serve:/seata-server/resources /Users/jiangwujie/files/docker-data/seata/config/resources
修改application.yml,修改nacos和db配置与centos配置相同
使用本地目录映射seata容器的配置目录,启动seata 容器
docker run -d --name seata-server -p 8091:8091 -p 7091:7091 -v /Users/jiangwujie/files/docker-data/seata/config/resources:/seata-server/resources seataio/seata-server:1.6.1
如果未启动成功,则可以通过docker logs containerId 查看日志。
我这由于 nacos 和 mysql都是在docker中启动的,而seata容器中要连接另外两个docker容器中的 nacos和mysql,需要知道nacos和mysql在docker 通信中的ip是多少,有一个简单的方法:在容器内执行 ip route 命令,default via 后面跟着的 IP 就是宿主机的 IP。
docker run --rm busybox ip route
default via 172.17.0.1 dev eth0
172.17.0.0/16 dev eth0 scope link  src 172.17.0.6
这样,在seata中配置的nacos和mysql的地址就分别为 172.17.0.1:8848 和172.17.0.1:3306了。
docker正常启动以后,即可通过 http://localhost:7091访问seata控制台。

参考文档:
-
docker 部署seata
http://seata.io/zh-cn/docs/ops/deploy-by-docker.html
-
导入导出镜像容器
https://blog.csdn.net/u010797364/article/details/120430270
-
Docker下Nacos通过MySQL实现持久化
https://blog.csdn.net/Fyf_010316/article/details/103816599
-
docker 连接宿主机的 MySQL
https://blog.csdn.net/xs18952904/article/details/106518424