首先说明一下,下面的流程只是个人摸索and看文档梳理出来的,并不作为完全正确的流程。
首先,注册 高德开放平台
没有注册的可以点击右上角点击注册;
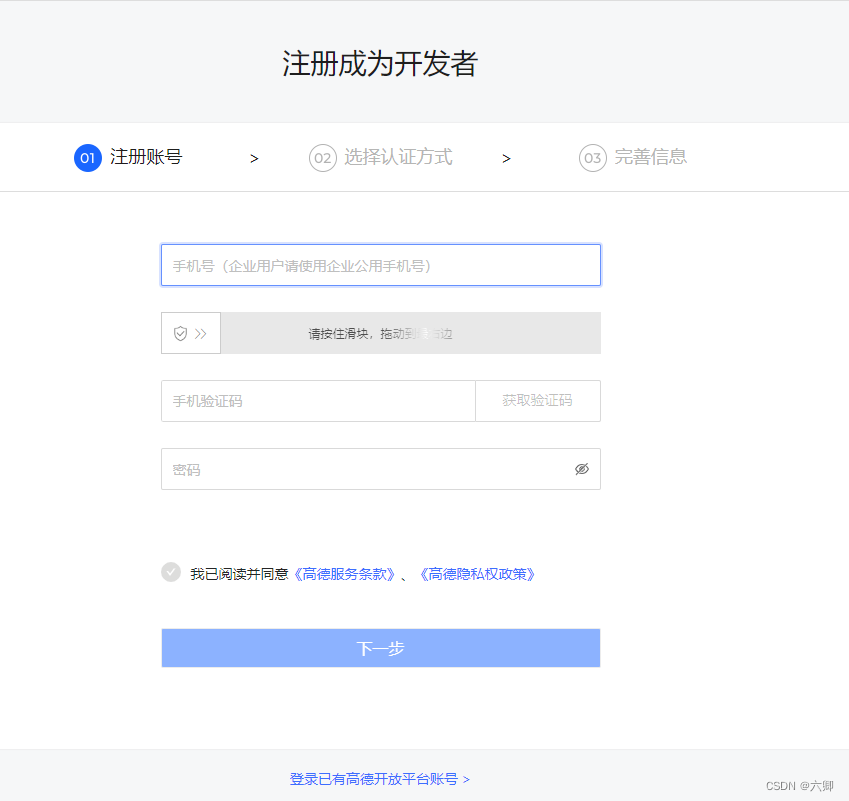
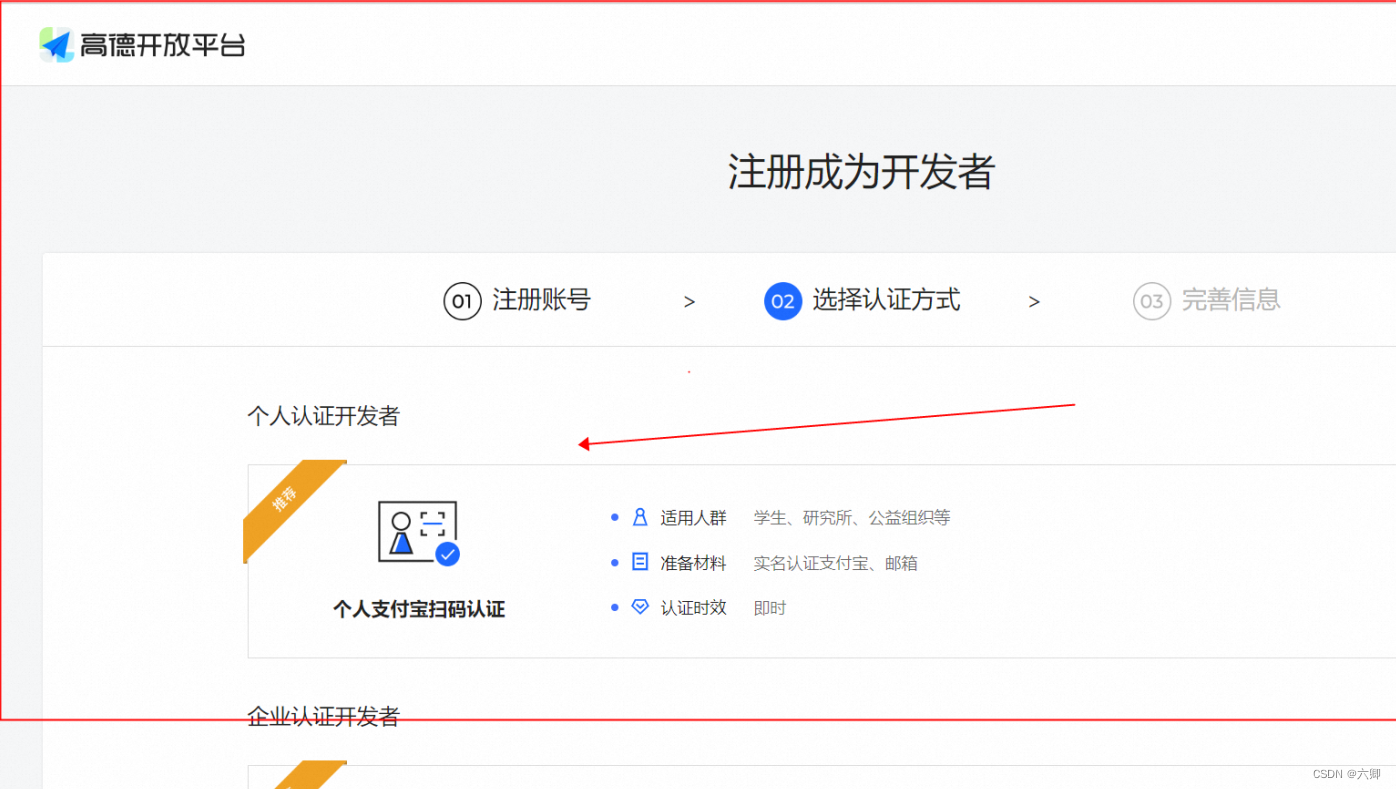
我们点个人的就ok;
信息完善之后我们到控制台,点击 应用管理 --> 我的应用 --> 创建新应用即可;
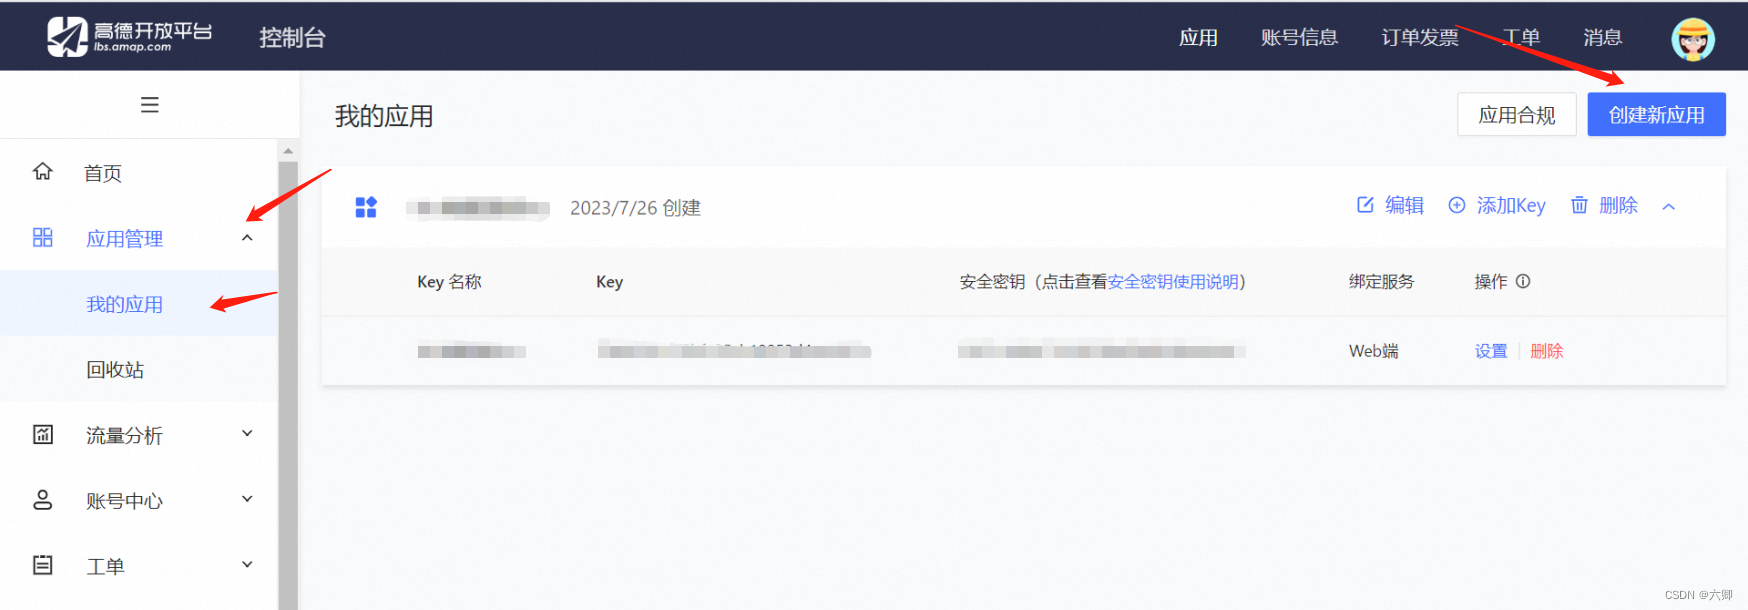
输入Key名称和服务平台(我这里选择的是 web段JS API )就可以看到生成了一个列表,其中Key列就是我们需要用到的。
其次,项目中使用
我们直接使用第三方的包来实现引入;
npm i @amap/amap-jsapi-loader
然后就是我们在项目中的使用啦;
import AMapLoader from '@amap/amap-jsapi-loader';
页面代码:
import React, {

     Component } from 'react';
import AMapLoader from '@amap/amap-jsapi-loader';
import '../index.scss'
class  MapComponent extends Component{


    constructor(){


        super();
        this.map ={

    };
    }
    // 2.dom渲染成功后进行map对象的创建
    componentDidMount(){


        AMapLoader.reset()  //需要把这个reset一下
        AMapLoader.load({


            key:"",   // 申请好的Web端开发者Key,首次调用 load 时必填
            version:"2.0",              // 指定要加载的 JSAPI 的版本,缺省时默认为 1.4.15
            plugins:[''],               // 需要使用的的插件列表,如比例尺'AMap.Scale'等
        }).then((AMap)=>{


            console.log(AMap,'AMap')
            this.map = new AMap.Map("container111",{

     //设置地图容器id
                // viewMode:"3D",         //是否为3D地图模式
                zoom: 10, //初始化地图级别
                center: [121.487899486,31.24916171 ] //初始化地图中心点位置-重庆市
            });
            var marker1 = new AMap.Marker({


                icon: "https://webapi.amap.com/theme/v1.3/markers/n/mark_b.png", //在线图标
                position: [121.487899486,31.24916171],
                title:'aaaaaa',
                zoom:999
            });
            var marker2 = new AMap.Marker({


                icon: "https://webapi.amap.com/theme/v1.3/markers/n/mark_b.png",
                position: [121.287899486,31.34916171],
                title:'aaaaaa',
                zoom:999
            });
            const content = `<div style="width:auto">EU126,租凭<br/>XX.XX MW</div>`
            marker1.setLabel({


                content:content,
                offset:new AMap.Pixel(-20,36)
            })
            marker2.setLabel({


                content:content,
                offset:new AMap.Pixel(-20,36)
            })
            var circle = new AMap.Circle({


                center: new AMap.LngLat("121.487899486", "31.24916171"), // 圆心位置
                radius: 10000,  //半径
                strokeColor: "#F33",  //线颜色
                strokeOpacity: 1,  //线透明度
                strokeWeight: 3,  //线粗细度
                fillColor: "#ee2200",  //填充颜色
                fillOpacity: 0.35 //填充透明度
            });
            this.map.add([marker1,marker2,circle]);
            // this.map.add(marker);
        }).catch(e=>{


            console.log(e);
        })
    }
    render(){


        // 1.初始化创建地图容器,div标签作为地图容器,同时为该div指定id属性;
        return (
              <div id="container111" className="map"  >
              </div>
          );
    }
}
//导出地图组建类
export default MapComponent;
要注意的是:一定要给其设置宽和高,没有高也是显示不出来的。
页面效果为:
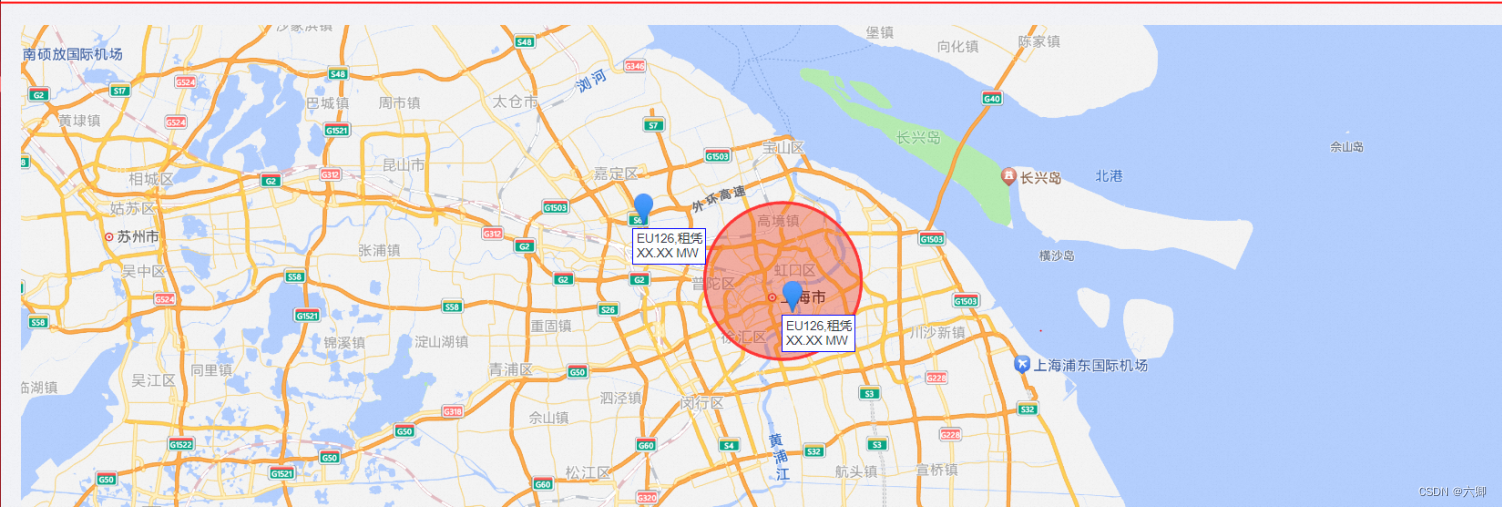
上面的代码实现了两个Marker和一个Circle;
当然这篇只是简单记录一下初次使用,另外献上官方文档连接:
地图 JS API 准备工作
覆盖物的添加和移除
点标记
我们想要实现的基本都能在官方文档上找到对应的效果,主打还是要看人家的官方文档。