1.nacos介绍
Nacos 是 Dynamic Naming and Configuration Service的首字母简称,一个更易于构建云原生应用的动态服务发现、配置管理和服务管理平台。
2.nacos对比Eureka
| 注册中心 | Spring Cloud Nacos | Spring Cloud Eureka |
|---|---|---|
| CAP模型 | 支持AP和CP模型 | AP模型 |
| 客户端更新服务信息 | 使用注册+DNS-f+健康检查模式。 DNS-F客户端使用监听模式push/pull拉取更新信息 | 客户端定时轮询服务端获取其他服务ip信息并对比,相比之下服务端压力较大、延迟较大 |
| 伸缩性 | 使用Raft选举算法性能、可用性、容错性均比较好,新加入节点无需与所有节点互相广播同步信息 | 由于使用广播同步信息,集群超过1000台机器后对eureka集群压力很大 |
| 健康检查模式/方式 | 支持服务端/客户端/关闭检查模式,检查方式有tcp、http、sql。支持自己构建健康检查器 | 客户端向服务端发送http心跳 |
| 负载均衡 | 支持 | 支持 |
| 手动上下线服务方式 | 通过控制台页面和API | 通过调用API |
| 跨中心同步 | 支持 | 不支持 |
| k8s集成 | 支持 | 不支持 |
| 分组 | Nacos可用根据业务和环境进行分组管理 | 不支持 |
| 权重 | Nacos默认提供权重设置功能,调整承载流量压力 | 不支持 |
| 厂商 | 阿里巴巴 | Netflix |
3.nacos 安装
官方安装(下载速度过慢):下载安装指南
docker 安装
#拉取镜像
docker pull nacos/nacos-server
#创建容器
 docker run -d -p 8848:8848 -e MODE=standalone -e PREFER_HOST_MODE=hostname -v /usr/app/nacos/init.d/custom.properties:/home/nacos/init.d/custom.properties -v /usr/app/nacos/logs:/home/nacos/logs --restart always --name nacos nacos/nacos-server
进入后台页面 地址localhost::8848/nacos 默认账号/密码 admin/admin
4.nacos 注册中心
我们将 nacos 作为注册中心,创建A和B 两个服务 ,并注册到nacos中,并用openfeign+ribbon 实现B服务调用A服务接口
4.1 服务A 注册到nacos中
- A服务 pom 依赖(只添加nacos依赖,根据自己需求添加其他依赖)
        <dependency>
            <groupId>com.alibaba.cloud</groupId>
            <artifactId>spring-cloud-starter-alibaba-nacos-discovery</artifactId>
        </dependency>
        <dependency>
            <groupId>org.springframework.boot</groupId>
            <artifactId>spring-boot-starter-actuator</artifactId>
        </dependency>
- A 服务配置文件 bootstrap.yml
注:springboot服务在启动时,优先寻找 bootstrap.yml配置文件,然后寻找application.yml 最后将二者内容合并
server:
  port: 8099
  #服务名称
spring:
  application:
    name: a-server
    #ncaos地址
  cloud:
    nacos:
      discovery:
        server-addr: 127.0.0.1:8848
# 指定开放的端点路径, * 代表全部
management:
  endpoints:
    web:
      exposure:
        include: '*'
3.创建服务启动类,添加@EnableDiscoveryClient
项目启动过程中,发现需要将启动类放到 三级目录下 负责会报错
@EnableDiscoveryClient
@SpringBootApplication
public class AServerApplication {


    public static void main(String[] args) {


        SpringApplication.run(AServerApplication .class, args);
    }
}
4.创建controller类
我们对外暴露一个 服务接口,后面使用B服务,通过nacos 获取接口地址 ,最后调用

@RestController
@RequestMapping("/Aserver")
public class AserverController {


    @GetMapping("/getRandom")
    private String getRandom() {


        Random random = new Random();
        int i = random.nextInt();
        return "本次刷新值为:" + i;
    }
}
 }
}
4.2 创建 B服务并nacos中
1.添加依赖
       <!-- openfeign 依赖-->
        <dependency>
            <groupId>org.springframework.cloud</groupId>
            <artifactId>spring-cloud-starter-openfeign</artifactId>
        </dependency>
        <dependency>
            <groupId>com.alibaba.cloud </groupId>
            <artifactId>spring-cloud-alibaba-nacos-discovery</artifactId>
        </dependency>
        <dependency>
            <groupId>org.springframework.boot</groupId>
            <artifactId>spring-boot-starter-actuator</artifactId>
        </dependency>
2.创建 B服务配置文件 bootstrap.yml配置
server:
  port: 9093
spring:
  application:
    name: b-server
  cloud:
    nacos:
      discovery:
        server-addr: 39.105.151.241:8848
management:
  endpoints:
    web:
      exposure:
        include: '*'
3.创建B服务启动类
@EnableDiscoveryClient
@SpringBootApplication
@EnableFeignClients
public class BServerApplication {


    public static void main(String[] args) {


        SpringApplication.run(BServerApplication .class, args);
    }
}
4.创建openfeign 接口
@FeignClient 注解是openfeign中的注解 name 为A服务配置文件中的spring.application.name 值 。
@Component
@FeignClient(name = "a-server")
@RequestMapping("/provider")
public interface AserverService{


    @GetMapping("/getRandom")
     String providerCase();
}
5.创建B服务的Controller类 ,调用A服务的接口
@RestController
public class AServerController {
@Autowired
private AserverService AserverService;
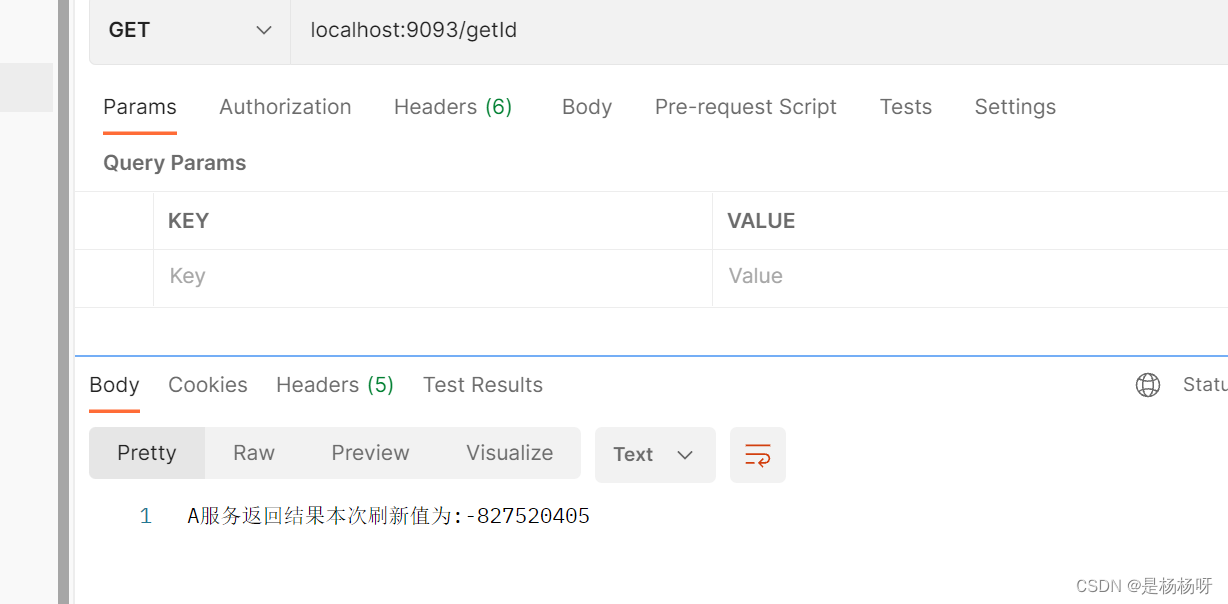
@GetMapping("getId")
public String getId() {
String s = AserverService.getRandom();
return "A服务返回结果"+s;
}
}
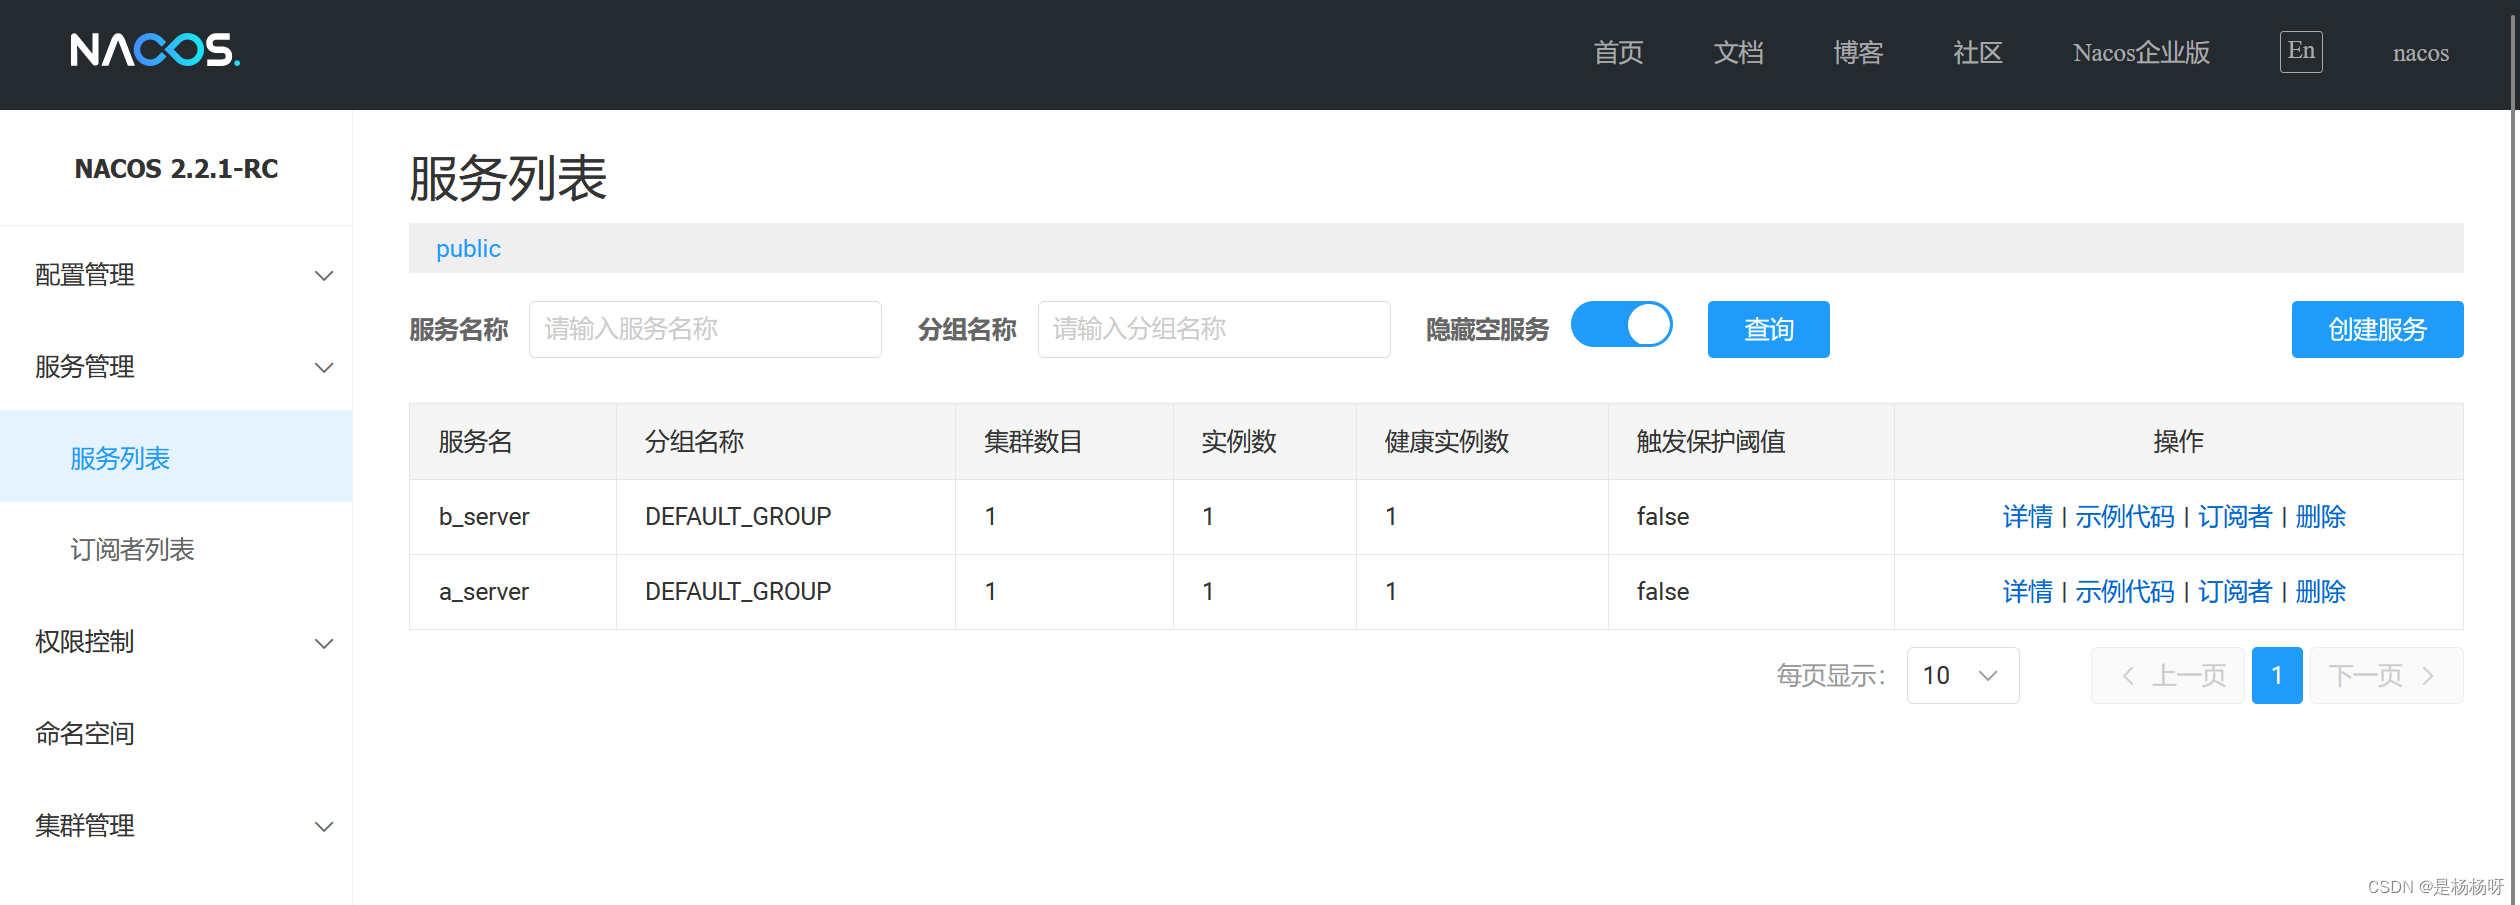
6.我们启动A,B 项目 进入 nacos 页面 查看服务列表
7.调用 http://localhost:9093/getId
5 配置中心
动态配置服务可以让您以中心化、外部化和动态化的方式管理所有环境的应用配置和服务配置。动态配置消除了配置变更时重新部署应用和服务的需要,让配置管理变得更加高效和敏捷
在A服务中引入依赖
        <dependency>
            <groupId>com.alibaba.cloud</groupId>
            <artifactId>spring-cloud-starter-alibaba-nacos-config</artifactId>
        </dependency>
A服务bootsrap.yml 配置文件内容
server:
  port: 8099
spring:
  application:
    name: a-server
    #ncaos地址
  cloud:
    nacos:
      discovery:
        server-addr: 39.105.151.241:8848
      #配置中心的地址
      config:
        server-addr: 39.105.151.241:8848
        file-extension: yml
# 指定开放的端点路径, * 代表全部
management:
  endpoints:
    web:
      exposure:
        include: '*'
#我们需要更新配置内容
config:
  info: a_server_test_01
创建测试 接口
@RefreshScope 注解将自动更新配置文件
@RestController
@RequestMapping("/config")
@RefreshScope
public class ConfigInfoController {
@Value("${config.info}")
private String configInfo;
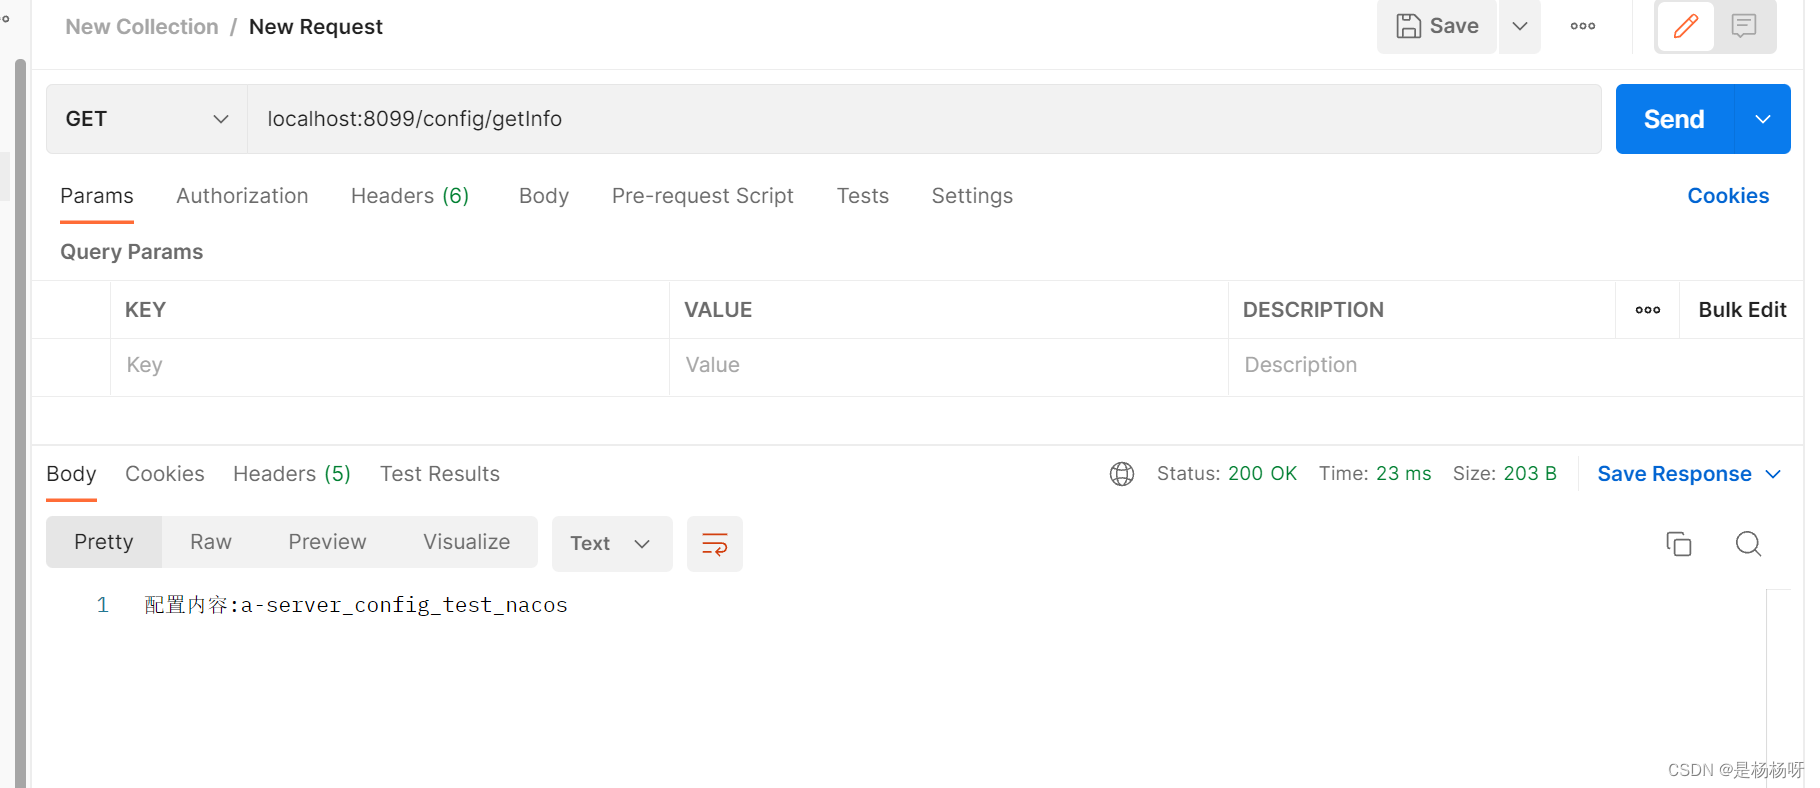
@GetMapping("/getInfo")
public String getConfigInfo(){
return "配置内容:"+configInfo;
}
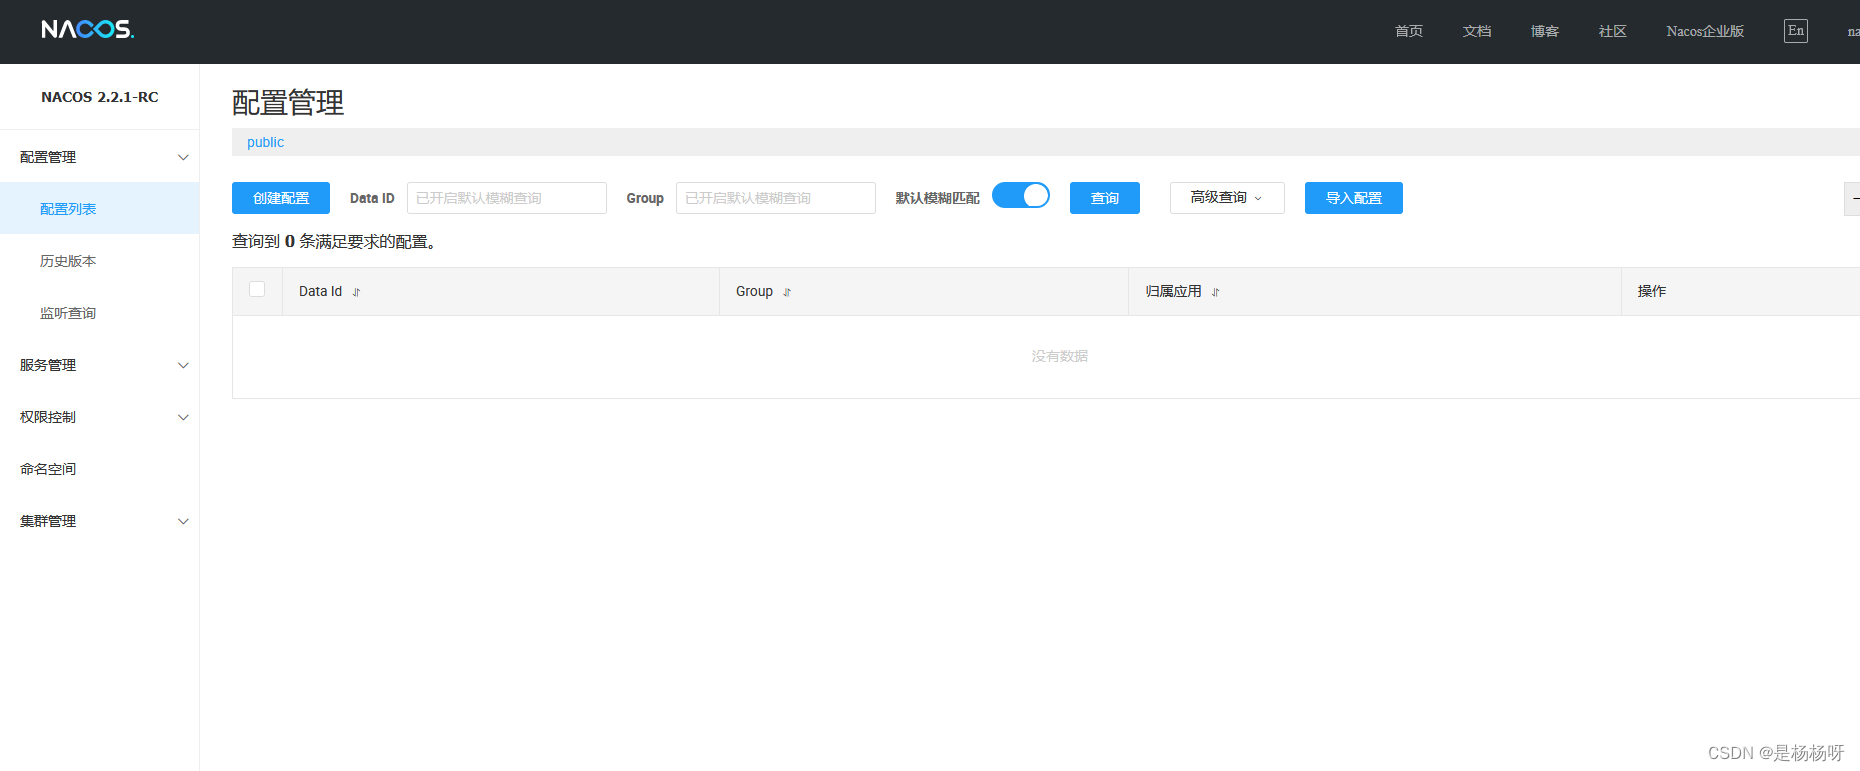
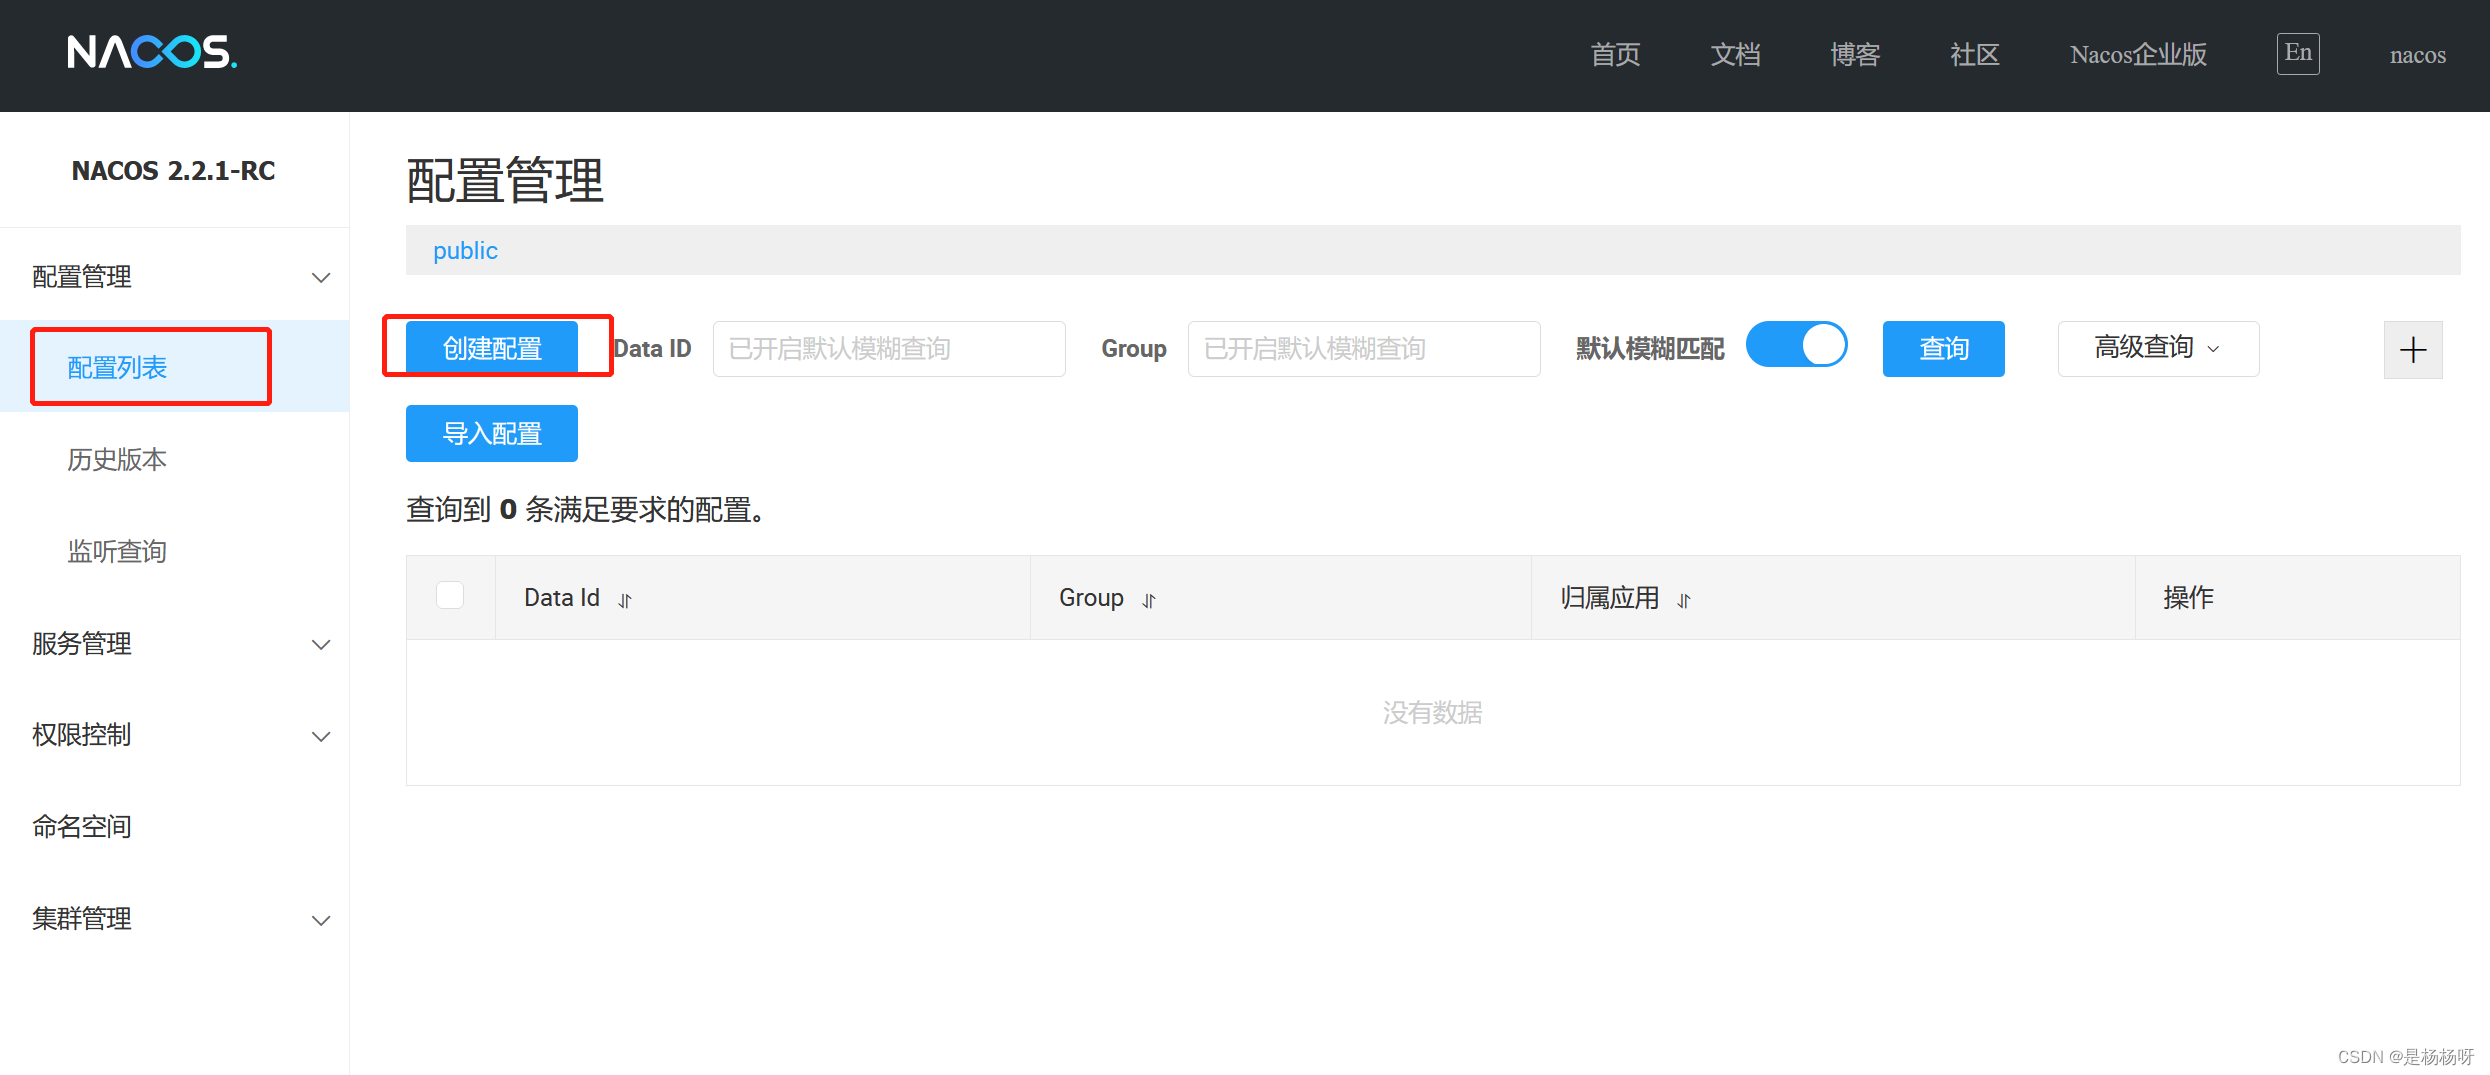
启动A项目,并进入配置列表
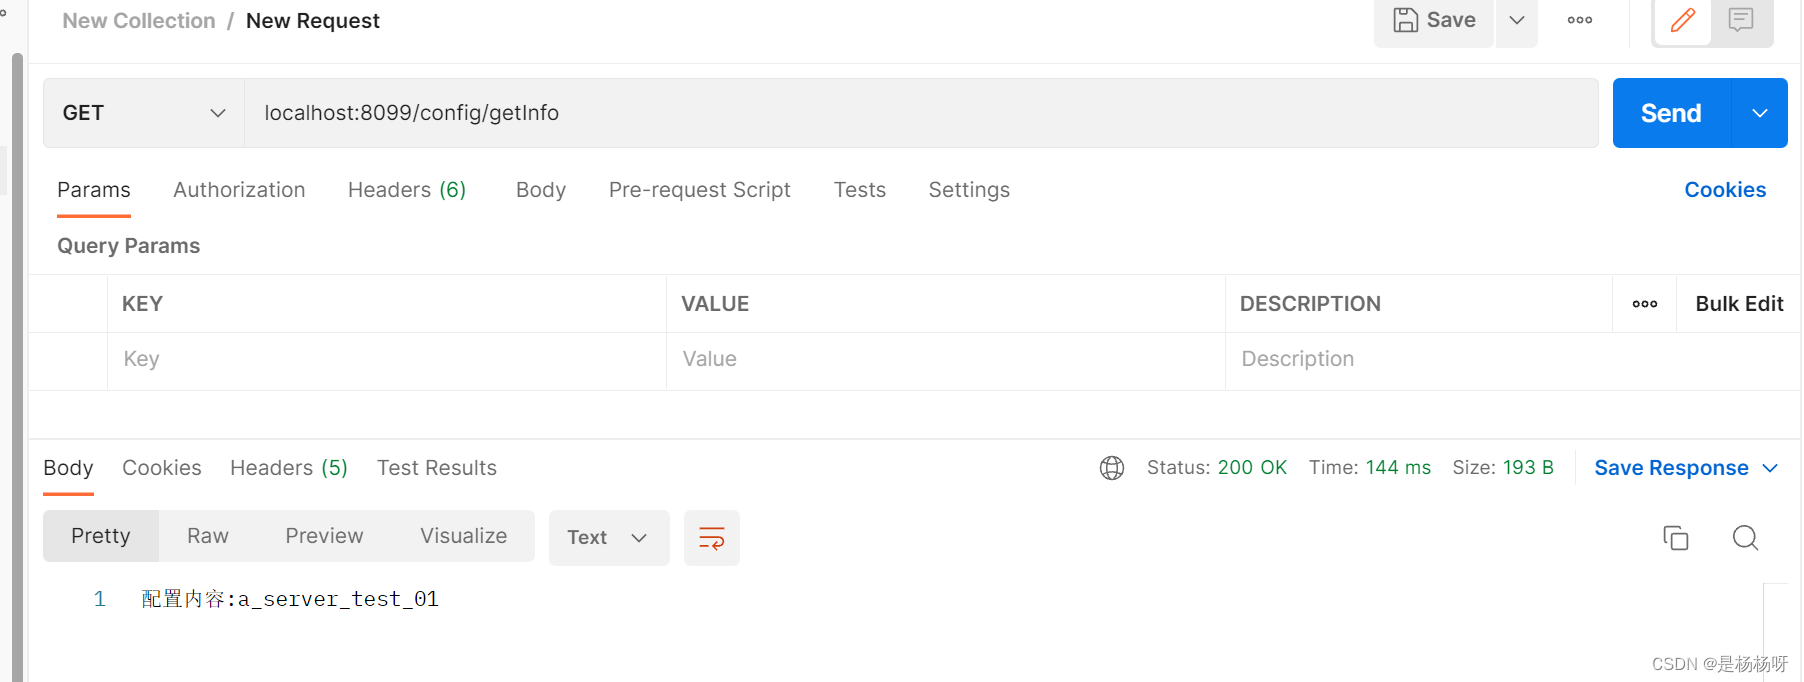
 调用 getConfigInfo 接口
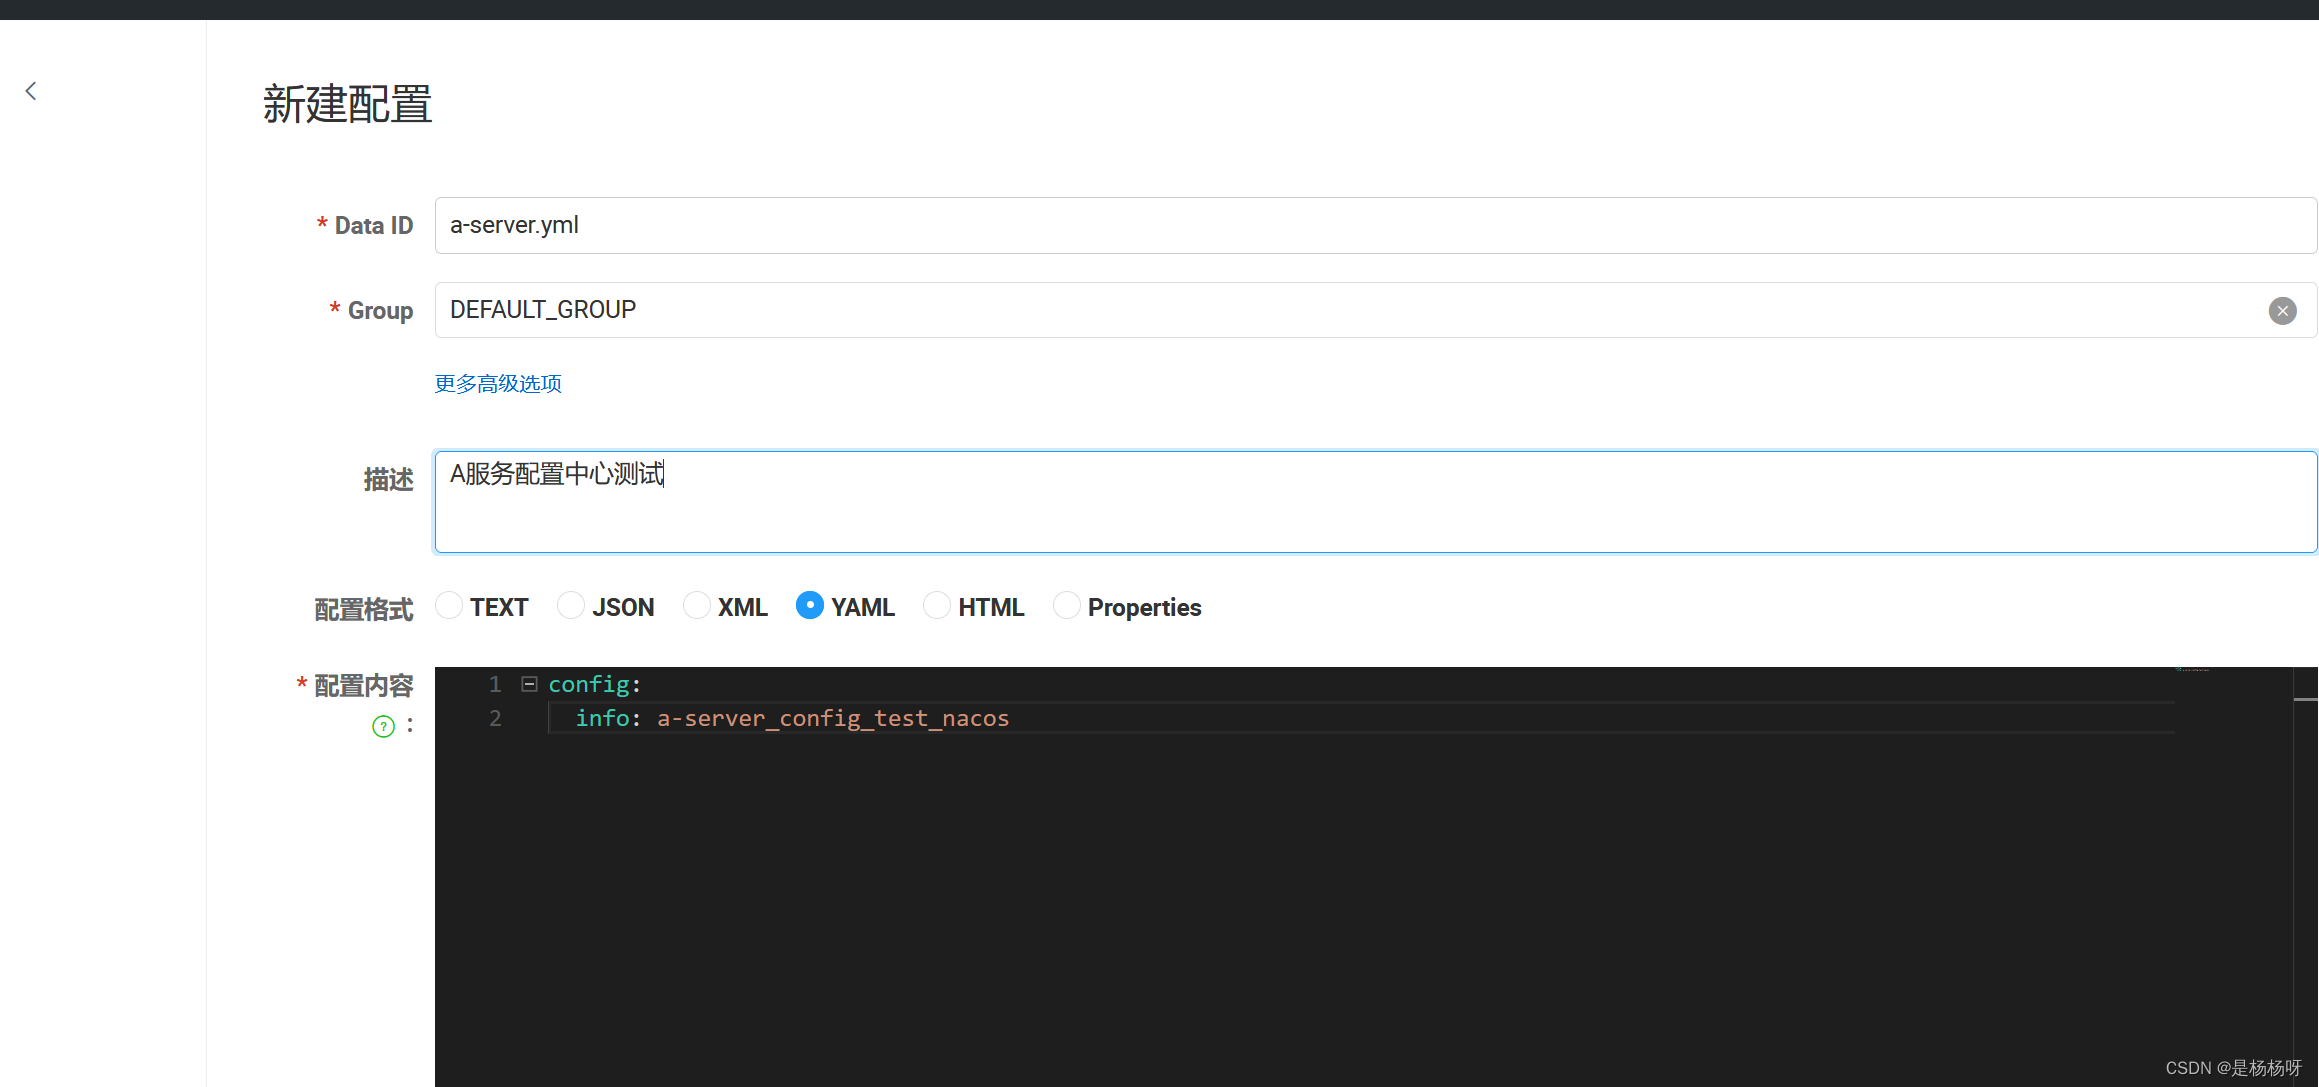
创建配置文件并发布
Data Id 为 A服务配置文件中的 spring.application.name + 配置文件后缀
 再次调用 getConfigInfo 接口 查看返回结果