文章目录
前言
“偶尔失意 是为了压住翘起的尾巴”
本章是关于数据结构中的链表之单链表(上)
提示:以下是本篇文章正文内容,下面案例可供参考
一、链表
1.1链表的概念及结构
概念:链表是一种物理存储结构上非连续、非顺序的存储结构,数据元素的逻辑顺序是通过链表中的指针链接次序实现的

1.2链表的分类
实际中链表的结构非常多样,以下情况组合起来就有8种链表结构:
-
单向或者双向

-
带头或者不带头

-
循环或者非循环

虽然有这么多的链表的结构,但是我们实际中最常用还是两种结构:

- 无头单向非循环链表:结构简单,一般不会单独用来存数据。实际中更多是作为其他数据结构的子结构,如哈希桶、图的邻接表等等。另外这种结构在笔试面试中出现很多。
- 带头双向循环链表:结构最复杂,一般用在单独存储数据。实际中使用的链表数据结构,都是带头双向循环链表。另外这个结构虽然结构复杂,但是使用代码实现以后会发现结构会带来很多优势,实现反而简单了,后面我们代码实现了就知道了
二、单链表(上)
2.1单链表的实现
//SList.h
#include<stdio.h>

typedef int SLTDataType;
typedef struct SListNode
{


	SLTDataType data;
	struct SListNode* next;
}SLTNode;

void SLTPrint(SLTNode* ps);
//SList.c
#include"SList.h"
void SLTPrint(SLTNode* phead)
{


	SLTNode* cur = phead;
	while (cur != NULL)
	{


		printf("%d->", cur->data);
		cur = cur->next;
	}
	printf("NULL\n");
}
2.2单链表实现的两种结构解析


2.3单链表的接口实现
2.3.1头插
void SLPushFornt(SLTNode* phead, SLTDataType x)
{


	SLTNode* newnode = (SLTNode*)malloc(sizeof(SLTNode));
	if (newnode == NULL)
	{


		perror("malloc fail");
		return;
	}
	newnode->data = x;
	newnode->next = NULL;
	newnode->next  = phead;
	phead = newnode;
}
逻辑分析:

物理分析:

注意:
上述代码中newnode是一个局部变量,phead是一个形参出了作用域就会被销毁所以我们需要在外面留一个指针来找到这个节点的地址
2.3.2温馨提醒 宝子~
当我们在外面留下一个指针来找这个节点并打印的时候我们发现打印出来是个NULL,这是怎么回事呢?


举个例子:
#define _CRT_SECURE_NO_WARNINGS 1
#include<stdio.h>
void Swap(int* p1, int* p2)
{


	int tmp = *p1;
	*p1 = *p2;
	*p2 = tmp;
}

void Swap1(int** pp1, int** pp2)
{


	int* tmp = *pp1;
	*pp1 = *pp2;
	*pp2 = tmp;
}

int main()
{


	int a = 0;
	int b = 1;
	Swap(&a, &b);
	printf("a=%d,b=%d\n", a, b);
	int c = 2;
	int d = 8;
	int* px = &c;
	int* py = &d;
	printf("px=%p,py=%p\n", px, py);
	Swap1(&px, &py);
	printf("px=%p,py=%p\n", px, py);
	return 0;
}

2.3.3头插完整版代码
分为三个模块分别是SList.h SList.c Test.c
//SList.h
#include<stdio.h>
#include<stdlib.h>
typedef int SLTDataType;
typedef struct SListNode
{
SLTDataType data;
struct SListNode* next;
}SLTNode;
void SLTPrint(SLTNode* phead);
void SLPushFornt(SLTNode** pphead, SLTDataType x);
//SList.c
#include"SList.h"
void SLTPrint(SLTNode* phead)
{
SLTNode* cur = phead;
while (cur != NULL)
{
printf("%d->", cur->data);
cur = cur->next;
}
printf("NULL\n");
}
SLTNode* BuyTNode(SLTDataType x)//因为头插尾插等都需要maolloc一块新空间所以我们分装成一个函数
{
SLTNode* newnode = (SLTNode*)malloc(sizeof(SLTNode));
if (newnode == NULL)
{
perror("malloc fail");
return;
}
newnode->data = x;
newnode->next = NULL;
return newnode;
}
void SLPushFornt(SLTNode** pphead, SLTDataType x)
{
SLTNode* newnode = BuyTNode(x);
newnode->next = *pphead;
*pphead = newnode;
}
//Test.c
#include"SList.h"
void TestSList()
{
SLTNode* plist = NULL;
SLPushFornt(&plist, 1);
SLPushFornt(&plist, 2);
SLPushFornt(&plist, 3);
SLPushFornt(&plist, 4);
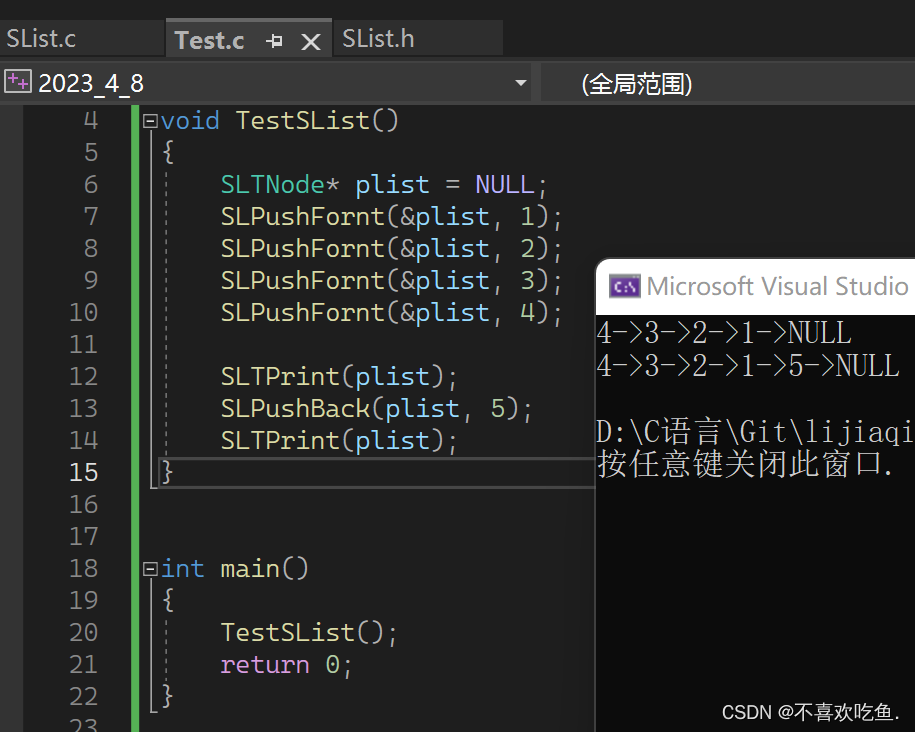
SLTPrint(plist);
}
int main()
{
TestSList();
return 0;
}
2.3.4尾插
void SLPushBack(SLTNode* phead, SLTDataType x)
{


	SLTNode* tail = phead;
	while (tail->next != NULL)
	{


		tail = tail->next;
	}
	SLTNode* newnode = BuyTNode(x);
	tail->next = newnode;
}

2.3.5温馨提醒 宝子~
(1).下面这段代码存在两个问题:
- 内存泄露
- 链表并没有链接起来
void SLPushBack(SLTNode* phead, SLTDataType x)
{


	SLTNode* tail = phead;
	while (tail->next != NULL)
	{


		tail = tail->next;
	}
	SLTNode* newnode = BuyTNode(x);
	tail->next = newnode;
}

(2).下面这段代码存在问题:
我们通过运行代码可以知道,尾插不用二级指针也是可以的

但是我们需要考虑两个问题:
- 尾插时前面是非空链表:
- 尾插时前面是空链表:
(1). 使用二级指针
(2). 使用一级指针

- 总结图:所以总而言之为了满足两者的条件我们使用二级指针
- 其实就类似于头插,我们头插时并不是开始就有数字开始也是NULL,所以使用二级指针(传址) * pphead指向plist,然后开辟空间newnode赋给*pphead,然后链接,第一次头插完成后, * pphead和newnode销毁,但是plist已经通过传地址改变了里面的地址指向了第一个节点空间地址,当第二次插入数字时,把plist传址给 * pphead;然后开辟了一块新空间newnode,注意哦plist经过上次已经指向了第一个节点而把plist传址给 *pphead这时 *pphead就指向第一个节点的地址只需要让 *pphead赋给头插的那个newnode->next就链接起来了然后 *pphead = newnode,这样出了作用域都销毁而plist也就指向了头插的那个节点的位置;
- 但是不使用二级指针,只是把plist中的地址赋给phead,phead改变并不影响plist因为出了作用域就会销毁

2.3.6总而言之
- 要改变int,传int的地址
- 要改变int * ,传int * 的地址
- 要改变结构体,传结构体的地址
- 要改变结构体指针,传结构体的指针的地址
总结
Ending,今天的链表之单链表(上)的内容就到此结束啦~,如果后续想了解更多,就请关注我吧,一键三连哦 ~