通常的增强现实应用需要支持OpenGL的OpenCV来对真实场景进行渲染。从2.4.2版本开始,OpenCV在可视化窗口中支持OpenGL。这意味着在OpenCV中可轻松渲染任何3D内容。
若要在OpenCV中开始一个OpenGL窗口,需要做的第一件事是生成支持OpenGL的OpenCV。
在cmake的时候,应该设置标志:
cmake -D ENABLE_OPENGL=YES
如果现在有一个支持OpenGL的OpenCV库,可用其创建第一个OpenGL窗口。OpenGL窗口的初始化由创建一个命名的窗口开始,这需要设置一个OpenGL标志:
string openGLWindowName = "OpenGL Test";
cv::namedWindow(openGLWindowName, WINDOW_OPENGL);
openGLWindowName是一个字符串变量,保存着窗口的名称。
然后设置窗口大小
resizeWindow(openGLWindowName, 640, 480);
接下来需对此窗口设置上下文:
setOpenGlContext(openGLWindowName);
现在窗口就可以使用了。为了在窗口上画一些东西,应用以下方法注册一个回调函数:
setOpenGlDrawCallback(openGLWindowName, on_opengl, NULL);
该回调函数将被称为回调窗口。第一个参数为窗口名,第二个参数为回调函数,第三个可选参数将被传递给回调函数。
on_opengl是一个绘图函数,例如:
void on_opengl(void* param)
{
    glLoadIdentity();
    glTranslated(0.0, 0.0, -1.0);
    glRotatef( 55, 1, 0, 0 );
    glRotatef( 45, 0, 1, 0 );
    glRotatef( 0, 0, 0, 1 );
    static const int coords[6][4][3] = {
        { { +1, -1, -1 }, { -1, -1, -1 }, { -1, +1, -1 }, { +1, +1, -1 } },
        { { +1, +1, -1 }, { -1, +1, -1 }, { -1, +1, +1 }, { +1, +1, +1 } },
        { { +1, -1, +1 }, { +1, -1, -1 }, { +1, +1, -1 }, { +1, +1, +1 } },
        { { -1, -1, -1 }, { -1, -1, +1 }, { -1, +1, +1 }, { -1, +1, -1 } },
        { { +1, -1, +1 }, { -1, -1, +1 }, { -1, -1, -1 }, { +1, -1, -1 } },
        { { -1, -1, +1 }, { +1, -1, +1 }, { +1, +1, +1 }, { -1, +1, +1 } }
    };
    for (int i = 0; i < 6; ++i) {
                glColor3ub( i*20, 100+i*10, i*42 );
                glBegin(GL_QUADS);
                for (int j = 0; j < 4; ++j) {
                        glVertex3d(0.2 * coords[i][j][0], 0.2 * coords[i][j][1], 0.2 * coords[i][j][2]);
                }
                glEnd();
    }
}
这个函数可以绘制一个长方体,程序执行效果如下所示:

同样的,我们可以写其他的绘制函数
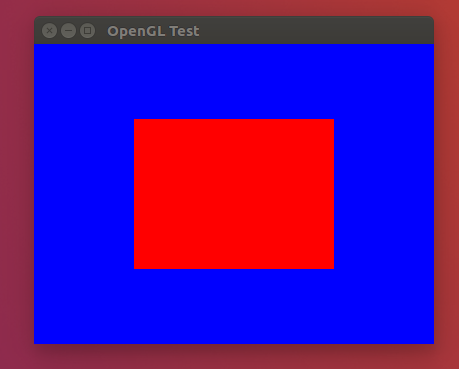
void onDraw(void* param)
{
    // Draw something using OpenGL here
    glClearColor(0.0f, 0.0f, 1.0f, 1.0f);   // background
    glClear(GL_DEPTH_BUFFER_BIT | GL_COLOR_BUFFER_BIT);

    glColor3f(1.0f, 0.0f, 0.0f);
    glRectf(-0.5f, -0.5f, 0.5f, 0.5f);  // draw rect
    glFlush();
}
此函数的作用是在蓝色背景下绘制一个红色方块,程序运行效果如下:
完整代码下载地址:https://download.csdn.net/download/buaa_zn/10476956