 1 using System.Collections;
 2 using System.Collections.Generic;
 3 using System.IO;
 4 using UnityEngine;
 5
 6 public class 截图 : MonoBehaviour {
 7
 8     private void Update()
 9     {
10         if(Input.GetKeyDown(KeyCode.S))
11         {
12             Debug.Log("Save");
13             Save();
14         }
15     }
16
17     private RenderTexture TargetTexture;
18
19     private void OnRenderImage(RenderTexture source, RenderTexture destination)
20     {
21         TargetTexture = source;
22         Graphics.Blit(source, destination);
23     }
24
25     private void Save()
26     {
27         RenderTexture.active = TargetTexture;
28
29         Texture2D png = new Texture2D(RenderTexture.active.width, RenderTexture.active.height, TextureFormat.ARGB32, true);
30         png.ReadPixels(new Rect(0, 0, RenderTexture.active.width, RenderTexture.active.height), 0, 0);
31
32         byte[] bytes = png.EncodeToPNG();
33         string path = string.Format(@"D:\123.png");
34         FileStream file = File.Open(path, FileMode.Create);
35         BinaryWriter writer = new BinaryWriter(file);
36         writer.Write(bytes);
37         file.Close();
38         writer.Close();
39
40         Destroy(png);
41         png = null;
42
43         Debug.Log("Save Down");
44     }
45 }
功能:
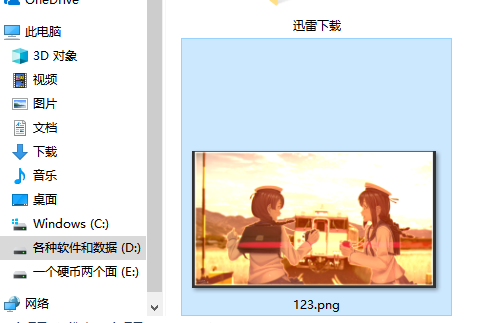
点击 S 截图。
该脚本需要挂载在相机上。
OnRenderImage 是Unity内置的事件,会在GPU渲染完场景之后,渲染到屏幕之前执行。两个参数,一个是GPU渲染完成的图片,第二个参数会在调用完该事件之后渲染到屏幕上。
该事件可以用来做屏幕后处理,但是我们在这里用来拦截渲染的图片,保存下来之后再归还。


转载于:https://www.cnblogs.com/Yukisora/p/8885202.html