前言
1.mAP是衡量一个目标检测模型的重要指标,一般都是在模型训练完成之后算法框架会给出一训练结果的mAP值,比如使用pytorch训练的yolov5s,它会给原始.pt模型的mAP,但在项目部署落地的过程中,往往不是.pt模型做最终使用模型,会考虑推理加速,会考虑模型的大小,会考虑移动端的算力匹配,这种情况下会把模型转换成对应加速库的模型,比如ncnn,mnn,onnx等,还有就是模型的量化。
2.转换或者量化模型是为了提高模型推理速度,但往往会对模型精度产生影响,这里演示了验证与评估模型转换与部署在mAP上有多少损失可执行方案。
一、mAP 项目解析
1.使用的IDE是pycharm这个IDE,需要依赖python-OpenCV。
2.git clone https://github.com/Cartucho/mAP.git 这个源码。
3.源码的input里面有三个目录

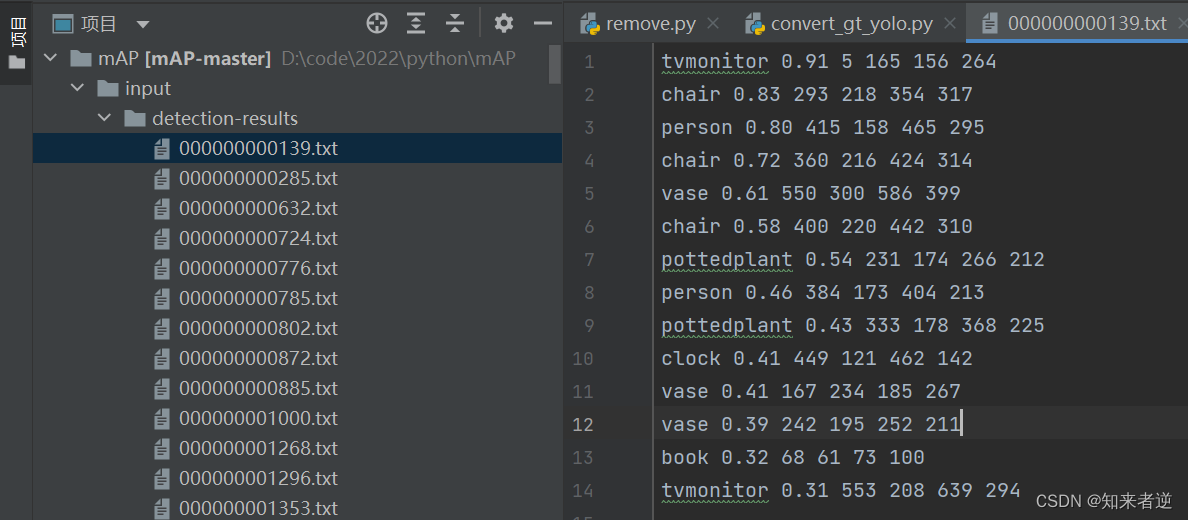
3.1 detection-results --存放着模型检测出的目标检测文件
格式如下:
<class_name>
<class_name> —类名
----置信度
—目标框左上点的x坐标
—目标框左起点的y坐标
—目标框右下点的x坐标
—目标框右下点的x坐标
tvmonitor 0.91 5 165 156 264
chair 0.83 293 218 354 317
person 0.80 415 158 465 295
chair 0.72 360 216 424 314
vase 0.61 550 300 586 399
chair 0.58 400 220 442 310
pottedplant 0.54 231 174 266 212
person 0.46 384 173 404 213
pottedplant 0.43 333 178 368 225
clock 0.41 449 121 462 142
vase 0.41 167 234 185 267
vase 0.39 242 195 252 211
book 0.32 68 61 73 100
tvmonitor 0.31 553 208 639 294
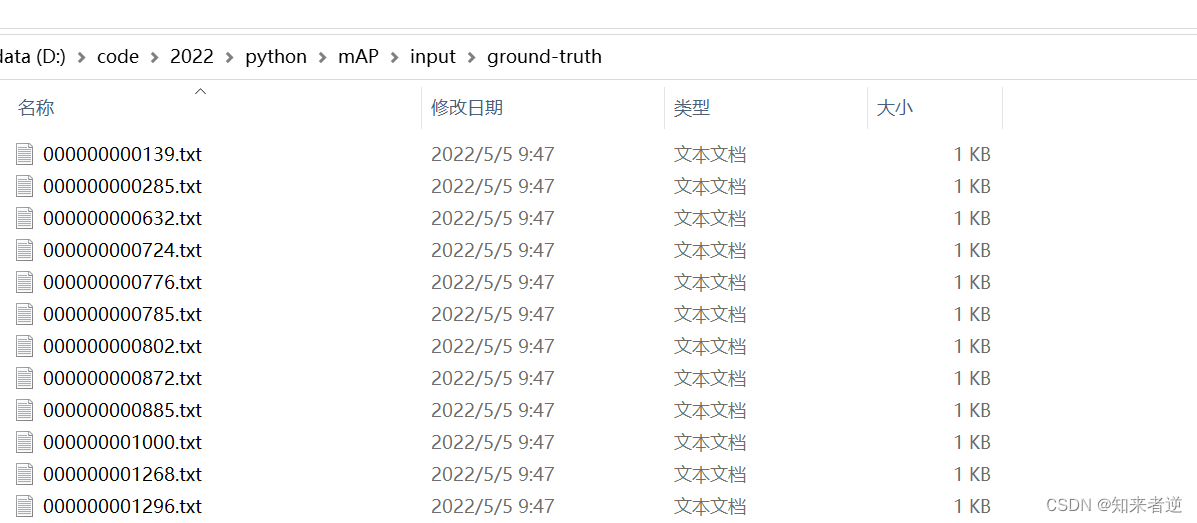
3.2 ground-truth —存放着标注文件的内容
格式如下:
<class_name>
<class_name> —类名
—目标框左上点的x坐标
—目标框左起点的y坐标
—目标框右下点的x坐标
—目标框右下点的x坐标
跟上面检测出来的数据差不多,只少了一个置信度,因为每个标注出来的数据的置信度为100%。
pottedplant 237 143 262 213
tvmonitor 8 168 157 263
tvmonitor 558 210 639 288
chair 359 219 415 321
chair 291 218 353 317
chair 414 224 444 305
chair 318 220 339 231
person 413 158 466 296
person 385 173 400 208
microwave 513 206 527 222
refrigerator 494 175 514 283
book 605 306 620 352
book 614 309 627 355
clock 448 122 462 144
vase 550 310 586 400
vase 351 209 363 232
chair 413 220 422 232
vase 242 195 256 213
vase 337 200 347 217
diningtable 322 232 447 321
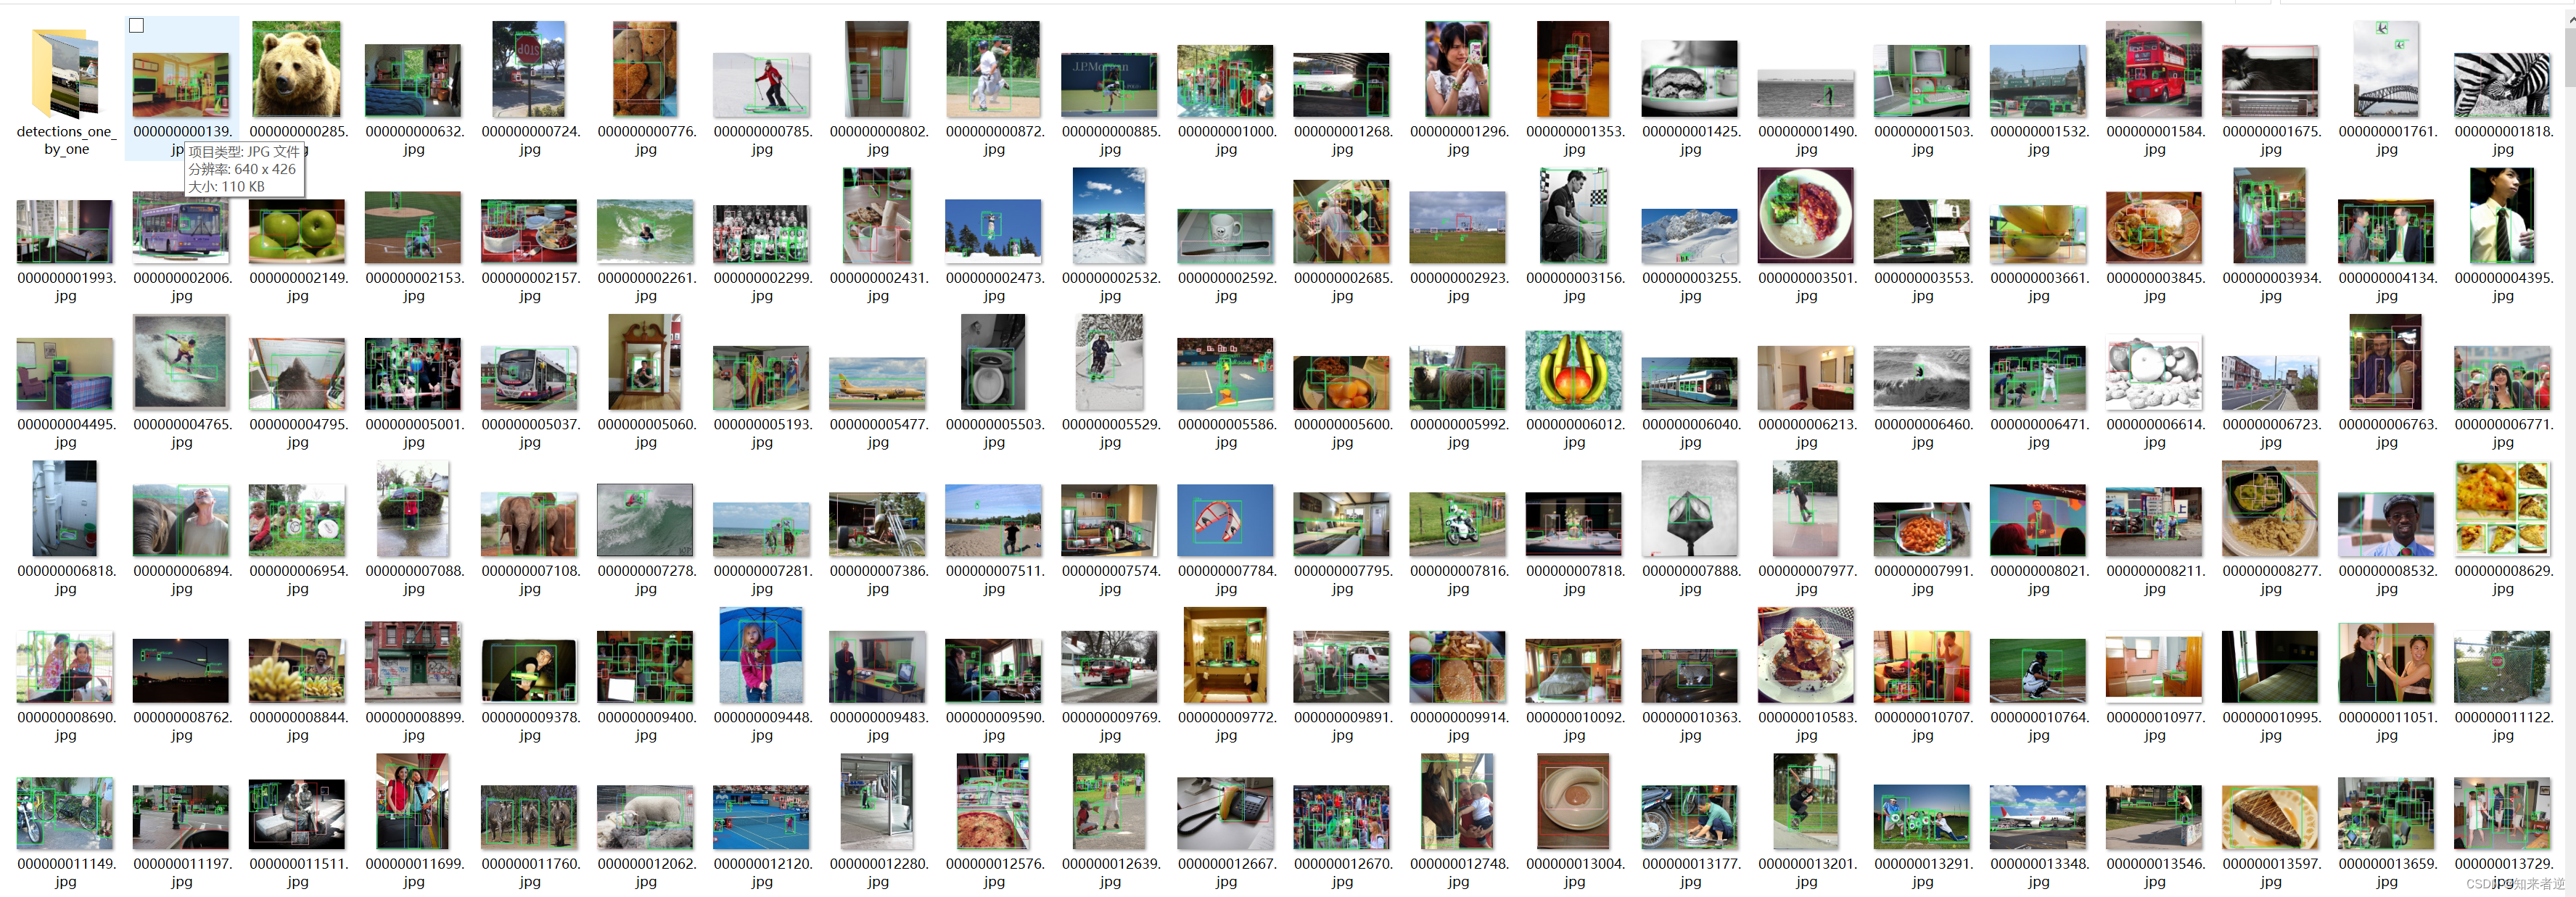
3.3 images-optional —存放着要测试的图像
二、 数据集转换
1.下载coco 2017 数据集,这里面使用的是coco 2017 val 这个数据集,大概5000张图像左右。
2.ground-truth数据
把coco数据集的标注文件放入ground-truth目录,如果是原始的json文件,先转成yolov5所用的.txt文件,yolov5的txt文件格式如下:
标签索引和标注框归一化后的四个坐标
58 0.389578 0.416103 0.038594 0.163146
62 0.127641 0.505153 0.233312 0.222700
62 0.934195 0.583462 0.127109 0.184812
56 0.604656 0.632547 0.087500 0.241385
56 0.502508 0.627324 0.096609 0.231174
56 0.669195 0.618991 0.047141 0.190986
56 0.512797 0.528251 0.033719 0.027207
0 0.686445 0.531960 0.082891 0.323967
0 0.612484 0.446197 0.023625 0.083897
68 0.811859 0.501725 0.023031 0.037488
72 0.786320 0.536373 0.031703 0.254249
73 0.956156 0.771702 0.022406 0.107300
73 0.968250 0.778075 0.020125 0.109014
74 0.710555 0.310000 0.021828 0.051362
75 0.886562 0.831608 0.057313 0.210493
75 0.556945 0.516702 0.017766 0.052934
56 0.651664 0.528826 0.015047 0.029390
75 0.388047 0.478415 0.022219 0.041385
75 0.533836 0.487946 0.015203 0.039272
60 0.599984 0.647148 0.196188 0.208756
3.把数据集的图像放到放到 images-optional目录,但有些图像是没有标注文件的,也可以把没有标注的图像删掉,删掉没有对应标注文件的图像代码:
# -*- coding: utf-8 -*-
import os
root_path = 'D:/code/data/val2017/'

def contrastDir(file_dir):
    jpg_list = []
    label_list = []
    for root, dirs, files in os.walk(file_dir+'images'): #图像目录
        for file in files:
            if os.path.splitext(file)[1] == '.jpg':
                jpg_list.append(os.path.splitext(file)[0])
    for root, dirs, files in os.walk(file_dir+'labels'): #标签目录
        for file in files:
            if os.path.splitext(file)[1] == '.txt':
               label_list.append(os.path.splitext(file)[0])
#对比xml与jpg
    diff = set(label_list).difference(set(jpg_list))
    print(len(diff))
    for name in diff:
        print("No corresponding image file", name + ".txt")
        os.remove(file_dir + 'labels/' + name + '.txt')
# 对比jpg与标签文件
    diff2 = set(jpg_list).difference(set(label_list))
    print(len(diff2))
    for name in diff2:
        print("No corresponding XML file", name + ".jpg")
#删除没有的对应标签的图像
        os.remove(file_dir+'images/'+ name+'.jpg')
    return jpg_list,label_list

if __name__ == '__main__':

    contrastDir(root_path)
4.在class_list.txt添加标签类名,coco 2017是有80个类别,class_list.txt文件内容:
person
bicycle
car
motorbike
aeroplane
bus
train
truck
boat
trafficLight
fireHydrant
stopSign
parkingMeter
bench
bird
cat
dog
horse
sheep
cow
elephant
bear
zebra
giraffe
backpack
umbrella
handbag
tie
suitcase
frisbee
skis
snowboard
sportsBall
kite
baseballBat
baseballGlove
skateboard
surfboard
tennisRacket
bottle
wineGlass
cup
fork
knife
spoon
bowl
banana
apple
sandwich
orange
broccoli
carrot
hotDog
pizza
donut
cake
chair
sofa
pottedplant
bed
diningtable
toilet
tvmonitor
laptop
mouse
remote
keyboard
cellPhone
microwave
oven
toaster
sink
refrigerator
book
clock
vase
scissors
teddyBear
hairDrier
toothbrush
5.运行convert_gt_yolo.py文件,会自运生成可以用于计算mAP的标签文件并备份旧的标签文件。运行后ground-truth目录:
三、模型推理的数据
这里拿yolov5s转onnx的检测结果示例,使用的推理库是onnxruntime,语言是C++实现。
1.检测图像并生成对应图像名称的txt文件
int onnxResultToTxt(std::string images_path)
{


    std::string classNamesPath = "models/coco.names";
    std::string onnx_model = "models/yolov5s.onnx";

    const float confThreshold = 0.3f;
    const float iouThreshold = 0.4f;

    const std::vector<std::string> class_names = utils::loadNames(classNamesPath);

    YoloOnnx onnx_detector{

     nullptr };
    onnx_detector = YoloOnnx(onnx_model, false, cv::Size(640, 640));

    std::vector<std::string> filenames;
    cv::glob(images_path, filenames, false);
    for (auto name : filenames)
    {


        //1.读取一张图像
        cv::Mat cv_src = cv::imread(name);
        if (cv_src.empty())
        {


            continue;
        }

        //2.以这张图像的名字创建一个同名的txt文件
        int len = name.rfind(".");
        std::string txt = name.substr(0, len) + ".txt";
        std::ofstream out_txt;

        //3.检测图像
        std::vector<Detection> onnx_result;
        onnx_result = onnx_detector.detect(cv_src, confThreshold, iouThreshold);

        //4.检测结果判断
        if (onnx_result.size() > 0)
        {


            //创建同名txt文件
            out_txt.open(txt);
            for (auto detection : onnx_result)
            {


                //获取检测的结果
                int tx = detection.box.tl().x;
                int ty = detection.box.tl().y;
                int bx = detection.box.br().x;
                int by = detection.box.br().y;

                int conf = (int)std::round(detection.conf * 100);
                int classId = detection.classId;
                std::string label = class_names[classId] + " 0." + std::to_string(conf);

                //把检测结果写入txt文件
                //格式:
                // <class_name> <confidence> <left> <top> <right> <bottom>
                // tvmonitor     0.471781       0     13     174     244
                out_txt << label << " " << tx << " " << ty << " " << bx << " " << by << std::endl;
            }
            //写完之后关闭txt
            out_txt.close();
            //输出txt名
            std::cout << txt << std::endl;
        }
        else
        {


            std::cout << "------------------------------------" << std::endl;
            std::cout << name << std::endl;
            std::cout << "------------------------------------" << std::endl;
        }
    }
}
2.比对生成的检测文件跟detection-results格式是否一样。
3.把生成.txt 文件全部放入detection-results目录。
四、计算mAP
1.上面的所有步骤都完成之后,执行python项目下的main.py,会在项目目录下多出个output的目录
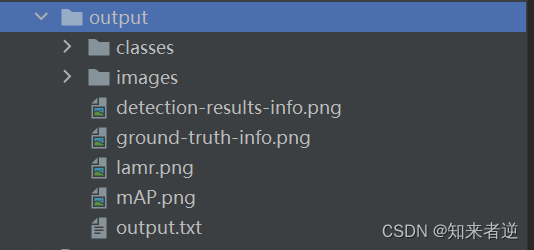
2.等待运行完成之后,在output目录下会就有计算好的结果

mAP


各个分类的结果:

检测的图像结果: