0. 前言
本节利用 flask 开放下载链接
操作系统:Windows10 家庭版
开发环境:Pycahrm Comunity 2022.3
Python解释器版本:Python3.8
第三方库:flask humanize
1. 实现开放下载链接
我们需要在网站上放置一些资源供大家下载,那么我们应该根据输入的路由项的不同,而放置不同的下载链接。
我是这样处理的:
from flask import Flask,send_file

app = Flask(__name__)

@app.route('/download/<filename>')
def download_file(filename):
    # 实际应用中,这里可以进行文件名、文件类型验证等操作
    return send_file("downloads/{}".format(filename), as_attachment=True)


if __name__ == '__main__':
    # 0.0.0.0代表广播地址,同一局域网的用户都能访问
    # 端口号为5000,设置为专用端口(如80)需要管理员身份
    app.run(host = "0.0.0.0", port = 5000)
例如用户访问http://192.168.31.58:5000/download/嵌入式Linux应用程序开发.pdf时,将下载downloads目录下的嵌入式Linux应用程序开发.pdf文件
访问以下网址:
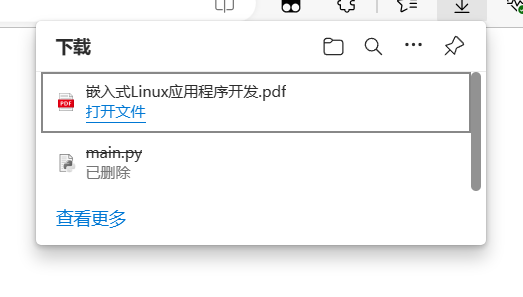
http://192.168.31.58:5000/download/嵌入式Linux应用程序开发.pdf

下载完成
看到上面你就已经学会了如何提供下载链接了,使用render_template() 方法重定向就好了。
2. 稍加改装
我现在在我的U盘存储了很多的软件安装包,这很有利于我更换系统或在其他人的电脑上快速构建开发环境。
现在我想通过将代码部署至服务器的方式,能让我不带U盘也能随时使用这些文件。
这样能达到一个百度网盘的效果,但是没有限速也不需要VIP
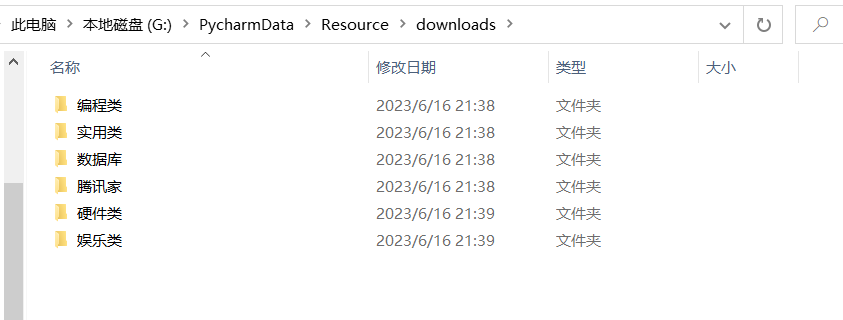
我先将软件安装包整理好,我的安装包文件都 放入项目目录下的downloads 了:
然后我需要使用html将其呈现出来,为了能够自动更新以及界面美观(不),我还使用了Jinja2和css:
这个是导航界面:
index.html
<!doctype html>
<html>
    <head>
        <title>Index</title>
        <style>
          body {


                  background-color: #f1f1f1;
                  font-family: Arial, sans-serif;
                }

                p {


                  margin: 0;
                  padding: 15px;
                  background-color: #fff;
                  box-shadow: 0 0 5px rgba(0, 0, 0, 0.2);
                }

                a {


                  color: #555;
                  text-decoration: none;
                  transition: color 0.2s ease-in-out;
                }

                a:hover {


                  color: #000;
                }

                h1 {


                  text-align: center;
                }

<!--                以下为居中显示布局-->
<!--                p {

      -->
<!--                  text-align: center;-->
<!--                }-->

        </style>
    </head>
    <body>
        <h1>IoT_H2的资源包</h1>
        <title>IoT_H2的资源包</title>
        {% for subdir in sub_dirs %}
        <p>
            <a href="{

     { url_for('subdir', sub_dir=subdir) }}">
                {

   { subdir }}
            </a>
        </p>
        {% endfor %}
    </body>
</html>
这个是放下载资源的界面:
subdir.html
<!DOCTYPE html>
<html>
  <head>
    <title>Files in {

   { sub_dir }}</title>
    <style>
      body {


        font-family: Arial, sans-serif;
        background-color: #f0f0f0;
        margin: 0;
        padding: 0;
      }
      h1 {


        text-align: center;
        color: #333;
        margin-top: 30px;
      }
      p {


        margin: 0;
        padding: 10px;
        background-color: #fff;
        border: 1px solid #ddd;
        border-radius: 5px;
        box-shadow: 2px 2px 2px rgba(0, 0, 0, 0.1);
        transition: 0.3s;
      }
      p:hover {


        background-color: #f5f5f5;
        box-shadow: 3px 3px 3px rgba(0, 0, 0, 0.2);
      }
      a {


        color: #333;
        text-decoration: none;
        transition: 0.3s;
      }
      a:hover {


        color: #666;
        text-decoration: underline;
      }
    </style>
  </head>
  <body>
    <h1>{

   { sub_dir }}</h1>
    <title>IoT_H2的资源包/{

   { sub_dir }}</title>

    {% for file in files %}
      <p><a href="{

     { url_for('download_file', filename=sub_dir + '/' + file[0]) }}">{

   { file[0] + "-----------" + file[1] }}</a></p>
    {% endfor %}

  </body>
</html>
然后还有主程序:
main.py
from flask import Flask, render_template, abort, send_from_directory
import os
import humanize

app = Flask(__name__)


# 获取文件大小函数
def size(file_path):
    file_size = os.path.getsize(file_path)
    # 将文件大小转换为人类可读格式
    file_size_formatted = humanize.naturalsize(file_size)
    # 返回人类可读格式的文件大小
    return file_size_formatted.replace(" ","")

@app.route('/resource')
def index():
    # 需要展示的目录路径
    dir_path = 'downloads'

    # 检查目录路径是否存在
    if not os.path.exists(dir_path):
        abort(404)

    # 读取所有子目录
    sub_dirs = [d for d in os.listdir(dir_path) if os.path.isdir(os.path.join(dir_path, d))]

    return render_template('index.html', sub_dirs=sub_dirs,title = "IoT_H2的资源包")

@app.route('/resource/<sub_dir>')
def subdir(sub_dir):
    # 需要展示的目录路径
    dir_path = os.path.join('downloads', sub_dir)

    # 检查目录路径是否存在
    if not os.path.exists(dir_path):
        abort(404)

    # 读取目录下的所有文件
    files = [[f,size(dir_path + "/" + f)] for f in os.listdir(dir_path) if os.path.isfile(os.path.join(dir_path, f))]

    return render_template('subdir.html', sub_dir=sub_dir, files=files)

@app.route('/download/<path:filename>')
def download_file(filename):
    # 下载链接所对应的资源存放目录
    directory = 'downloads'
    # 返回下载文件,以附件形式下载
    return send_from_directory(directory, filename, as_attachment=True)


if __name__ == '__main__':
    app.run(host="0.0.0.0",port=80)
3. 效果演示
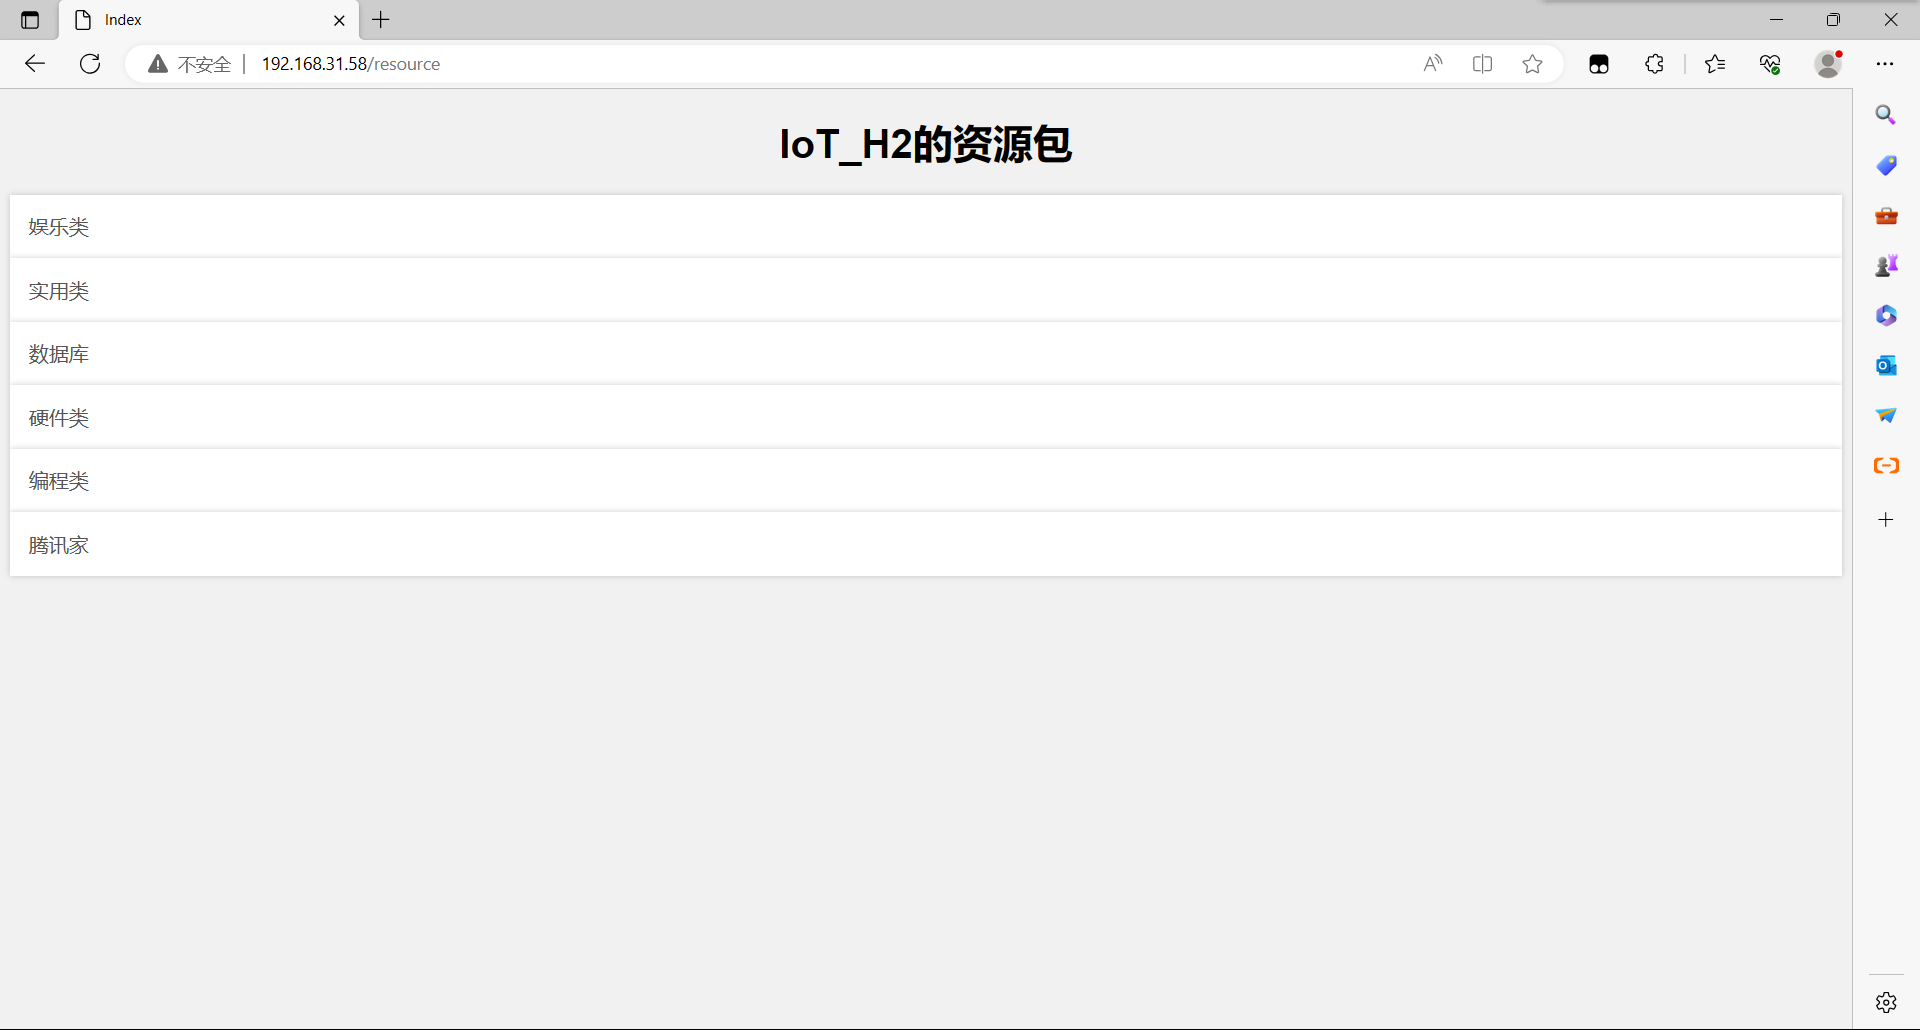
这是主界面,点击能够进入二级分类:
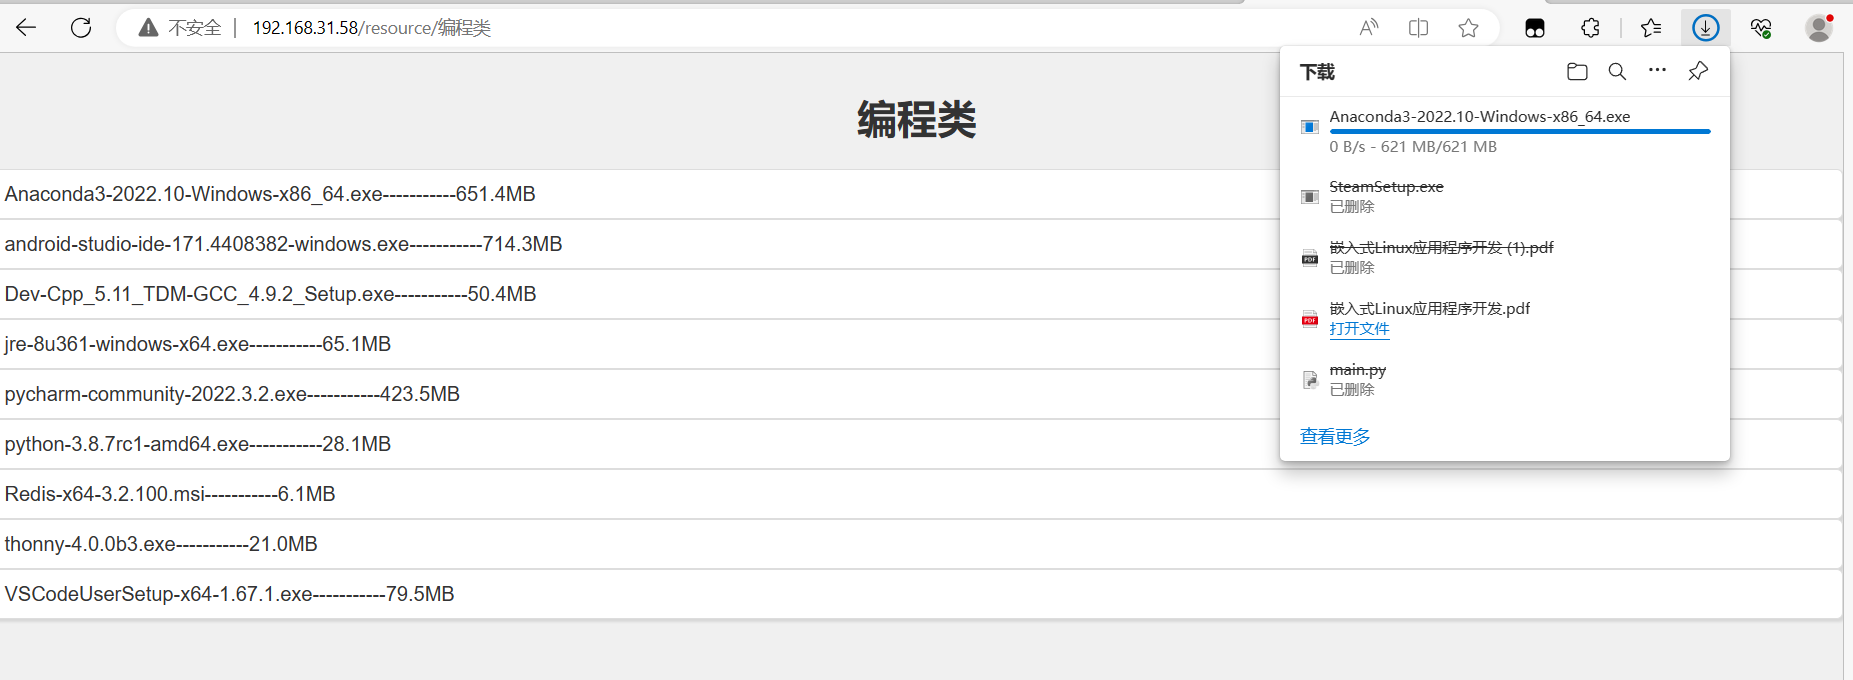
我点击编程类进入,下载了一个Anaconda解释器,651M,下载仅花了3秒钟,这里点名批评 某度网盘。
4. 云服务器项目部署
踩坑:腾讯云服务器SFTP有文件大小限制

虽然不喜欢搞samba,但还是搞了:
Linux下安装samba文件共享服务
但是这里我更推荐使用winscp,太好用了!
借鉴了这个:文件传输工具WinSCP下载安装教程
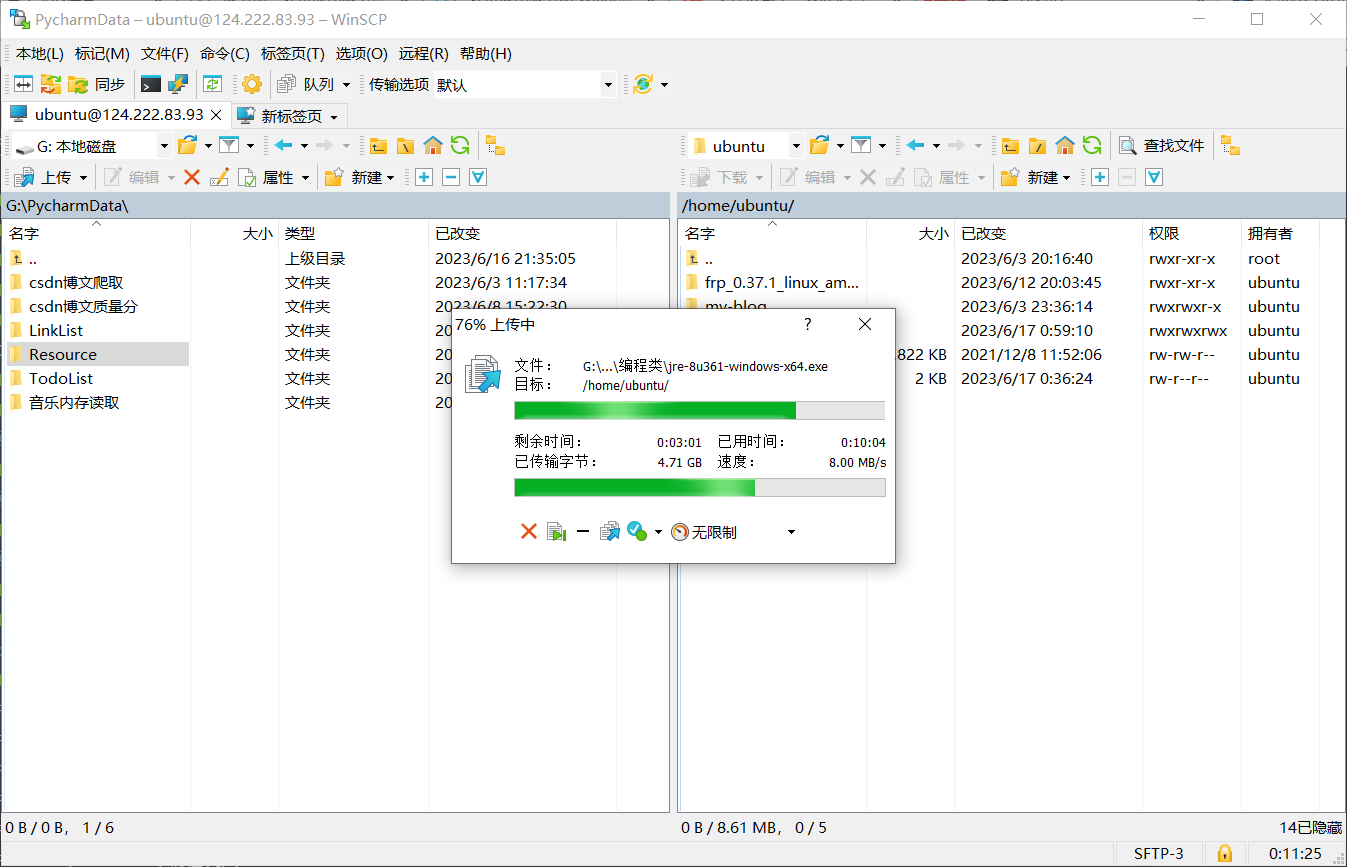
等待传输完成
安装 flask 和 humanize
pip install flask
pip install humanize

然后我的服务器就启动啦!
IoT_H2的资源包
去看看有没有什么需要的吧!


忘记了本机测试是局域网…甚至还是回环地址自己访问自己
部署在云服务器上慢的一批…