在fabric-sample文件夹同级目录下创建crypto-config文件夹
将test-network中的peer 和order文件的证书信息拷贝一份到该目录下,
cp -r fabric-samples/test-network/organizations/peerOrganizations/ fabric-samples/test-network/organizations/ordererOrganizations/ ./crypto-config/
看清路径的对应,和自己的是否一样
在fabric-sample文件夹同级目录下创建edu-explorer文件夹
mkdir edu-explorer
像这样

进入该目录
cd edu-explorer
编写docker-compose.yaml文件
docker-compose.yaml
version: '2.0'


volumes:
    pgdata:
    walletstore:

networks:
  mynetwork.com:
    external:
      name: net_test
services:

    explorerdb.mynetwork.com:
        image: hyperledger/explorer-db:latest
        container_name: explorerdb.mynetwork.com
        hostname: explorerdb.mynetwork.com
        ports:
            - 5432:5432
        environment:
            - DATABASE_DATABASE=fabricexplorer
            - DATABASE_USERNAME=hppoc
            - DATABASE_PASSWORD=password
        healthcheck:
            test: "pg_isready -h localhost -p 5432 -q -U postgres"
            interval: 30s
            timeout: 10s
            retries: 5
        volumes:
            - pgdata:/var/lib/postgresql/data


    explorer.mynetwork.com:
        image: hyperledger/explorer:latest
        container_name: explorer.mynetwork.com
        hostname: explorer.mynetwork.com
        ports:
            - 9090:8080
        extra_hosts:
            - "explorerdb.mynetwork.com:xxx.xxx.xxx.xxx"
            - "orderer.example.com:xxx.xxx.xxx.xxx"
            - "peer0.org1.example.com:xxx.xxx.xxx.xxx"
            - "peer0.org2.example.com:xxx.xxx.xxx.xxx"
        environment:
            - DATABASE_HOST=explorerdb.mynetwork.com
            - DATABASE_DATABASE=fabricexplorer
            - DATABASE_USERNAME=hppoc
            - DATABASE_PASSWD=password
            - LOG_LEVEL_APP=debug
            - LOG_LEVEL_DB=info
            - LOG_LEVEL_CONSOLE=debug
            - LOG_CONSOLE_STDOUT=true
            - DISCOVERY_AS_LOCALHOST=false
        volumes:
            - ./config.json:/opt/explorer/app/platform/fabric/config.json
            - ./connection-profile:/opt/explorer/app/platform/fabric/connection-profile
            - ../crypto-config:/tmp/crypto
            - walletstore:/opt/explorer/wallet
        depends_on:
            explorerdb.mynetwork.com:
                condition: service_healthy
把里面的xxx.xxx.xxx.xxx替换成为你的ip地址
编写config.json
config.json
{


        "network-configs": {


                "prod-network": {


                        "name": "fabric_test",
                        "profile": "./connection-profile/org1ProdNetworkConnection.json"
                }
        },
        "license": "Apache-2.0"
}
创建connection-profile目录
创建org1ProdNetworkConnection.json文件
org1ProdNetworkConnection.json
{


	"name": "test-network",
	"version": "1.0.0",
	"client": {


		"tlsEnable": true,
		"adminCredential": {


			"id": "exploreradmin",
			"password": "exploreradminpw"
		},
		"enableAuthentication": true,
		"organization": "Org1MSP",
		"connection": {


			"timeout": {


				"peer": {


					"endorser": "300"
				},
				"orderer": "300"
			}
		}
	},
	"channels": {


		"mychannel": {


			"peers": {


				"peer0.org1.example.com": {

    }
			}
		}
	},
	"organizations": {


		"Org1MSP": {


			"mspid": "Org1MSP",
			"adminPrivateKey": {


				"path": "/tmp/crypto/peerOrganizations/org1.example.com/users/[email protected]/msp/keystore/priv_sk"
			},
			"peers": ["peer0.org1.example.com"],
			"signedCert": {


				"path": "/tmp/crypto/peerOrganizations/org1.example.com/users/[email protected]/msp/signcerts/[email protected]"
			}
		}
	},
	"peers": {


		"peer0.org1.example.com": {


			"tlsCACerts": {


				"path": "/tmp/crypto/peerOrganizations/org1.example.com/peers/peer0.org1.example.com/tls/ca.crt"
			},
			"url": "grpcs://xxx.xxx.xxx.xxx:7051"
		}
	}
}
这里的xxx.xxx.xxx.xxx ip也改成你的ip地址,也可以是该节点
保障整体的目录结构如下
edu-explorer/
├── config.json
├── connection-profile
│   └── org1ProdNetworkConnection.json
├── docker-compose.yaml
启动docker-compose文件
docker-compose up -d
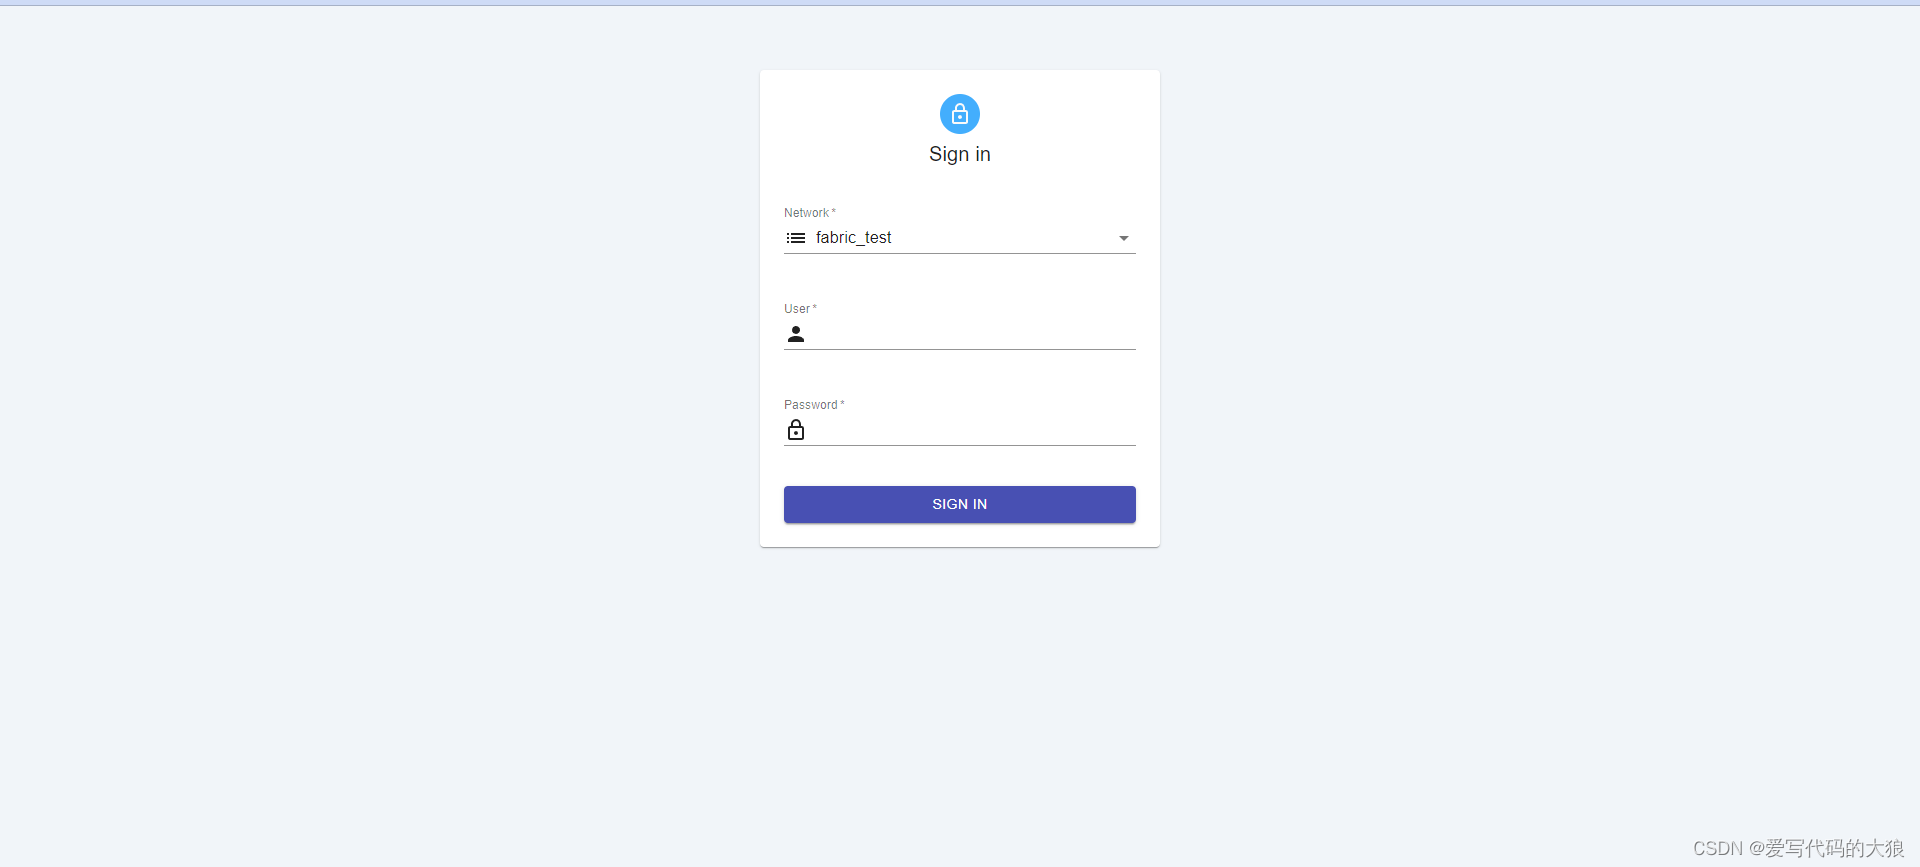
浏览器输入
http://192.168.2.134:9090/#/
换成你自己的ip地址即可