首先,对original的caffe配置成功,在此基础上进行添加新层
(一)具体步骤如下:
1. 修改{caffe_dir}/src/caffe/proto/caffe.proto 文件,在 V1
LayerParameter的LayerType enum中添加新的layer的名称及ID(如:MYLAYER 38),并在V1LayerParameter中添加
MyLayer的参数说明;在message LayerParameter中添加MyLayer的参数说明,同时更新 LayerParameter的available ID(如:optional MyLayerParameter my_layer_param = 146);最后添加新Layer的参数说明。
message MyLayerParameter {
optional uint32 para1 = 1; (1 is the ID of para1 in this layerparameter)
optional bool para2 = 2 [default = true];
optional FillerParameter para3 = 3;
optional float para4 = 4;
}
optional uint32 para1 = 1; (1 is the ID of para1 in this layerparameter)
optional bool para2 = 2 [default = true];
optional FillerParameter para3 = 3;
optional float para4 = 4;
}
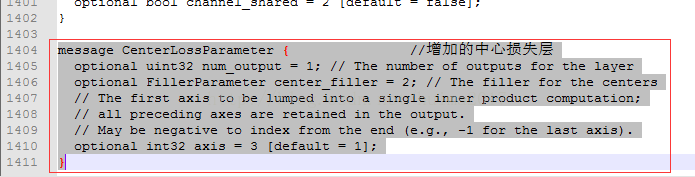
如:我添加的center loss层
{caffe_dir}/src/caffe/proto/caffe.proto 文件

2.
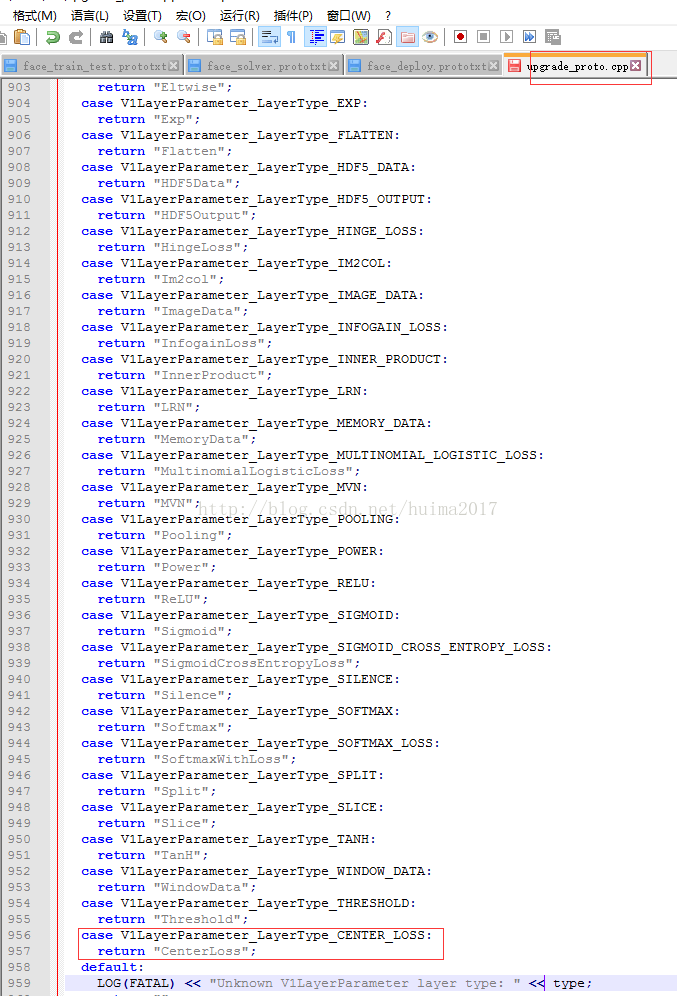
在{caffe_dir}/src/caffe/util下的upgrade_proto.cpp的const char* UpgradeV1LayerType(const V1LayerParameter_LayerType type)函数中添加如下代码,方便已经训练好的模型进行转换。
case V1LayerParameter_MYLAYER :
return "MyLayer";
return "MyLayer";
例如:我的添加
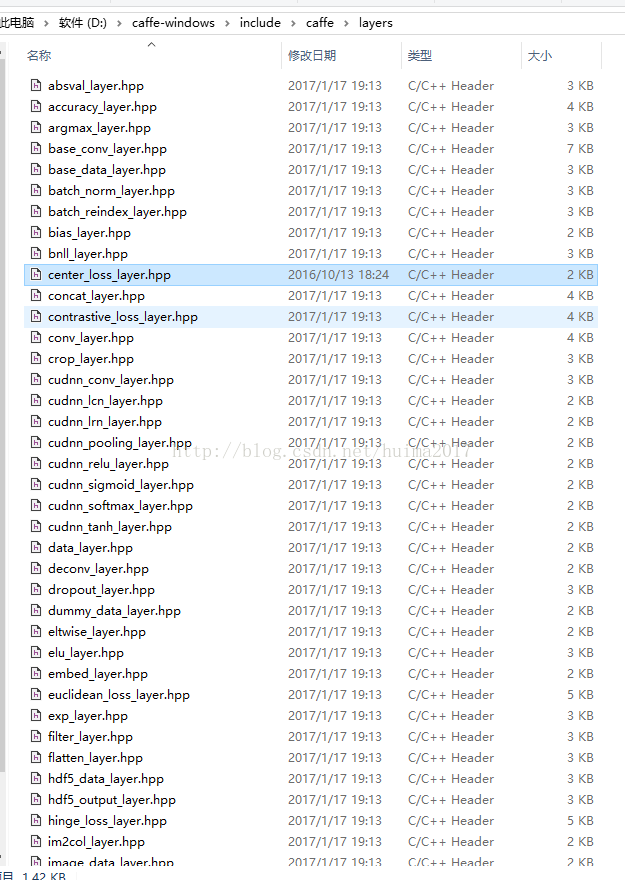
3. 在{caffe_dir}/include/caffe/layers/ 文件夹中增加该layer的类的声明my_layer_layer.h文件。
4. 在{caffe_dir}/src/caffe/layers/目录下新建.cpp和.cu文件,进行类实现。

5. 在
{caffe_dir}/src/caffe/test/中增加layer的测试代码,对所写的layer前传和反传进行测试,测试还包括速度。
(二)编译
make all -j8
Note:若报错,则根据相应的错误位置检查语法错误。
make test -j8
make runtest -j8
Note:
若报错,则根据相应的错误位置检查逻辑错误。