书接上文,我们已经连接了数据库,用数据库的账号密码进行了登录。
但是呢,我们少了一个登录的页面,显得不是那么美观。
随便在网上搜索一个html的登录页面
<!DOCTYPE html>
<html lang="en">
<head>
    <meta charset="UTF-8">
    <title>Title</title>

    <style>
        * {
            margin: 0;
            padding: 0;
        }
        html {
            height: 100%;
        }
        body {
            height: 100%;
        }
        .container {
            height: 100%;
            background-image: linear-gradient(to right, #999999, #330867);
        }
        .login-wrapper {
            background-color: bisque;
            width: 358px;
            height: 588px;
            border-radius: 15px;
            padding: 0 50px;
            position: relative;
            left: 50%;
            top: 50%;
            transform: translate(-50%,-50%);
        }
        .header {
            font-size: 38px;
            font-weight: bold;
            text-align: center;
            line-height: 200px;
        }
        .input-item {
            display: block;
            width: 100%;
            margin-bottom: 20px;
            border: 0;
            padding: 10px;
            border-bottom: 1px solid rgb(128,125,125);
            font-size: 15px;
            outline: none;
        }
        .input-item::placeholder {
            text-transform: uppercase;
        }
        .btn {
            text-align: center;
            padding: 10px;
            width: 100%;
            margin-top: 40px;
            background-image: linear-gradient(to right,#a6c1ee, #fbc2eb);
            color: #fff;
        }
        .msg {
            text-align: center;
            line-height: 88px;
        }
        a {
            text-decoration-line: none;
            color: #abc1ee;
        }
    </style>
</head>
<body>
    <div class="container">
        <div class="login-wrapper">
            <div class="header">Login</div>
            <div class="form-wrapper">
                <input type="text" name="username" placeholder="username" class="input-item">
                <input type="password" name="password" placeholder="password" class="input-item">
                <div class="btn">Login</div>
            </div>
            <div class="msg">
                Don't have account?
                <a href="#">Sign up</a>
            </div>
        </div>
    </div>
</body>
</html>
复制到static目录下,
 简单修改一下
<body>

<div class="container">
    <div class="login-wrapper">
        <div class="header">Login</div>
        <div class="form-wrapper">
            <form action="/doLogin" method="post">
            <input type="text" name="username" placeholder="username" class="input-item">
            <input type="password" name="password" placeholder="password" class="input-item">
            <button type="submit" class="btn">登录</button>
            </form>
        </div>
        <div class="msg">
           没有账号
            <a href="#">Sign up</a>
        </div>
    </div>
</div>

</body>
下面是security的配置类
package org.ikun.security_demo;


import org.springframework.context.annotation.Configuration;
import org.springframework.security.config.annotation.authentication.builders.AuthenticationManagerBuilder;
import org.springframework.security.config.annotation.web.builders.HttpSecurity;
import org.springframework.security.config.annotation.web.builders.WebSecurity;
import org.springframework.security.config.annotation.web.configuration.EnableWebSecurity;
import org.springframework.security.config.annotation.web.configuration.WebSecurityConfigurerAdapter;

@Configuration
@EnableWebSecurity
public class SpringSecurityConfig extends WebSecurityConfigurerAdapter {


    @Override
    protected void configure(HttpSecurity http) throws Exception {
        //开始认证
        //设置登录,注销,表单登录不用拦截,其他请求要拦截
        http.authorizeRequests().antMatchers("/","/login.html").anonymous()
                //所有的请求,类似于shiro中的 /**
                .anyRequest()
                //必须要认证之后才能访问,类似于shiro的authc
                .authenticated()
                .and()
                //开始配置登录表单
                .formLogin()
                //配置登录页面,如果访问了一个需要登录以后才能访问的页面,那么就会自动登录到这个页面
                .loginPage("/login.html")
                //配置处理登录请求的接口,其实就是配置了过滤器里的拦截规则,将来的登录请求就会在过滤器中被处理
                .loginProcessingUrl("/doLogin")
                //配置登录表单中用户名的 key
                .usernameParameter("username")
                //配置登录表单中的密码 默认也是username 和 password
                .passwordParameter("password")
                //配置登录成功后访问的接口
                .defaultSuccessUrl("/hello")
                //登录失败后访问的接口
                .failureUrl("/login.html")
                //关闭默认的csrf认证
                .and().csrf().disable();

    }

    @Override
    public void configure(WebSecurity web) throws Exception {
        //设置静态资源不要拦截
        web.ignoring().antMatchers("/js/**","/css/**","/images/**");
    }
}
整个的目录结构如下

运行效果如图
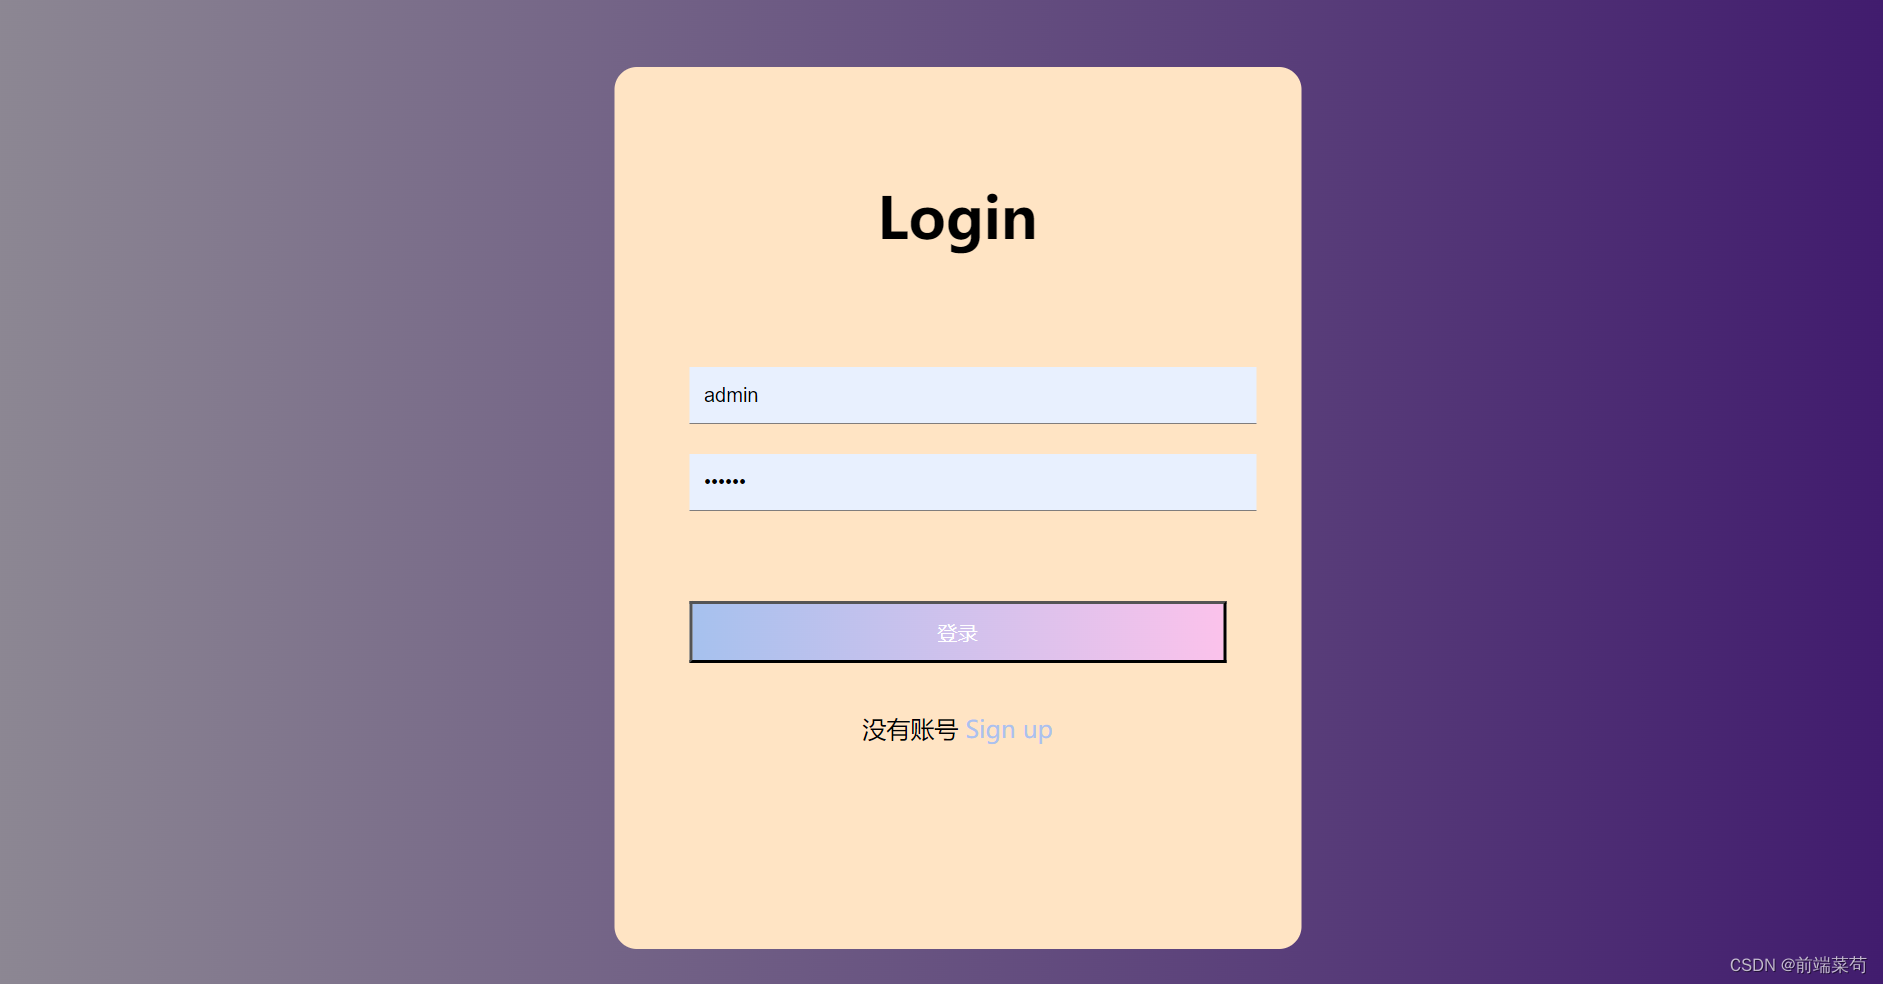

登录成功后访问/hello接口,登录失败回到登录页面