首先得安装好npm和node.js。
创建一个空文件夹如:phaserwebpack,这里我使用webstorm打开,打开终端:
运行:
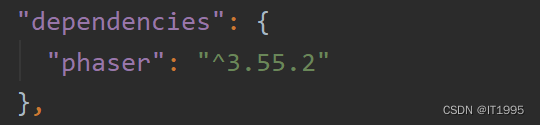
npm init -y执行上面的命令成功后会自动创建package.json文件。随后安装phaser:
npm install --save phaser这时可以在package.json中看到已经添加了phaser:
安装webpack和webpack扩展:
npm install --save-dev webpack
npm install --save-dev webpack-cli
随后按照webpack的copy和clean插件:
npm install --save-dev copy-webpack-plugin
npm install --save-dev clean-webpack-plugin
再创建一个测试脚本:
npm install --save-dev webpack-dev-server此时package.json如下:
{
  "name": "phaserwebpack",
  "version": "1.0.0",
  "description": "",
  "main": "index.js",
  "scripts": {
    "test": "echo \"Error: no test specified\" && exit 1"
  },
  "keywords": [],
  "author": "",
  "license": "ISC",
  "dependencies": {
    "phaser": "^3.55.2"
  },
  "devDependencies": {
    "clean-webpack-plugin": "^4.0.0-alpha.0",
    "copy-webpack-plugin": "^9.0.1",
    "webpack": "^5.48.0",
    "webpack-cli": "^4.7.2",
    "webpack-dev-server": "^3.11.2"
  }
}
这里有个要说明,如果安装phaser使用npm安装使用--save-dev,那么phaser就会会放到devDependencies。
dependencies:生产环境需要的依赖库;
devDependencies:开发环境需要的依赖库;
创建一个webpack.development.js
const path = require('path');

module.exports = {
    entry: {

        // this is our entry point, the main JavaScript file
        app: './src/main.js',
    },
    output: {

        // this is our output file, the one which bundles all libraries
        filename: 'main.js',

        // and this is the path of the output bundle, "dist" folder
        path: path.resolve(__dirname, 'dist'),
    },

    // we are in development mode
    mode: 'development',

    // we need a source map
    devtool: 'inline-source-map',

    // development server root is "src" folder
    devServer: {
        static: './src'
    }
};
上面是开发配置。
此时webpack就搭建好了,下面来写前端相关的代码:
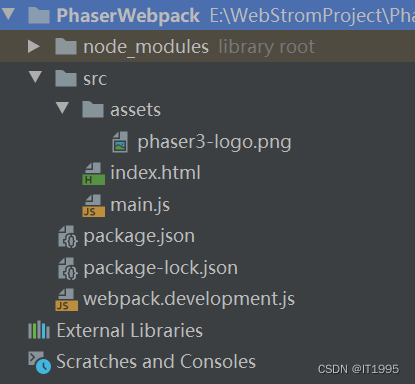
创建新目录src,新建文件src/main.js,index.html
其中index.html代码如下:
<!DOCTYPE html>
<html>
<head>
    <script src="main.js"></script>
</head>
<body>
<div id="thegame"></div>
</body>
</html>
main.js代码如下:
import 'phaser';

class PlayGame extends Phaser.Scene {
    constructor() {
        super("PlayGame");
    }
    preload() {
        this.load.image('logo', 'assets/phaser3-logo.png');
    }
    create() {
        this.image = this.add.image(400, 300, 'logo');
    }
    update() {
        this.image.rotation += 0.01;
    }
}

let config = {
    width: 800,
    height: 600,
    parent: 'thegame',
    scene: PlayGame
};

new Phaser.Game(config);
在到src目录下创建asserts,放图片资源。如下图所示:
最后将package.json中启动脚本改成如下:
{
  "name": "PhaserWebpack",
  "version": "1.0.0",
  "description": "",
  "main": "index.js",
  "scripts": {
    "development": "webpack serve --open --config webpack.development.js"
  },
  "keywords": [],
  "author": "",
  "license": "ISC",
  "dependencies": {
    "phaser": "^3.55.2"
  },
  "devDependencies": {
    "clean-webpack-plugin": "^4.0.0",
    "copy-webpack-plugin": "^11.0.0",
    "webpack": "^5.75.0",
    "webpack-cli": "^5.0.1",
    "webpack-dev-server": "^4.11.1"
  }
}
然后启动:
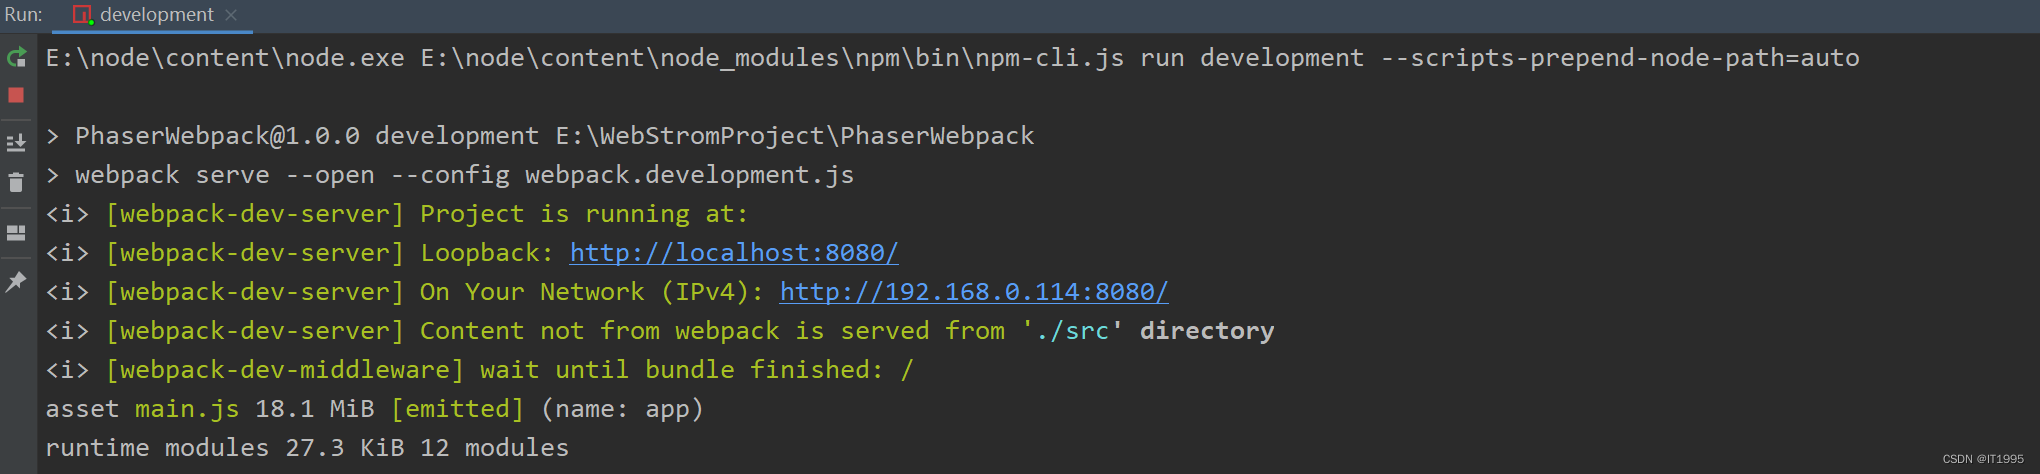
chrome浏览器运行如下: