一、安装macFUSE
如下载macfuse-4.4.3dmg安装
安装过程可能会遇到“若要要启用系统扩展,您需要在恢复环境中修改安全性设置”的提示,如下图:

解决:
关机,直到键盘灯全灭了!
再按住开机键,直到出现下图界面,再松开!具体看下面的文章链接
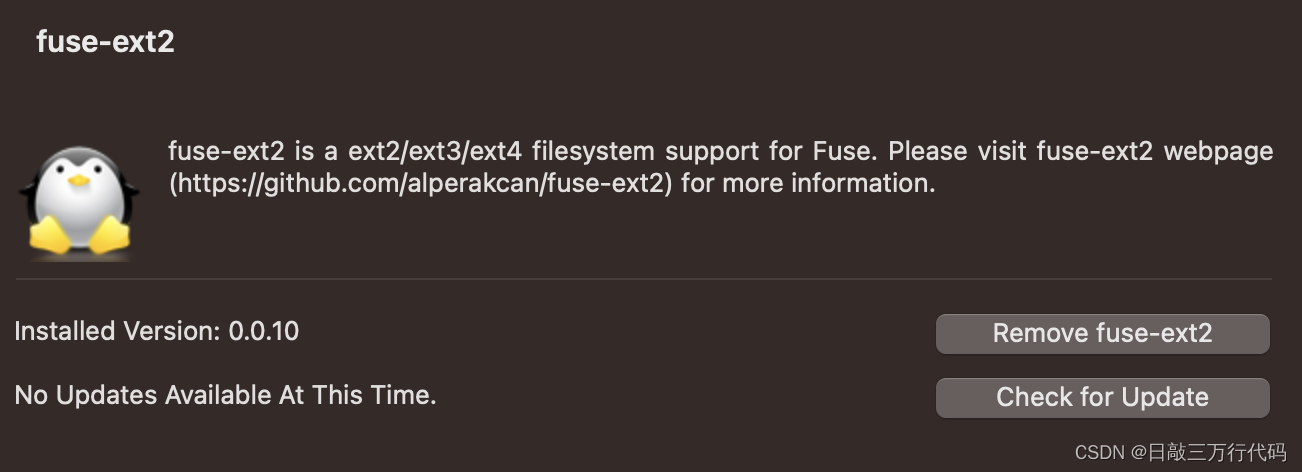
二、安装 FUSE-EXT2
FUSE-EXT2 使得 OSXFUSE 支持 ext2/ext3/ext4 文件系统的挂载。
把下面的代码保存到一个shell脚本中,执行即可。原代码在这里:GitHub - alperakcan/fuse-ext2: Fuse-ext2 is a multi OS FUSE module to mount ext2, ext3 and ext4 file system devices and/or images with read write support.这个脚本有一些小问题,可能出错不会【很明显地】报告,需要自己仔细看一下有没有出错。
Copy and paste this into a file such as /tmp/ext4/script.sh, but do not name the file install.sh. Remember to chmod +x script.sh. Run it from that directory - ./script.sh
#!/bin/sh
export PATH=/opt/gnu/bin:$PATH
export PKG_CONFIG_PATH=/opt/gnu/lib/pkgconfig:/usr/local/lib/pkgconfig:$PKG_CONFIG_PATH

mkdir fuse-ext2.build
cd fuse-ext2.build

if [ ! -d fuse-ext2 ]; then
    git clone https://github.com/alperakcan/fuse-ext2.git
fi

# m4
if [ ! -f m4-1.4.17.tar.gz ]; then
    curl -O -L http://ftp.gnu.org/gnu/m4/m4-1.4.17.tar.gz
fi
tar -zxvf m4-1.4.17.tar.gz
cd m4-1.4.17
./configure --prefix=/opt/gnu
make -j 16
sudo make install
cd ../

# autoconf
if [ ! -f autoconf-2.69.tar.gz ]; then
    curl -O -L http://ftp.gnu.org/gnu/autoconf/autoconf-2.69.tar.gz
fi
tar -zxvf autoconf-2.69.tar.gz
cd autoconf-2.69
./configure --prefix=/opt/gnu
make
sudo make install
cd ../

# automake
if [ ! -f automake-1.15.tar.gz ]; then
    curl -O -L http://ftp.gnu.org/gnu/automake/automake-1.15.tar.gz
fi
tar -zxvf automake-1.15.tar.gz
cd automake-1.15
./configure --prefix=/opt/gnu
make
sudo make install
cd ../

# libtool
if [ ! -f libtool-2.4.6.tar.gz ]; then
    curl -O -L http://ftpmirror.gnu.org/libtool/libtool-2.4.6.tar.gz
fi
tar -zxvf libtool-2.4.6.tar.gz
cd libtool-2.4.6
./configure --prefix=/opt/gnu
make
sudo make install
cd ../

# e2fsprogs
if [ ! -f e2fsprogs-1.43.4.tar.gz ]; then
    curl -O -L https://www.kernel.org/pub/linux/kernel/people/tytso/e2fsprogs/v1.43.4/e2fsprogs-1.43.4.tar.gz
fi
tar -zxvf e2fsprogs-1.43.4.tar.gz
cd e2fsprogs-1.43.4
./configure --prefix=/opt/gnu --disable-nls
make
sudo make install
sudo make install-libs
sudo cp /opt/gnu/lib/pkgconfig/* /usr/local/lib/pkgconfig
cd ../

# fuse-ext2
export PATH=/opt/gnu/bin:$PATH
export PKG_CONFIG_PATH=/opt/gnu/lib/pkgconfig:/usr/local/lib/pkgconfig:$PKG_CONFIG_PATH

cd fuse-ext2
./autogen.sh
CFLAGS="-idirafter/opt/gnu/include -idirafter/usr/local/include/osxfuse/" LDFLAGS="-L/opt/gnu/lib -L/usr/local/lib" ./configure
make
sudo make install
这个脚本跑成功之后,会在系统偏好设置里面增加一项如下的设置,表明安装已成功。
Mac os 13
Mac os previous

三、挂载
用diskutil list命令查看硬盘信息
$ diskutil list
/dev/disk0 (internal):
   #:                       TYPE NAME                    SIZE       IDENTIFIER
   0:      GUID_partition_scheme                         500.3 GB   disk0
   1:                        EFI EFI                     314.6 MB   disk0s1
   2:                 Apple_APFS Container disk1         500.0 GB   disk0s2

/dev/disk1 (synthesized):
   #:                       TYPE NAME                    SIZE       IDENTIFIER
   0:      APFS Container Scheme -                      +500.0 GB   disk1
                                 Physical Store disk0s2
   1:                APFS Volume Macintosh HD            473.8 GB   disk1s1
   2:                APFS Volume Preboot                 49.2 MB    disk1s2
   3:                APFS Volume Recovery                509.9 MB   disk1s3
   4:                APFS Volume VM                      3.2 GB     disk1s4

/dev/disk2 (external, physical):
   #:                       TYPE NAME                    SIZE       IDENTIFIER
   0:     FDisk_partition_scheme                        *500.1 GB   disk2
   1:                      Linux                         500.1 GB   disk2s1
新建挂载目录(t7):
mkdir ~/t7挂载(挂载不成功的话,重启再试)
# /dev/disk2s1这里要和硬盘信息的一样,要使用有s1的,是挂载分区,不是挂载硬盘
sudo fuse-ext2 /dev/disk2s1 ~/t7 -o rw+
取消挂载
sudo umount ~/t7挂载后打开没有权限,如下图

解决:
1. 选中文件
2. 右键选择“显示简介”
3. 点击下方“共享与权限”旁边小三角展开
4. 点击右下角的锁图标
,会提示输入密码,输入密码解锁
5. 最后将everyone的权限设置为“读与写”或“只读”即可
此时就可以正常打开该文件夹进行访问了。
最后
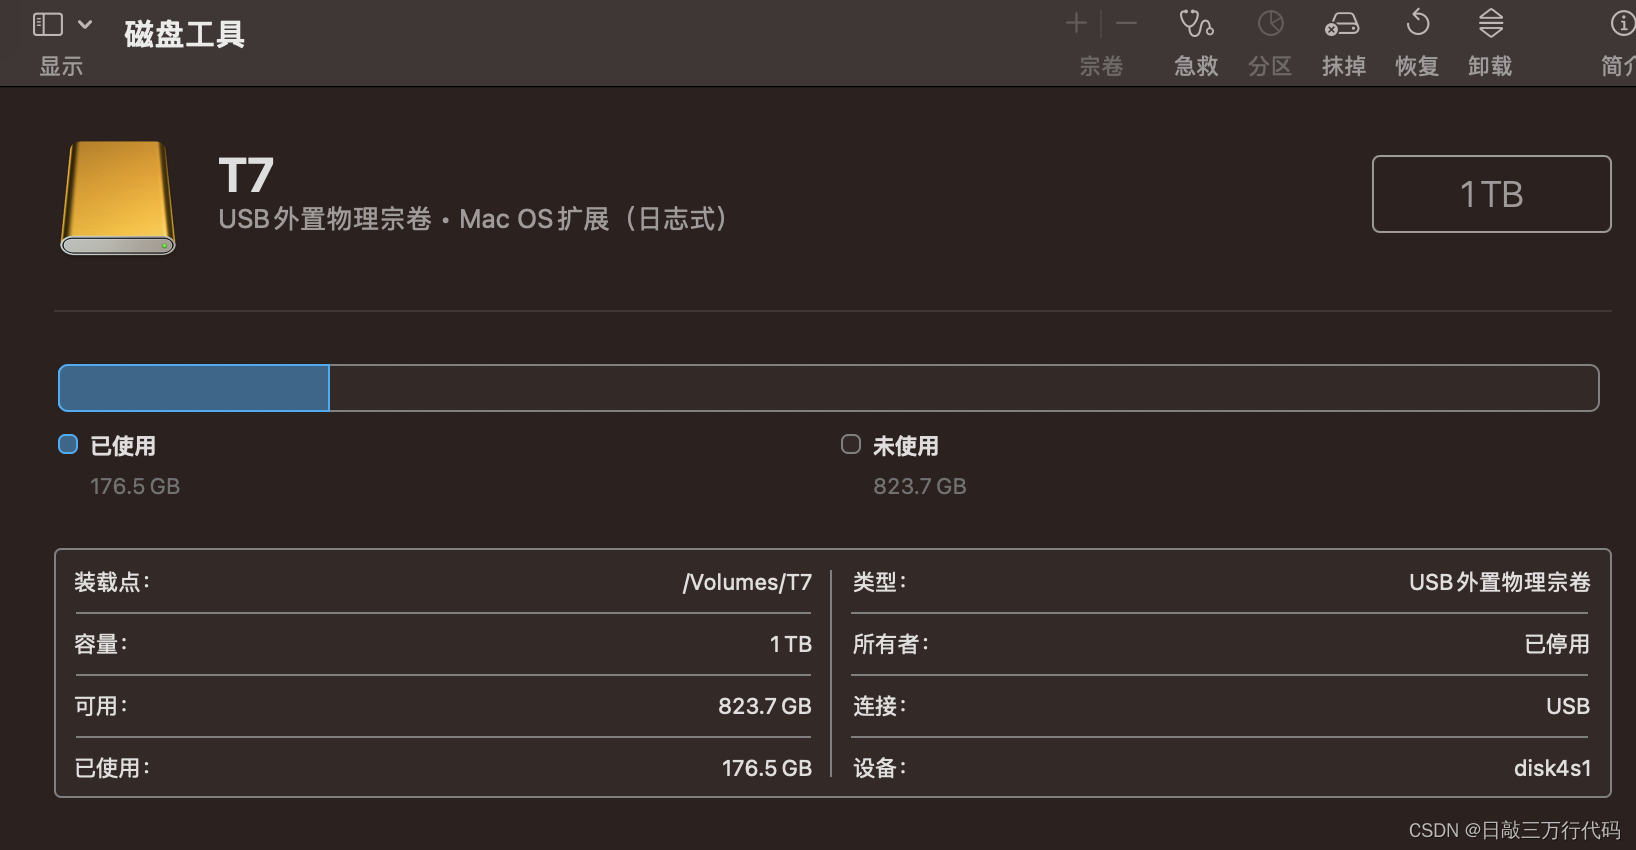
ext4格式的硬盘在Mac速度很慢,我用的是三星T7 1G,复制文件才70M每秒,但格式化为Mac OS 拓展(日志式)后,复制文件速度为400-500M每秒,非常香。
参考文章: