Pytorch模型转TensorRT步骤
yolov5转TRT
流程
当前项目基于yolov5-6.0版本,如果使用其他版本代码请参考
https://github.com/wang-xinyu/tensorrtx/tree/master/yolov5
获取转换项目:
git clone https://github.com/wang-xinyu/tensorrtx.git
git clone -b v6.0 https://github.com/ultralytics/yolov5.git
使用yolov5的导出配置,将.pt权重文件转换为纯文本类型的.wts文件:
// clone code according to above #Different versions of yolov5
// download https://github.com/ultralytics/yolov5/releases/download/v6.0/yolov5s.pt
cp {

    tensorrtx}/yolov5/gen_wts.py {

    ultralytics}/yolov5
cd {

    ultralytics}/yolov5
python gen_wts.py -w yolov5s.pt -o yolov5s.wts
// a file 'yolov5s.wts' will be generated.
构建 tensorrtx并将yolov5转换
cd {

    tensorrtx}/yolov5/
// update CLASS_NUM in yololayer.h if your model is trained on custom dataset
mkdir build
cd build
cp {

    ultralytics}/yolov5/yolov5s.wts {

    tensorrtx}/yolov5/build
cmake ..
make
#两个运行范例
#sudo ./yolov5 -s [.wts] [.engine] [n/s/m/l/x/n6/s6/m6/l6/x6 or c/c6 gd gw]  // serialize model to plan file
#sudo ./yolov5 -d [.engine] [image folder]  // deserialize and run inference, the images in [image folder] will be processed.

// For example yolov5s
sudo ./yolov5 -s yolov5s.wts yolov5s.engine s
sudo ./yolov5 -d yolov5s.engine ../samples
// For example Custom model with depth_multiple=0.17, width_multiple=0.25 in yolov5.yaml
sudo ./yolov5 -s yolov5_custom.wts yolov5.engine c 0.17 0.25
sudo ./yolov5 -d yolov5.engine ../samples
遇到的问题
1、fatal error: NvInfer.h: No such file or directory
通过 find / -name NvInfer.h 查找发现 该头文件不存在
需要安装tensorRT服务
2、fatal error: opencv2/opencv.hpp
没有安装opencv
sudo apt install libopencv-dev python3-opencv
安装之后再尝试编译
3、opencv2/dnn/dnn.hpp can not find
将版本切换为opencv4.1,具体重装步骤参考博客:https://blog.csdn.net/weixin_44003563/article/details/90404745
注:上面两个关于opencv的错误,安装完成之后需要将build中的内容删除,并重新cmake
4、Assertion `engine != nullptr’ failed
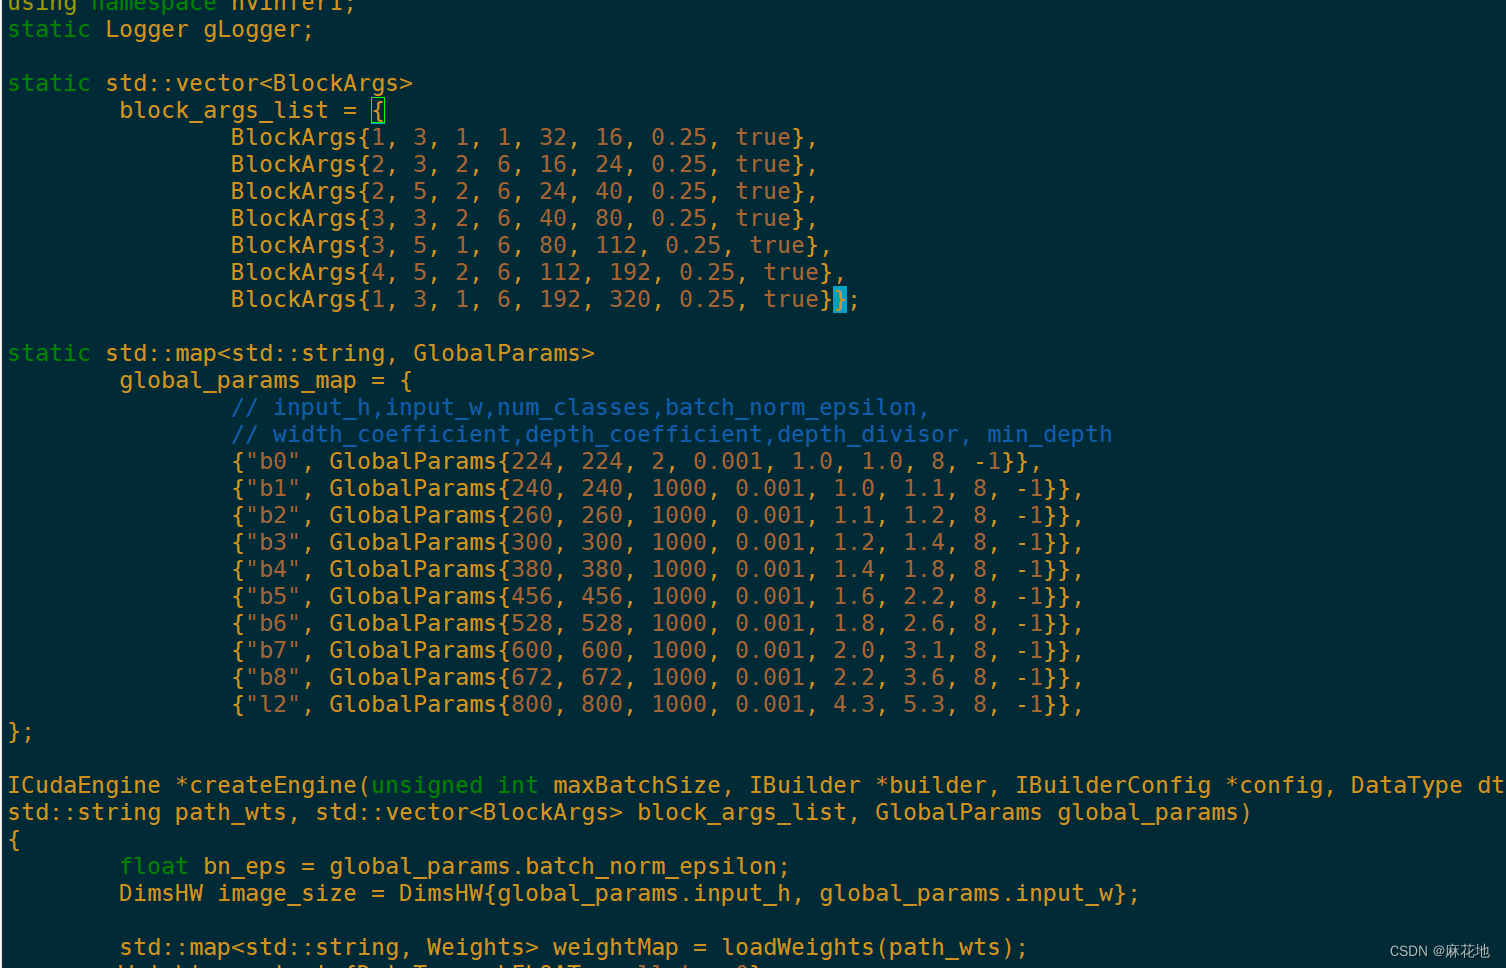
如果是自己训练过的模型,先确定是否修改tensorrtx/yolov5/yololayer.h中的static constexpr int CLASS_NUM = 80; class_num修改为自己模型对应的类别数
如果还不可以,再确认tensorRT版本是否正确,一般是7.x的不会出问题
分类模型转TRT加速
流程
安装efficientnet_pytorch,需要使用其加载和保存
pip install efficientnet_pytorch
生成.wts文件,如果是直接用官方的模型则直接循行即可
python gen_wts.py
若使用自己训练的则需要修改gen_wts.py,修改一下代码即可
import torch
import struct
from efficientnet_pytorch import EfficientNet
#原版加载
#model = EfficientNet.from_pretrained('efficientnet-b0')
#加载自己的模型
model = torch.load("./efficientnet-b0-custerm.pth")

model.eval()
f = open('efficientnet-b0-custerm.wts', 'w')
f.write('{}\n'.format(len(model.state_dict().keys())))
for k, v in model.state_dict().items():
    vr = v.reshape(-1).cpu().numpy()
    f.write('{} {} '.format(k, len(vr)))
    for vv in vr:
        f.write(' ')
        f.write(struct.pack('>f',float(vv)).hex())
    f.write('\n')
f.close()
构建
mkdir build
cd build
cmake ..
make
生成.engine文件
./efficientnet -s [.wts] [.engine] [b0 b1 b2 b3 ... b7] // serialize model to engine file
例子
./efficientnet -s ../efficientnet-b3.wts efficientnet-b3.engine b3
使用图片测试
./efficientnet -d [.engine] [b0 b1 b2 b3 ... b7] // deserialize engine file and run inference
例子
./efficientnet -d efficientnet-b3.engine b3
遇到的问题
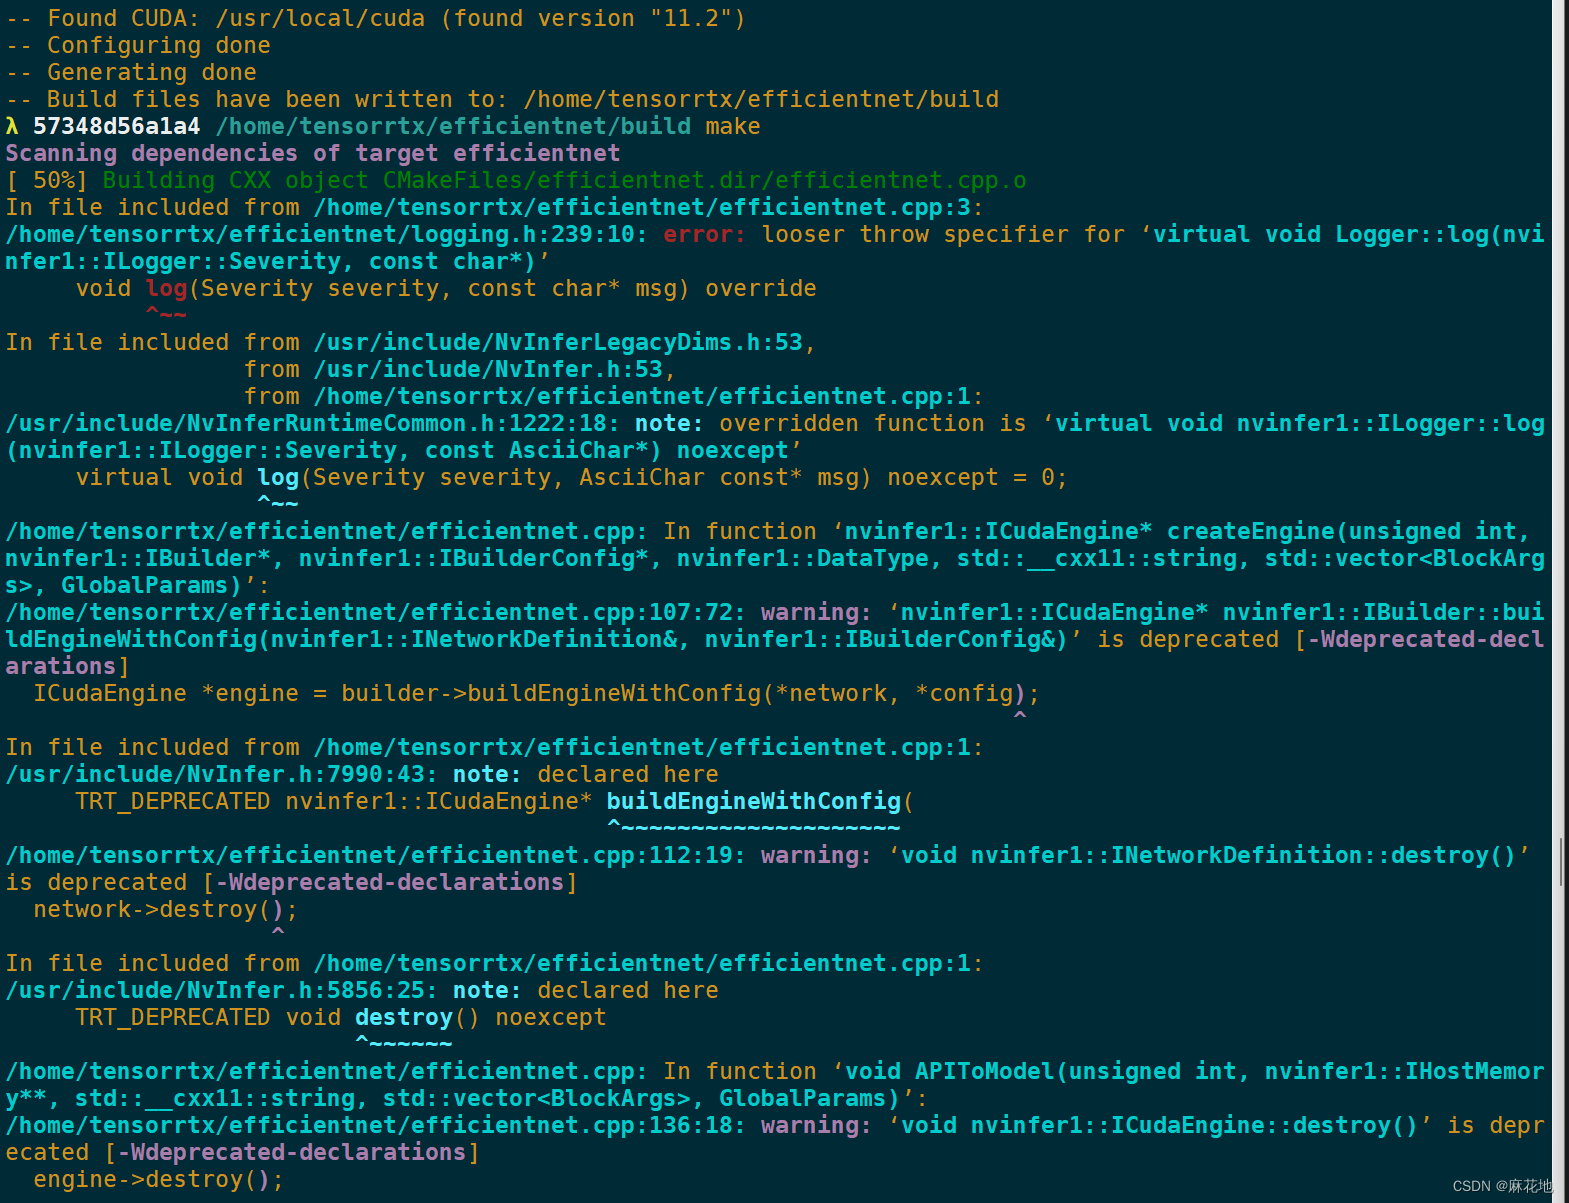
log错误
efficiennet根据官方步骤会有一个错误
如果使用的是8.x的tensorRT需要修改log.h的一段代码
参考链接
https://blog.csdn.net/jacke121/article/details/125580185
类别错误
如果是自己训练的模型,请在efficientnet.cpp中修改num_classes为模型对应的类别数。
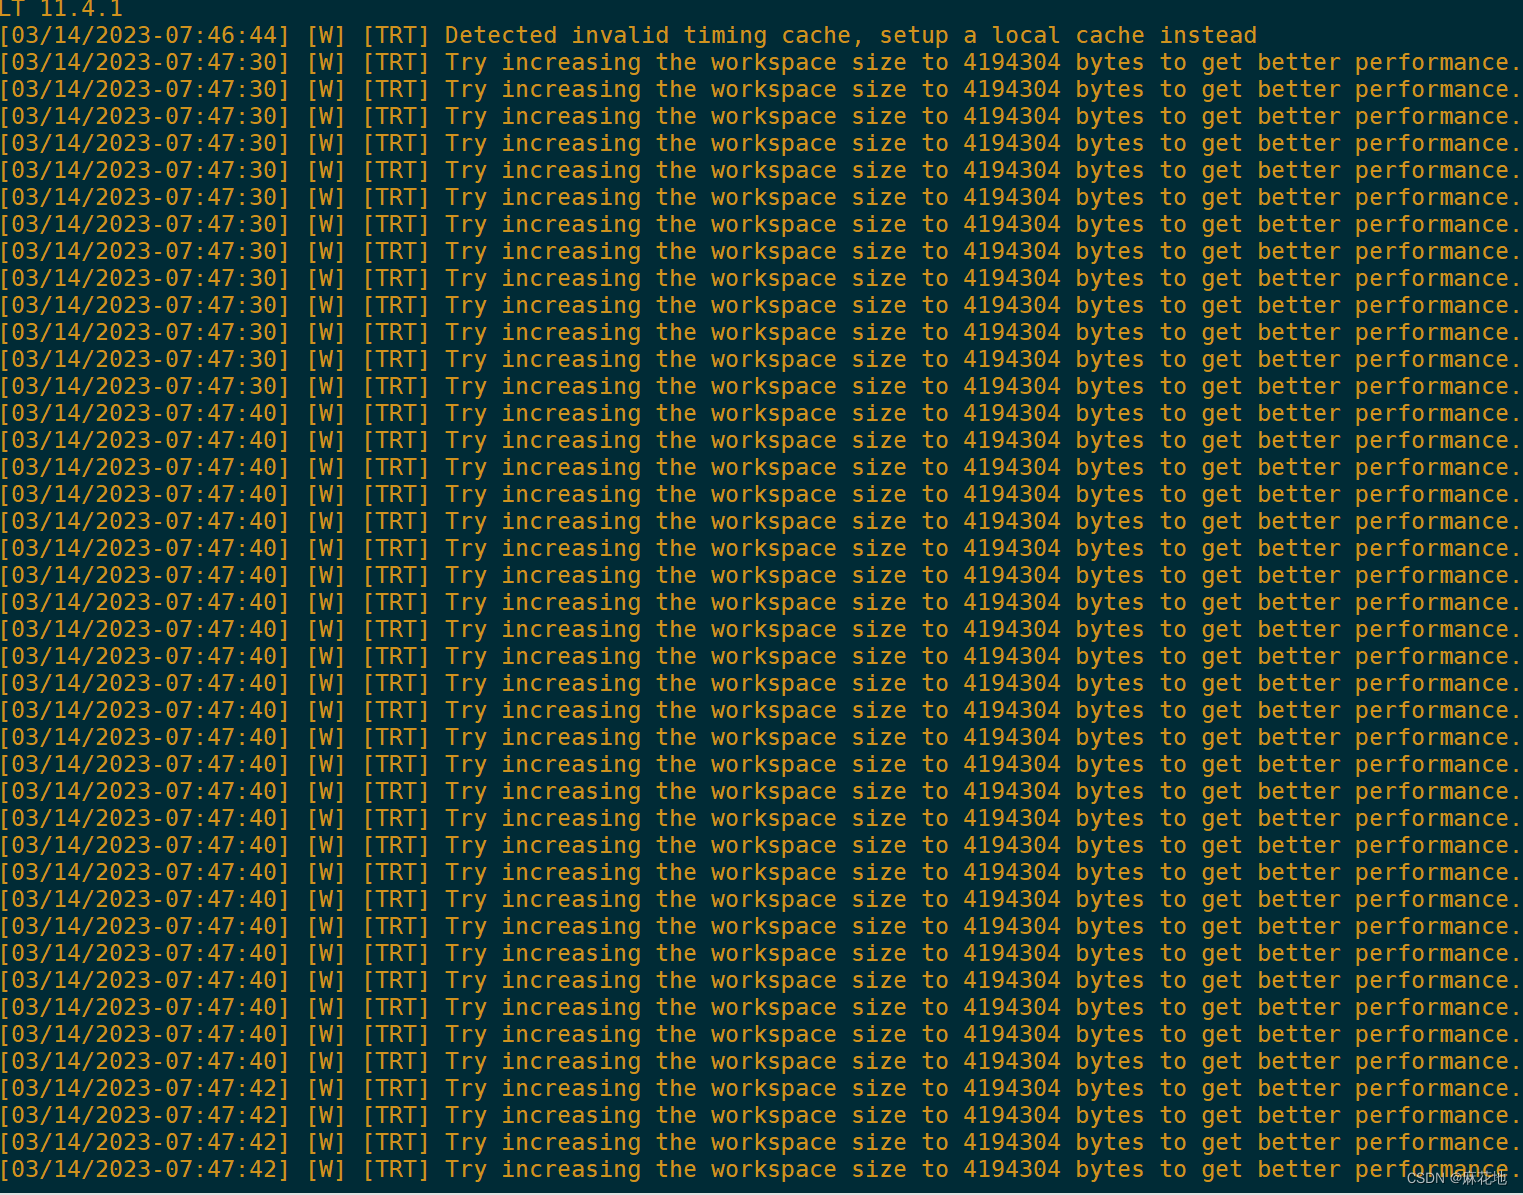
运行警告
[W] [TRT] Try increasing the workspace size to 4194304 bytes to get better performance.
该警告可以忽略不计,对最后结果影响不大,但是会出现很多