一、为什么要有服务端分库分表?
-
配合 ORM 框架使用更友好
当使用 ShardingSphere-JDBC 时,需要在代码中直接编写分库分表的逻辑,如果使用 ORM 框架,会产生冲突。ShardingSphere-Proxy 作为服务端中间件,可以无缝对接 ORM 框架。 -
对 DBA 更加友好
ShardingSphere-Proxy 作为服务端代理,对 DBA 完全透明。DBA 可以直接操作原始数据源,而不需要了解ShardingSphere 的功能和 API。这简化了 DBA 的工作,也不会产生额外学习成本。 -
避免在项目中侵入分库分表逻辑
使用 ShardingSphere-JDBC,需要在业务代码中编写分库分表规则配置,这会使代码显得繁琐,且一旦规则变更,需要修改大量代码。ShardingSphere-Proxy 通过外部配置实现规则管理,可以避免这种情况。 -
提供分布式事务支持
ShardingSphere-Proxy 可以与第三方事务管理器对接,提供对分布式数据库的分布式事务支持。而ShardingSphere-JDBC 仅支持本地事务。 -
实现无中心化数据治理
通过 ShardingSphere-Proxy,可以将多个数据源注册到同一个代理服务中,实现跨数据源的数据治理、监控和报警等功能。这有利于大规模微服务系统的运维。
二、ShardingProxy基础使用
1、部署SharidingProxy
需要把MySQL的JDBC驱动包mysql-connector-java-8.0.20.jar手动复制到ShardingProxy的lib目录下。
然后,配置服务
先打开server.yaml,把其中的rule部分和props部分注释打开
rules:
 - !AUTHORITY
   users:
     - root@%:root
     - sharding@:sharding
   provider:
     type: ALL_PERMITTED
 - !TRANSACTION
   defaultType: XA
   providerType: Atomikos
 - !SQL_PARSER
   sqlCommentParseEnabled: true
   sqlStatementCache:
     initialCapacity: 2000
     maximumSize: 65535
   parseTreeCache:
     initialCapacity: 128
     maximumSize: 1024

props:
 max-connections-size-per-query: 1
 kernel-executor-size: 16  # Infinite by default.
 proxy-frontend-flush-threshold: 128  # The default value is 128.
 proxy-hint-enabled: false
 sql-show: false
 check-table-metadata-enabled: false
   # Proxy backend query fetch size. A larger value may increase the memory usage of ShardingSphere Proxy.
   # The default value is -1, which means set the minimum value for different JDBC drivers.
 proxy-backend-query-fetch-size: -1
 proxy-frontend-executor-size: 0 # Proxy frontend executor size. The default value is 0, which means let Netty decide.
   # Available options of proxy backend executor suitable: OLAP(default), OLTP. The OLTP option may reduce time cost of writing packets to client, but it may increase the latency of SQL execution
   # and block other clients if client connections are more than `proxy-frontend-executor-size`, especially executing slow SQL.
 proxy-backend-executor-suitable: OLAP
 proxy-frontend-max-connections: 0 # Less than or equal to 0 means no limitation.
   # Available sql federation type: NONE (default), ORIGINAL, ADVANCED
 sql-federation-type: NONE
   # Available proxy backend driver type: JDBC (default), ExperimentalVertx
 proxy-backend-driver-type: JDBC
 proxy-mysql-default-version: 8.0.29 # In the absence of schema name, the default version will be used.
 proxy-default-port: 3307 # Proxy default port.
 proxy-netty-backlog: 1024 # Proxy netty backlog.
rules下的AUTHORITY部分配置ShardingProxy的用户以及权限。 TRANSACTION部分维护的是事务控制器。
max-connections-size-per-query参数是对于ShardingProxy最重要的
优化参数,它代表sql是走的内存限制模式还是连接限制模式
- 内存限制模式只需要保持一个JDBC连接,单线程即可完成某一个真实库的所有数据访问。
- 连接限制模式就需要保持多个JDBC连接,也就需要多线程并发完成某一个真实库的所有数据访问。
配置常用分库分表策略
databaseName: sharding_db

dataSources:
 m0:
   url: jdbc:mysql://127.0.0.1:3306/coursedb?serverTimezone=UTC&useSSL=false
   username: root
   password: root
   connectionTimeoutMilliseconds: 30000
   idleTimeoutMilliseconds: 60000
   maxLifetimeMilliseconds: 1800000
   maxPoolSize: 50
   minPoolSize: 1
 m1:
   url: jdbc:mysql://127.0.0.1:3306/coursedb?serverTimezone=UTC&useSSL=false
   username: root
   password: root
   connectionTimeoutMilliseconds: 30000
   idleTimeoutMilliseconds: 60000
   maxLifetimeMilliseconds: 1800000
   maxPoolSize: 50
   minPoolSize: 1

rules:
- !SHARDING
 tables:
   course:
     actualDataNodes: m${

    0..1}.course_${

    1..2}
     databaseStrategy:
       standard:
         shardingColumn: cid
         shardingAlgorithmName: course_db_alg
     tableStrategy:
       standard:
         shardingColumn: cid
         shardingAlgorithmName: course_tbl_alg
     keyGenerateStrategy:
       column: cid
       keyGeneratorName: snowflake

 shardingAlgorithms:
   course_db_alg:
     type: MOD
     props:
       sharding-count: 2
   course_tbl_alg:
     type: INLINE
     props:
       algorithm-expression: course_$->{

    cid%2+1}
 keyGenerators:
   snowflake:
     type: SNOWFLAKE
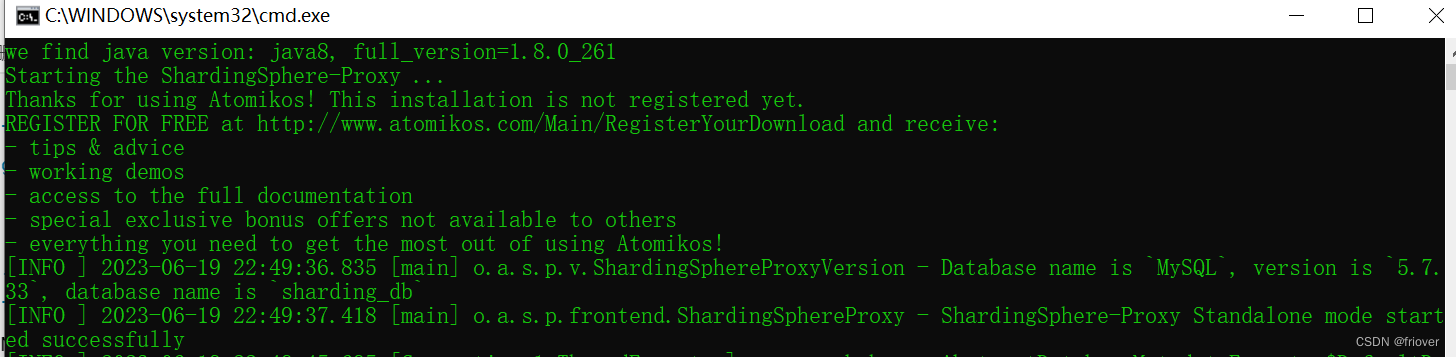
修改完成后,就可以启动ShardingProxy了。 启动脚本在bin目录下。
三、ShardinSphere中的分布式事务机制
由于ShardingSphere是需要操作分布式的数据库集群,所以数据库内部的本地事务机制是无法保证ShardingProxy中的事务安全的,这就需要引入分布式事务管理机制,保证ShardingProxy中的SQL语句执行的原子性。也就是说,在ShardingProxy中打开分布式事务机制后,你就不需要考虑SQL语句执行时的分布式事务问题了。
- 什么是XA事务?
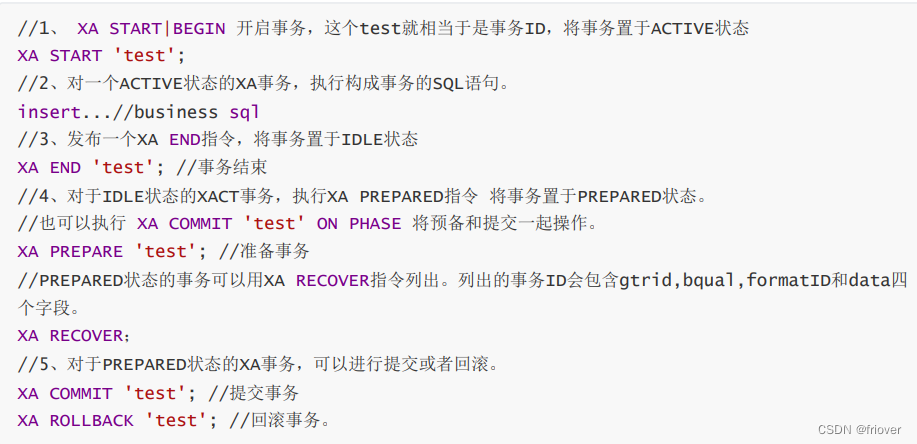
在这个标准下有多种具体的实现框架。ShardingSphere集成了Atomikos、Bitronix和Narayana三个框架。其中在ShardingProxy中默认只集成了Atomikos实现。 - 实际理解XA事务
package com.roy.shardingDemo;

import com.mysql.cj.jdbc.MysqlXAConnection;
import com.mysql.cj.jdbc.MysqlXid;

import javax.sql.XAConnection;
import javax.transaction.xa.XAException;
import javax.transaction.xa.XAResource;
import javax.transaction.xa.Xid;
import java.sql.Connection;
import java.sql.DriverManager;
import java.sql.PreparedStatement;
import java.sql.SQLException;


public class MySQLXAConnectionTest {


    public static void main(String[] args) throws SQLException {


        //true表示打印XA语句,,用于调试
        boolean logXaCommands = true;
        // 获得资源管理器操作接口实例 RM1
        Connection conn1 = DriverManager.getConnection("jdbc:mysql://localhost:3306/coursedb?serverTimezone=UTC", "root", "root");
        XAConnection xaConn1 = new MysqlXAConnection((com.mysql.cj.jdbc.JdbcConnection) conn1, logXaCommands);
        XAResource rm1 = xaConn1.getXAResource();
        // 获得资源管理器操作接口实例 RM2
        Connection conn2 = DriverManager.getConnection("jdbc:mysql://localhost:3306/coursedb2?serverTimezone=UTC", "root", "root");
        XAConnection xaConn2 = new MysqlXAConnection((com.mysql.cj.jdbc.JdbcConnection) conn2, logXaCommands);
        XAResource rm2 = xaConn2.getXAResource();
        // AP请求TM执行一个分布式事务,TM生成全局事务id
        byte[] gtrid = "g12345".getBytes();
        int formatId = 1;
        try {


            // ==============分别执行RM1和RM2上的事务分支====================
            // TM生成rm1上的事务分支id
            byte[] bqual1 = "b00001".getBytes();
            Xid xid1 = new MysqlXid(gtrid, bqual1, formatId);
            // 执行rm1上的事务分支
            rm1.start(xid1, XAResource.TMNOFLAGS);//One of TMNOFLAGS, TMJOIN, or TMRESUME.
            PreparedStatement ps1 = conn1.prepareStatement("INSERT INTO `dict` VALUES (10, 'T', '测试1');");
            ps1.execute();
            rm1.end(xid1, XAResource.TMSUCCESS);
            // TM生成rm2上的事务分支id
            byte[] bqual2 = "b00002".getBytes();
            Xid xid2 = new MysqlXid(gtrid, bqual2, formatId);
            // 执行rm2上的事务分支
            rm2.start(xid2, XAResource.TMNOFLAGS);
            PreparedStatement ps2 = conn2.prepareStatement("INSERT INTO `dict` VALUES (11, 'F', '测试2');");
            ps2.execute();
            rm2.end(xid2, XAResource.TMSUCCESS);
            // ===================两阶段提交================================
            // phase1:询问所有的RM 准备提交事务分支
            int rm1_prepare = rm1.prepare(xid1);
            int rm2_prepare = rm2.prepare(xid2);
            // phase2:提交所有事务分支
            boolean onePhase = false; //TM判断有2个事务分支,所以不能优化为一阶段提交
            if (rm1_prepare == XAResource.XA_OK
                    && rm2_prepare == XAResource.XA_OK
            ) {

    //所有事务分支都prepare成功,提交所有事务分支
                rm1.commit(xid1, onePhase);
                rm2.commit(xid2, onePhase);
            } else {

    //如果有事务分支没有成功,则回滚
                rm1.rollback(xid1);
                rm1.rollback(xid2);
            }
        } catch (XAException e) {


            // 如果出现异常,也要进行回滚
            e.printStackTrace();
        }
    }
}
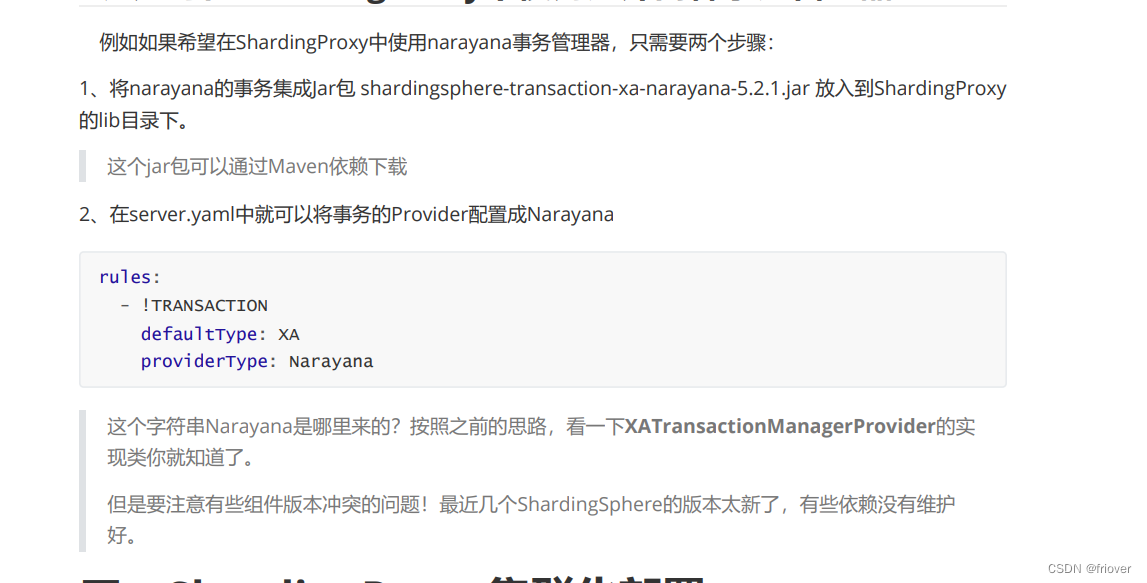
3、如何在ShardingProxy中使用另外两种事务管理器?
四、ShardingProxy集群化部署
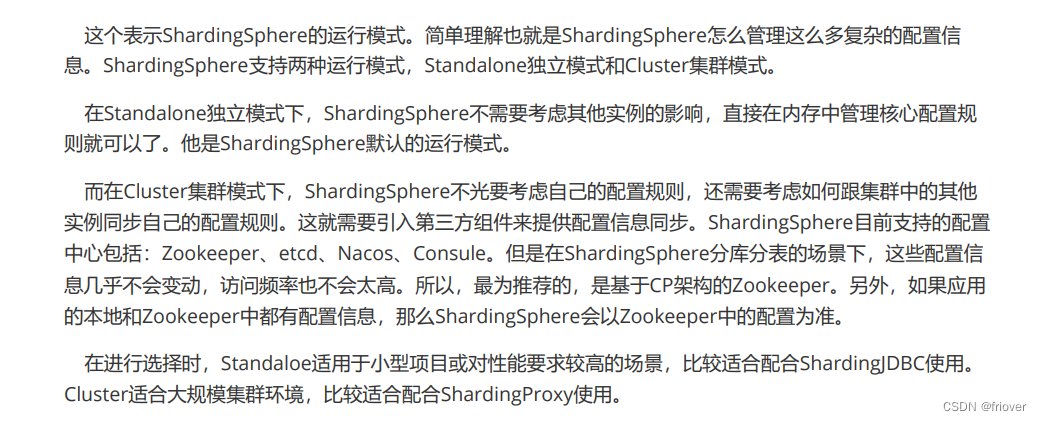
1、理解ShardingProxy运行模式,打开server.xml
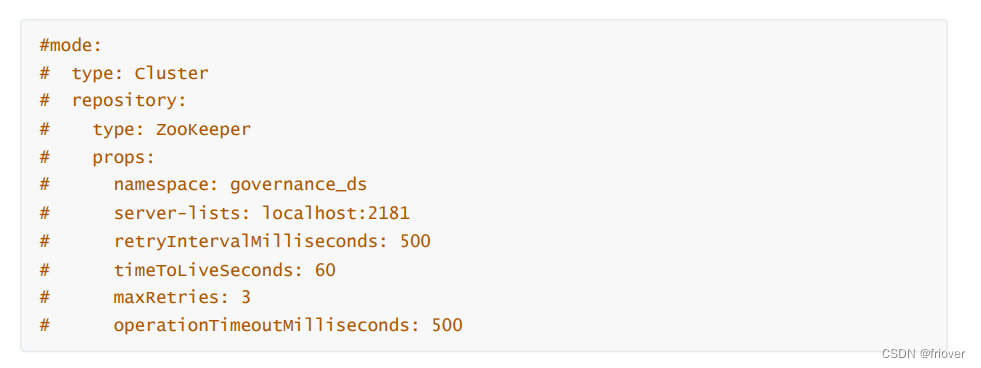
2、使用Zookeeper进行集群部署
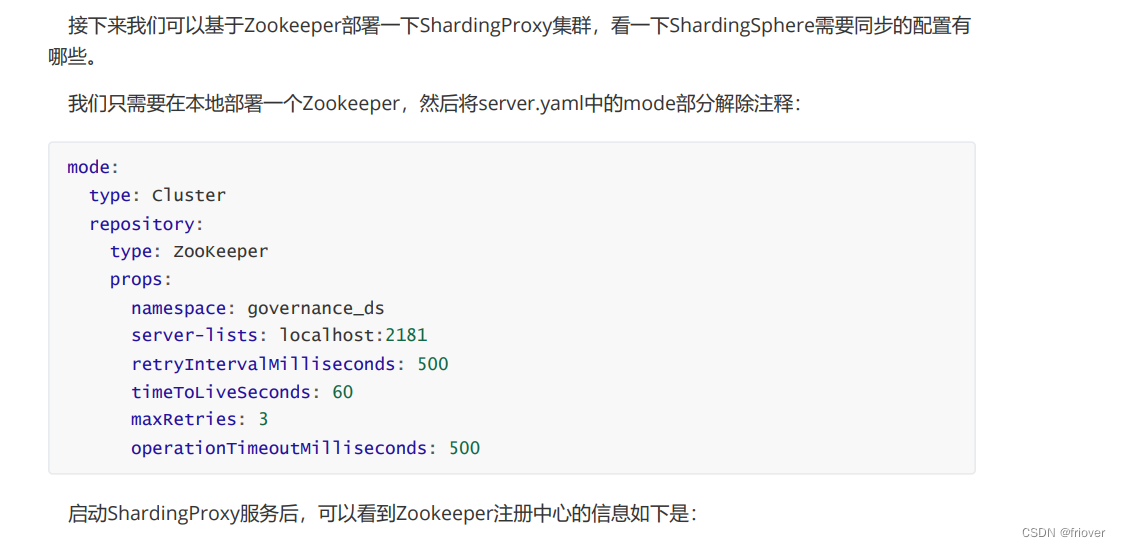

再次启动可以看到zookeeper存在shardingsphere的节点了,里面存储了所有的配置信息