基于pytorch对图像进行卷积操作
- 首先将需要的库准备好,博主使用的是python3.8,pytorch1.7.1
import cv2
import torch
import torch.nn as nn
import matplotlib.pyplot as plt
import numpy as np
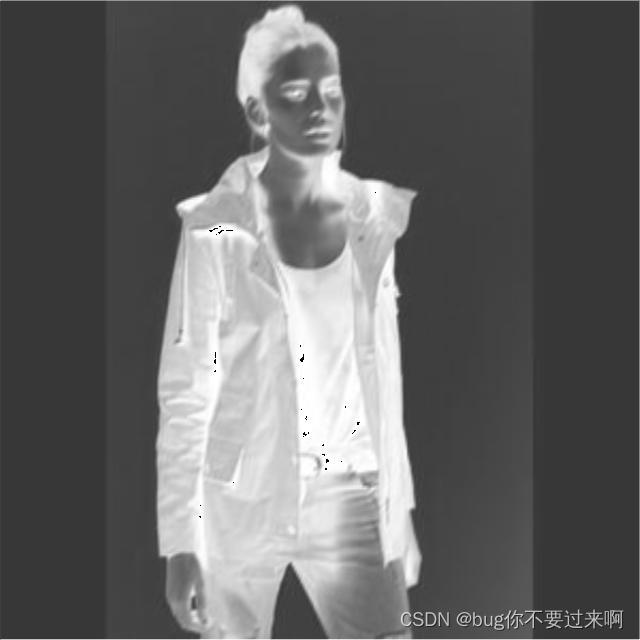
- cv2读取图片,并将其转换为(640,640,3),可以不转换
img = cv2.imread(r'D:\Hooded_Cotton_Canvas_Anorakimg_00000001.jpg')
img = cv2.resize(img, (640, 640))
原图

- 转换为tensor张量
input_tensor = torch.from_numpy(img).float().permute(2, 0, 1)
input_tensor = input_tensor.unsqueeze(0)
- 定义卷积层,此处卷积层的输入通道数为 3,因为图像是 RGB 图像。卷积核的大小为 3 x 3,步长为 1,且使用了 1 像素的填充。输出通道数为 64。
conv = nn.Conv2d(3, 32, 3, stride=1, padding=1)

output = conv(input_tensor)
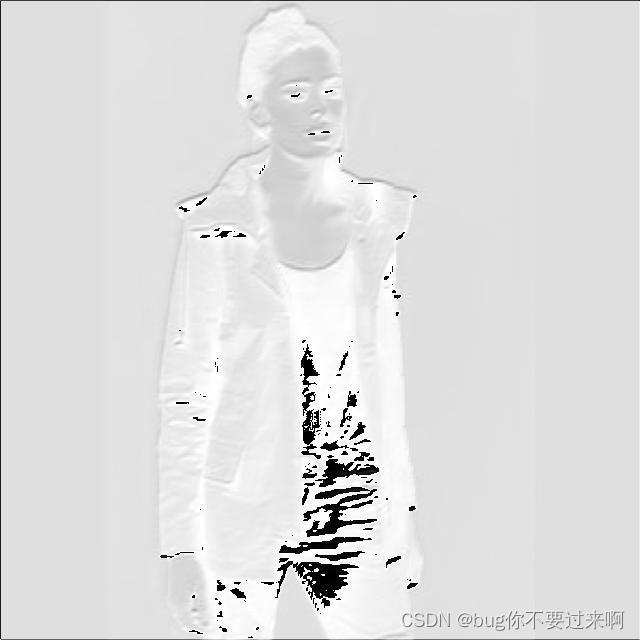
- 如若要将其导出需要经过一下方法
output = output.squeeze(0).detach()
output = output.numpy()
output = output.astype(np.uint8)

# 此时导出的为第0层,灰度图像,一共三层,0、1、2
img = Image.fromarray(output[0])
img.save('new.jpg')
0

1
2
如果有不对的地方还请指正!
参考文章: