环境:Ubuntu 20.04.6 LTS / Python3.8 / AMD RX6500XT显卡
( N卡安装方式也差不多,Windows应该也是这个安装方式
下载ComfyUI
git clone https://github.com/comfyanonymous/ComfyUI.git
安装Pytorch
-
N卡执行:
pip3 install torch==1.13.1 torchvision torchaudio --extra-index-url https://download.pytorch.org/whl/cu117 xformers -
A卡执行:
pip3 install torch torchvision torchaudio --extra-index-url https://download.pytorch.org/whl/rocm5.4.2
环境准备
在 ComfyUI 文件夹中打开终端来安装依赖项:
pip3 install -r requirements.txt
如果之前已经安装过WebUI,可以直接使用WebUI的环境
pip3 install -r stable-diffusion-webui/requirements.txt
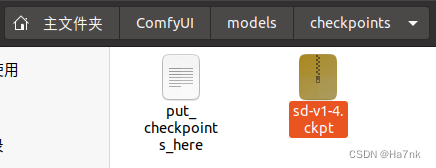
将模型文件拷贝到/ComfyUI/models/checkpoints目录下:
启动
回到ComfyUI目录,执行启动命令
- N卡:
python3 main.py - A卡执行:
HSA_OVERRIDE_GFX_VERSION=10.3.0 python3 main.py

执行成功http://127.0.0.1:8188/

其它
跑图如果遇到下面报错
ValueError: The device_map provided does not give any device for the following parameters…

可能引用到了版本太旧的accelerate软件包,在ComfyUI的lowvram模式中需要用到所以报错。可以尝试通过升级accelerate软件包解决:
pip3 install accelerate --upgrade