Avalonia,读:阿瓦隆尼亚
这里的跨平台指的是,使用c#语言开发跨Linux平台。c#在Windows桌面开发中很强,但是在Linux桌面中,不能跨平台,Qt可以在Linux中跨平台,但是那是另外一门语言了。Avalonia类似使用WPF的技术方法来开发,所以,需要会使用WPF,其中的一些语法和写法与WPF有所区别,但是他们相差不大,会WPF的话,基本上可以看看文档后,完全掌握Avalonia的使用,从而达到跨平台开发的任务。
官网的资料是:Welcome - Avalonia UI
1.安装Avalonia,打开vs2022,选择管理拓展,点击下载,安装

2. 安装完成后,重启VS2022,我们可以看到1和2,其中1是使用MVVM模式开发,2是普通模式开发,我们选择2,建立项目

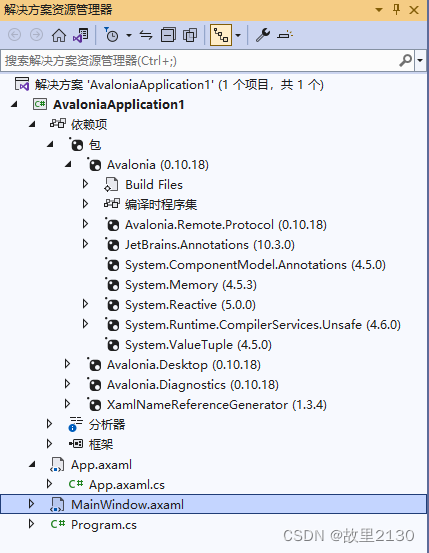
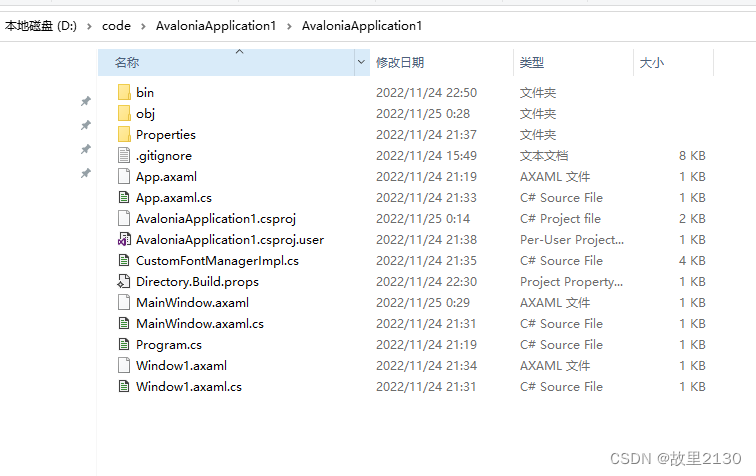
3.完成建立项目,我们看到它的结构和WPF程序结构差不多

其中解决方案中自动引用了一些包 ,并且这些包版本都非常的低,说明还不够成熟
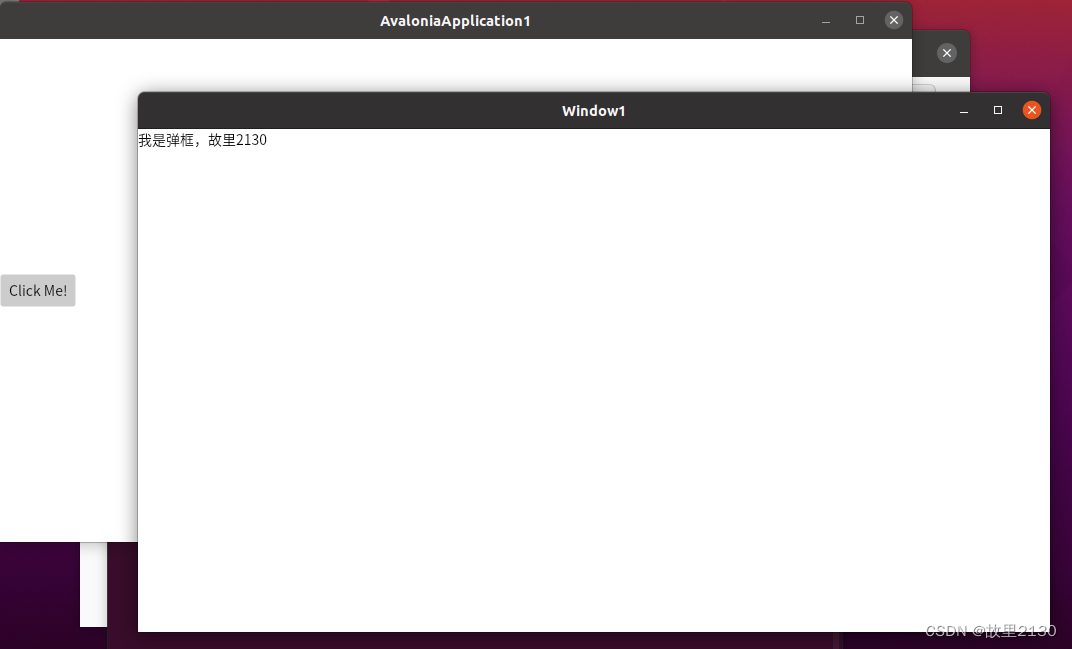
4.接下来,我们创建一个按钮,点击按钮弹出一个框
点击右键,增加新建项,选择Avalonia,可以看到,目前可以选择这些项。

我们选择一个Windows弹框,界面加载非常的慢,可能还是不成熟的问题吧,过一会儿就好了
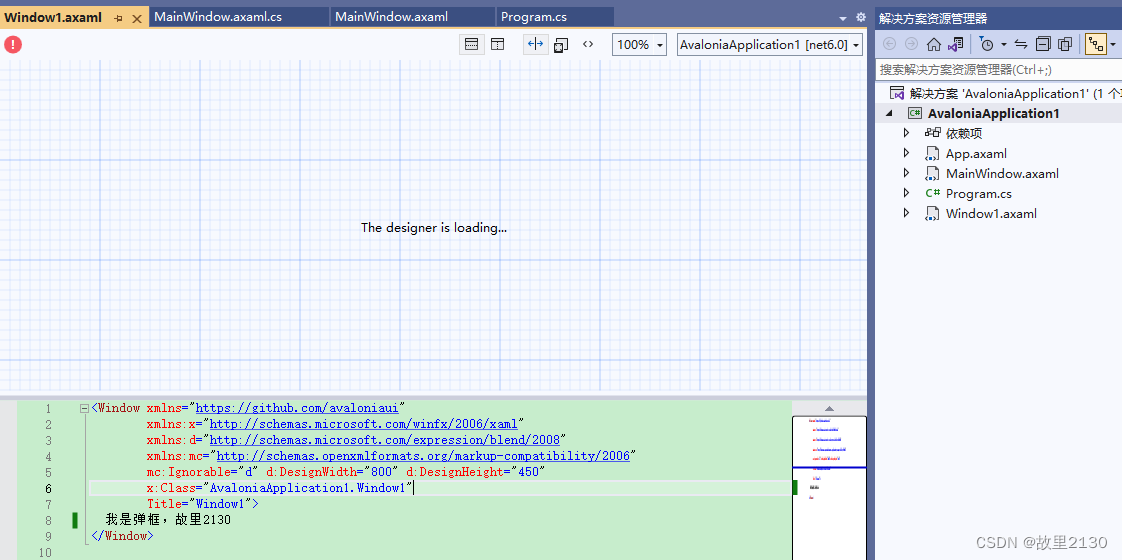
然后在主界面增加一个按钮,这里记得要增加按钮的事件,否则会报错,而且也不够智能化,应该还是不够成熟。其实写法有些不一样,可以参考官网的说明,进行修改。
Programming with Avalonia - Avalonia UI

然在cs文件中写弹出的代码

5.我们点击运行,先在Windows中看看效果。
 6. 这里把代码贴出来,在Ubuntu系统中,运行的时候,会报错,加上代码就可以了。
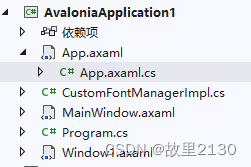
App.axaml.cs中增加最后一个方法
using Avalonia;
using Avalonia.Controls.ApplicationLifetimes;
using Avalonia.Markup.Xaml;
using Avalonia.Platform;

namespace AvaloniaApplication1
{
    public partial class App : Application
    {
        public override void Initialize()
        {
            AvaloniaXamlLoader.Load(this);
        }

        public override void OnFrameworkInitializationCompleted()
        {
            if (ApplicationLifetime is IClassicDesktopStyleApplicationLifetime desktop)
            {
                desktop.MainWindow = new MainWindow();
            }

            base.OnFrameworkInitializationCompleted();
        }
        public override void RegisterServices()
        {
            AvaloniaLocator.CurrentMutable.Bind<IFontManagerImpl>().ToConstant(new CustomFontManagerImpl());
            base.RegisterServices();
        }
    }
}
CustomFontManagerImpl.cs
using Avalonia.Media;
using Avalonia.Platform;
using Avalonia.Skia;
using SkiaSharp;
using System;
using System.Collections.Generic;
using System.Globalization;
using System.Linq;
using System.Text;
using System.Threading.Tasks;

namespace AvaloniaApplication1
{
    public class CustomFontManagerImpl : IFontManagerImpl
    {
        private readonly Typeface[] _customTypefaces;
        private readonly string _defaultFamilyName;

        //Load font resources in the project, you can load multiple font resources
        private readonly Typeface _defaultTypeface =
            new Typeface("resm:AvaloniaApplication1.Assets.Fonts.msyh#微软雅黑");

        public CustomFontManagerImpl()
        {
            _customTypefaces = new[] { _defaultTypeface };
            _defaultFamilyName = _defaultTypeface.FontFamily.FamilyNames.PrimaryFamilyName;
        }

        public string GetDefaultFontFamilyName()
        {
            return _defaultFamilyName;
        }

        public IEnumerable<string> GetInstalledFontFamilyNames(bool checkForUpdates = false)
        {
            return _customTypefaces.Select(x => x.FontFamily.Name);
        }

        private readonly string[] _bcp47 = { CultureInfo.CurrentCulture.ThreeLetterISOLanguageName, CultureInfo.CurrentCulture.TwoLetterISOLanguageName };

        public bool TryMatchCharacter(int codepoint, FontStyle fontStyle, FontWeight fontWeight, FontFamily fontFamily,
            CultureInfo culture, out Typeface typeface)
        {
            foreach (var customTypeface in _customTypefaces)
            {
                if (customTypeface.GlyphTypeface.GetGlyph((uint)codepoint) == 0)
                {
                    continue;
                }

                typeface = new Typeface(customTypeface.FontFamily.Name, fontStyle, fontWeight);

                return true;
            }

            var fallback = SKFontManager.Default.MatchCharacter(fontFamily?.Name, (SKFontStyleWeight)fontWeight,
                SKFontStyleWidth.Normal, (SKFontStyleSlant)fontStyle, _bcp47, codepoint);

            typeface = new Typeface(fallback?.FamilyName ?? _defaultFamilyName, fontStyle, fontWeight);

            return true;
        }

        public IGlyphTypefaceImpl CreateGlyphTypeface(Typeface typeface)
        {
            SKTypeface skTypeface;

            switch (typeface.FontFamily.Name)
            {
                case FontFamily.DefaultFontFamilyName:
                case "微软雅黑":  //font family name
                    skTypeface = SKTypeface.FromFamilyName(_defaultTypeface.FontFamily.Name); break;
                default:
                    skTypeface = SKTypeface.FromFamilyName(typeface.FontFamily.Name,
                        (SKFontStyleWeight)typeface.Weight, SKFontStyleWidth.Normal, (SKFontStyleSlant)typeface.Style);
                    break;
            }
            //解决linux系统下skTypeface是null
            if (skTypeface == null)
            {
                skTypeface = SKTypeface.FromFamilyName(_defaultTypeface.FontFamily.Name);
            }
            //如果是centos7之类的使用linux里面的字体
            //if (skTypeface == null)
            //{
            //    skTypeface = SKTypeface.FromFamilyName("WenQuanYi Micro Hei");
            //}

            return new GlyphTypefaceImpl(skTypeface);
        }
    }
}
7.我们右键项目,选择发布,选择文件夹

对参数进行配置,如图所示

这里选择独立,这样就不用安装.net6的环境了。生成单个文件,就是只有一个文件。
8.点击保存,然后发布,打开文件夹,把文件夹复制到Linux系统中
9.我这里使用的是Ubuntu 64位系统,版本20.04.4LTS

我们把整个文件夹复制进来后,在命令窗口输入以下命令
./AvaloniaApplication1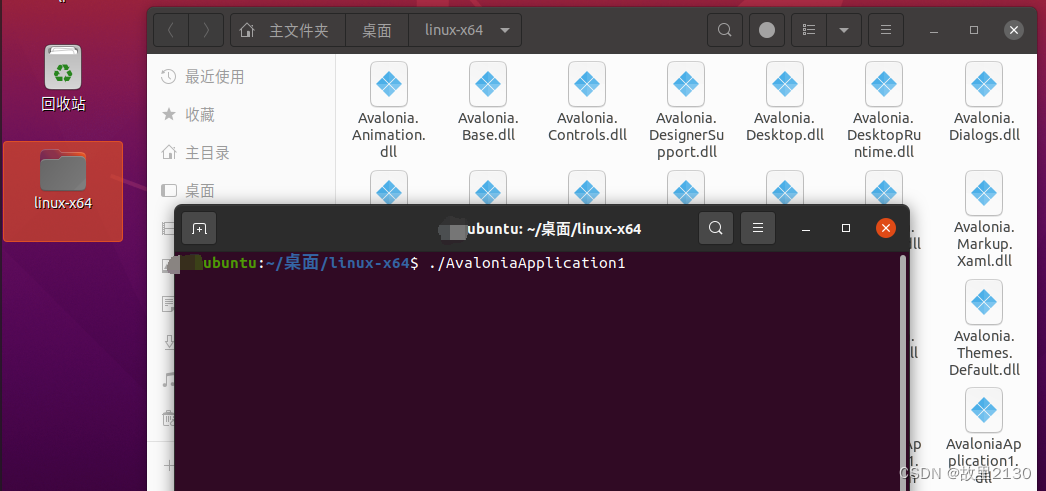
10.然后点击回车按钮,就看到了效果,和Windows显示的标题栏还是有区别的

拓展
上面的例子是使用命令的方式启动程序,我们以安装的方式在Ubuntu系统中启动程序。
1.首先进入项目中,使用cmd打开
2.打开cmd,输入命令
dotnet tool install --global dotnet-deb
3. 进入项目根目录中
4.执行命令
dotnet deb install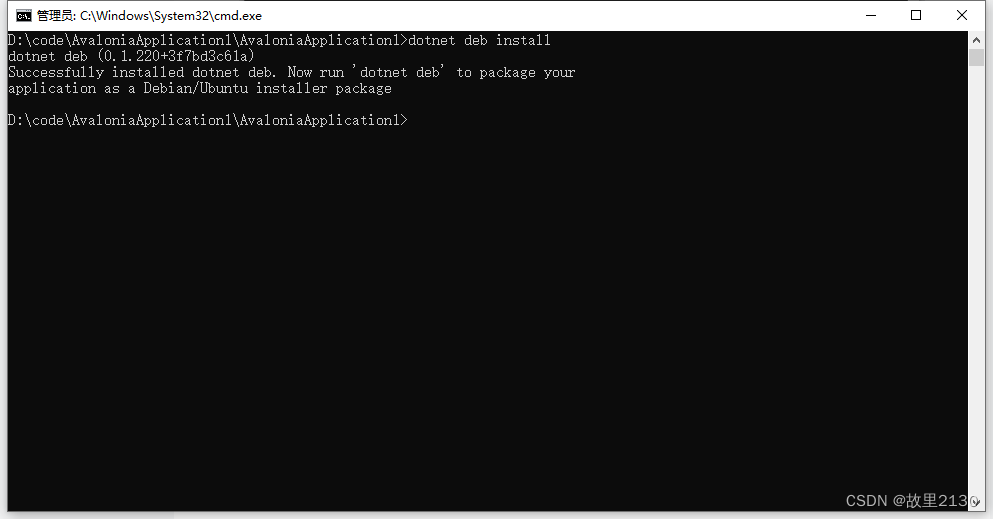
5.再执行命令
dotnet restore -r linux-x64
6. 最后执行命令,注意版本
dotnet msbuild AvaloniaApplication1.csproj /t:CreateDeb /p:TargetFramework=net6.0 /p:RuntimeIdentifier=linux-x64 /p:Configuration=Release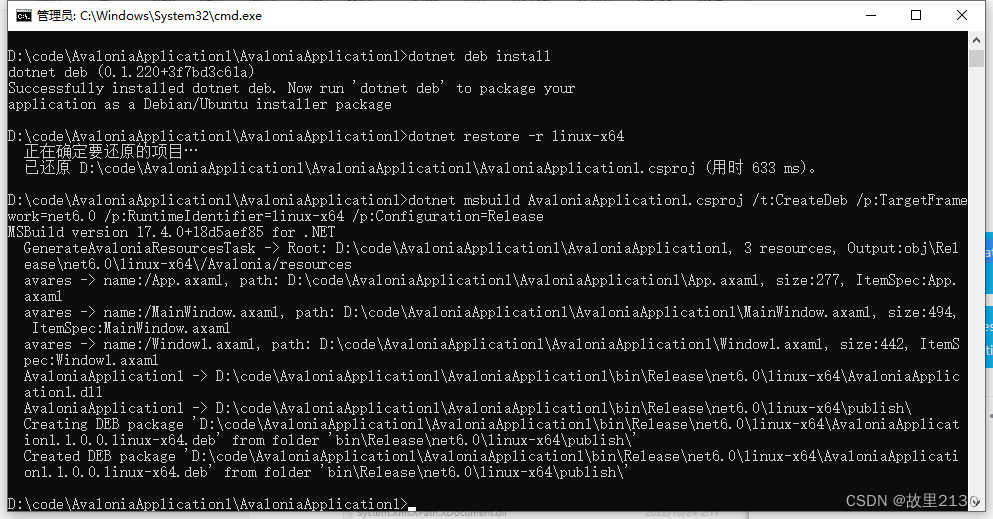
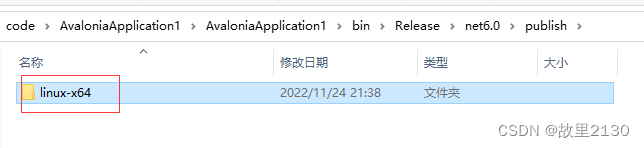
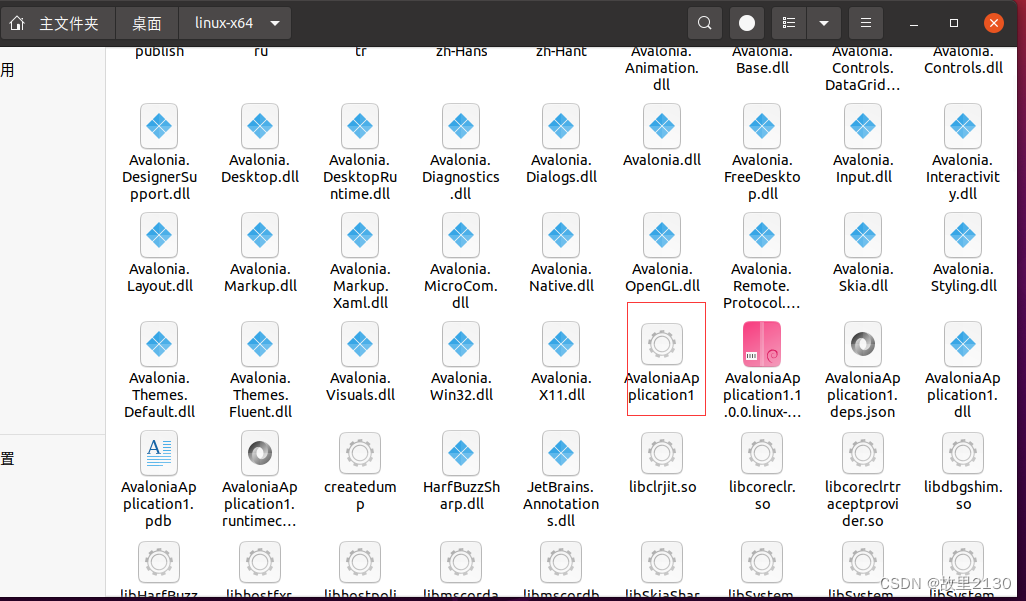
7.找到路径,可以把整个linux-x64复制到Ubuntu中

8.依然可以使用命令的方式运行

9.直接双击粉红色的文件,进行安装,输入密码,但是美中不足的是,好像没有图标,图标似乎需要单独去设置。
