The usage of OpenSSH
Recently, someone are supposed to use university VPN to connect with Jupyterhub. But there is a desperate sentence that For Windows users, open PowerShell if you are Window 10 1803 or newer, else you should use other ssh tools. For me, unfortunately I am an outlier. So with teacher’s suggestion, I focus on other ssh tool called OpenSSH. Here is some tips you may need.
Tips for user of OpenSSH
-
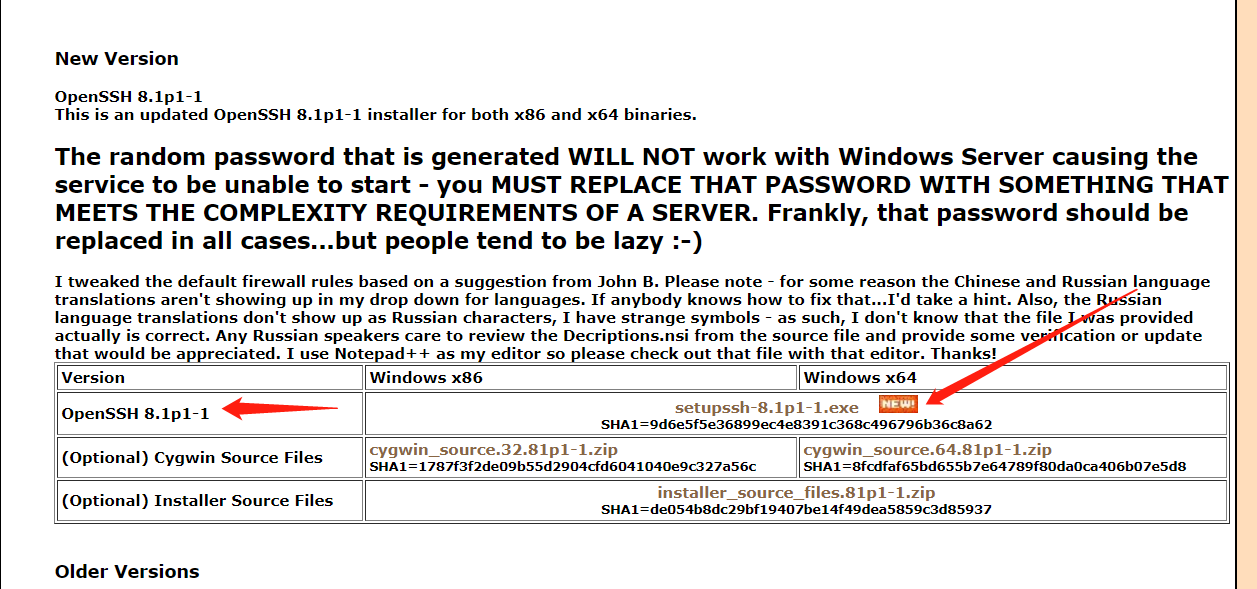
First, you should install OpenSSH software. But you cannot install it from official website directly, because it’s hard to find the download file. If you try to search “OpenSSH download for Windows”, you will get an zip file, including plenty of .nsi files, which are absolutely inconvenient. For user-friendly, I provide an official website with an executable .exe file. Click here.
-
Next, click .exe file to start your download.
-
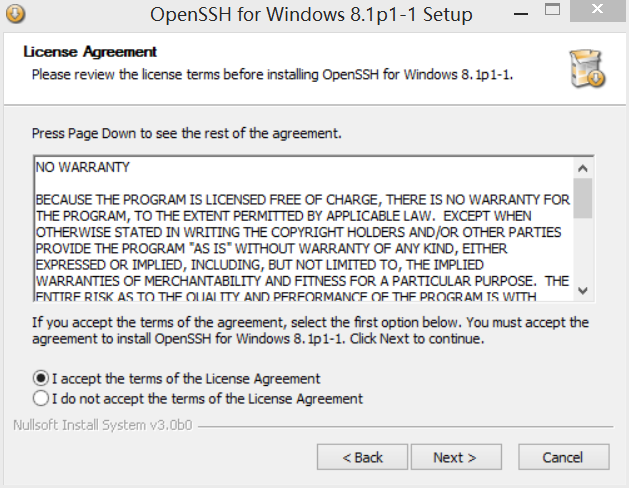
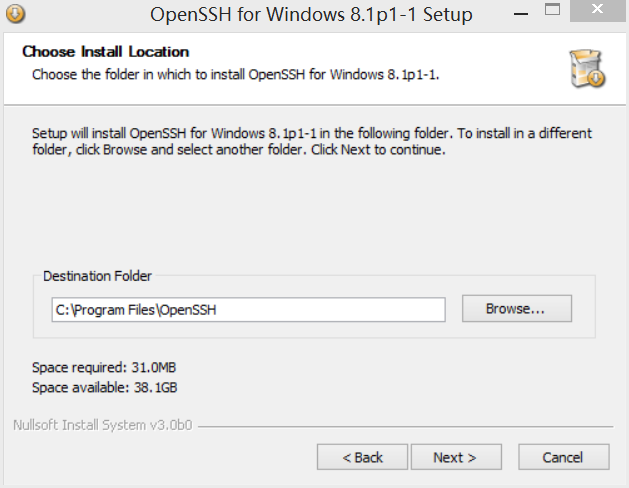
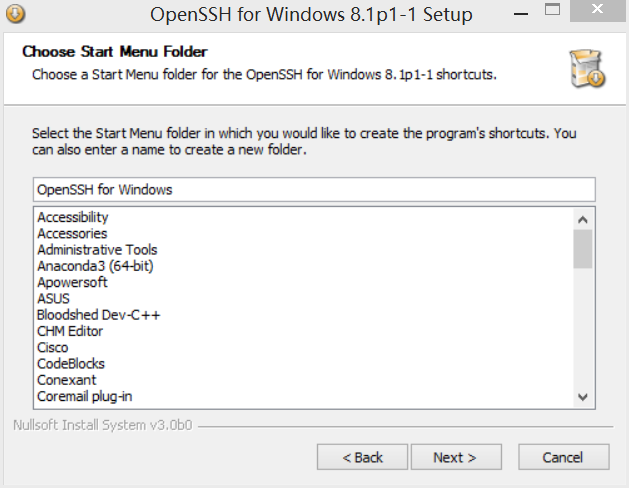
And then, follow the graphical instructions to install OpenSSH.
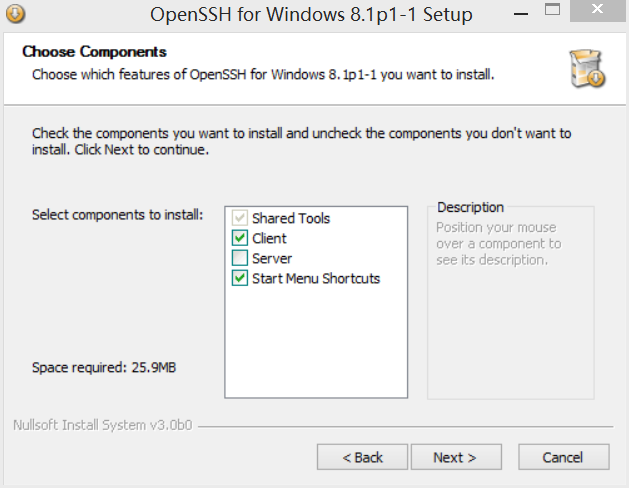
- remember: unclick “Server” Option, or you are supposed to change the features of Server later, which is unnecessary here.
- remember: unclick “Server” Option, or you are supposed to change the features of Server later, which is unnecessary here.
-
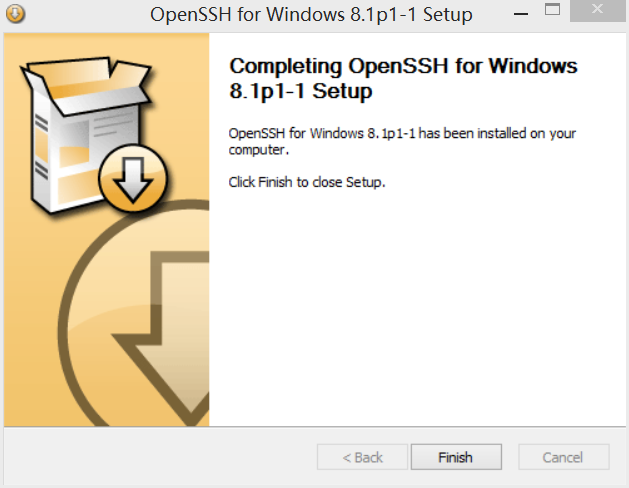
Until now, you have installed OpenSSH successfully. Next, press
win + Rand inputcmdto run Command Prompt as administrator -
Now, you are going to work on the connection. Input
ssh -N -L localhost:8888:localhost:8080 ws**********@172.16.240.253(Remember: replace to your own student ID)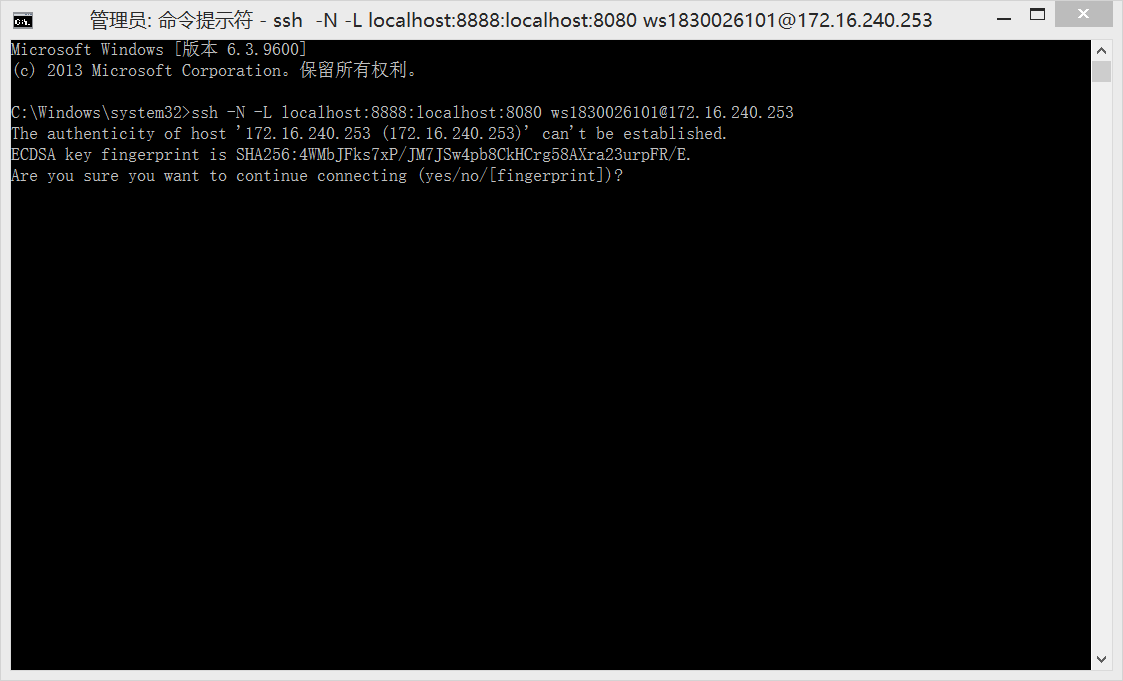
-
For the first connection, you will be asked to keep connection or not. Just input
yes.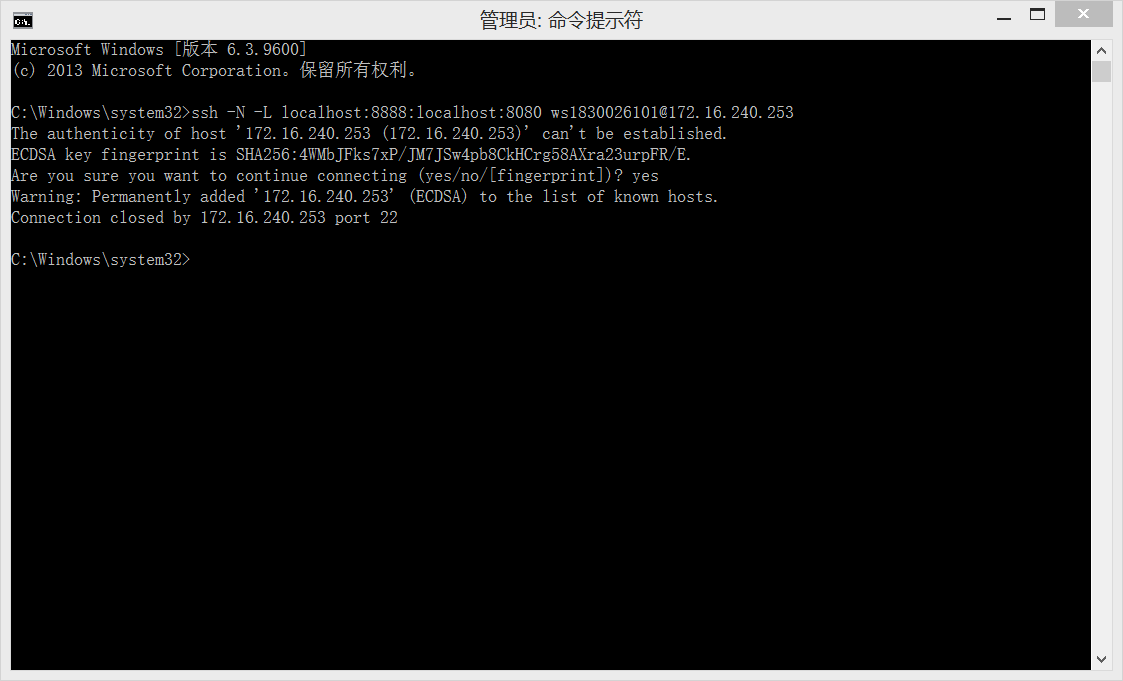
-
Input
ssh -N -L localhost:8888:localhost:8080 [email protected]again and enter the initial password 000000, then press Enter.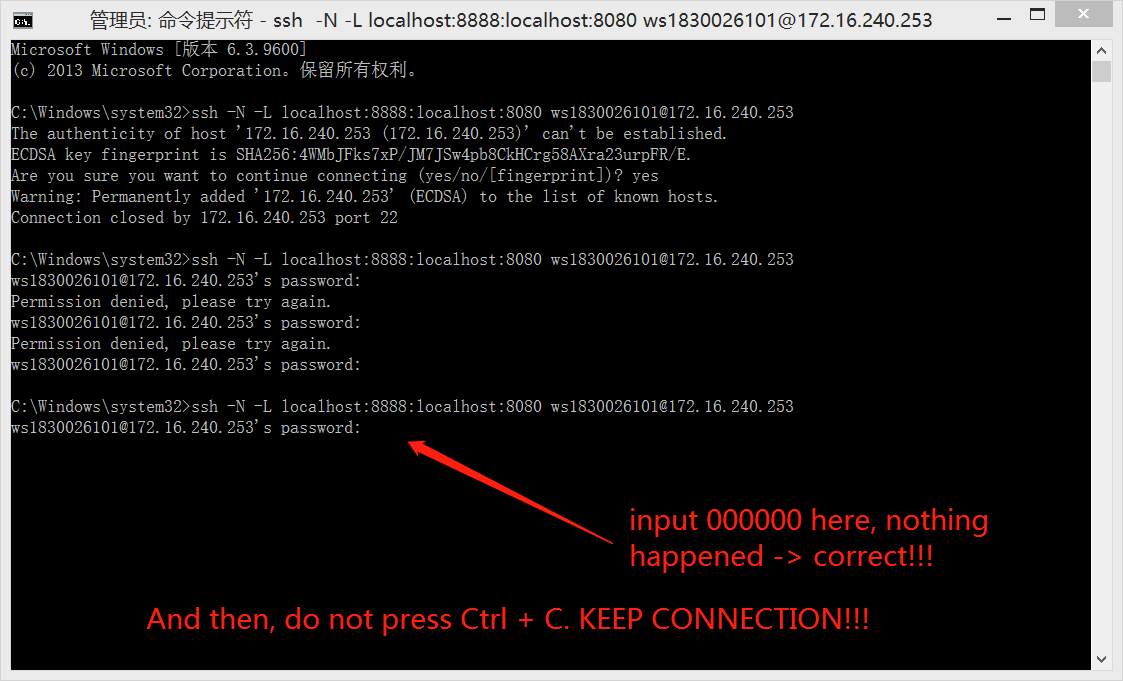
-
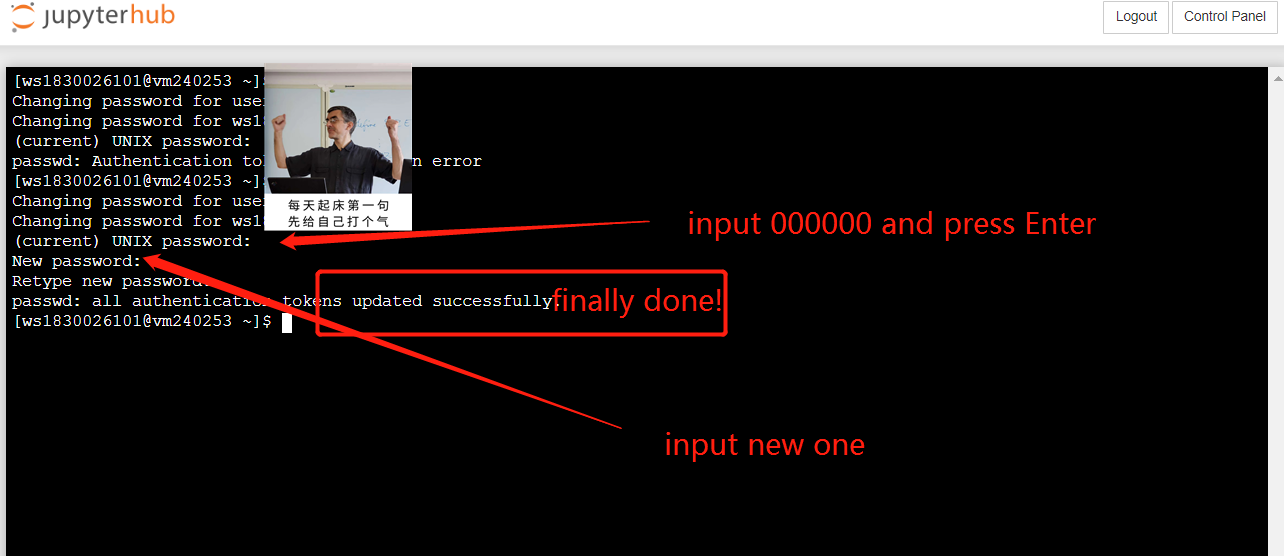
And then change your password as soon as possible. Like this:
-
Next, visualize to you browser. In the address bar, input
localhost:8888and press Enter. You will get the following: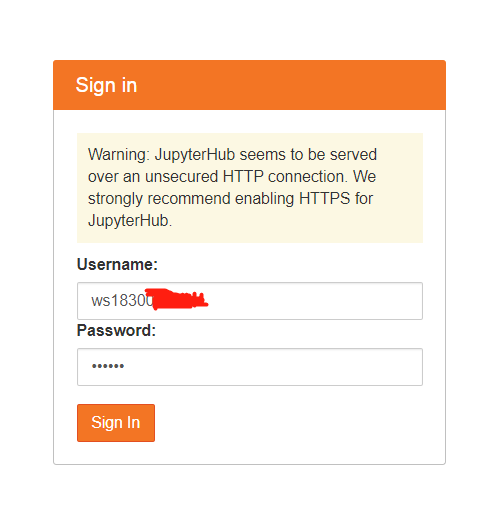
-
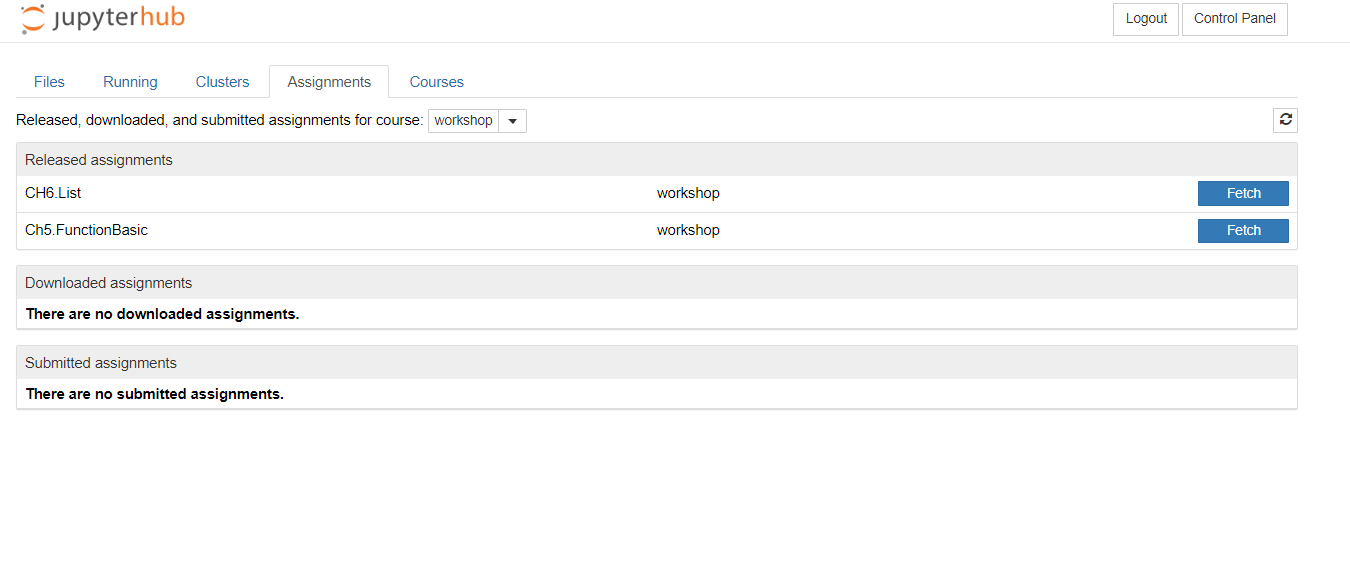
Here is a successful page.
-
Finally, you can follow other instructions provide in this link