文章目录
静态资源的应用
自定义静态资源外部路径映射
第一种方式:静态资源配置类
在实际开发中,我们可能需要自定义静态资源访问以及上传路径,特别是文件上传,不可能上传的运行的JAR服务中,那么可以通过继承WebMvcConfigurerAdapter来实现自定义路径映射。
application.properties 文件配置:
# 图片音频上传路径配置(win系统自行变更本地路径)
web.upload.path=/home/file/
WechatApplication.java 启动配置:
/**
 * 语音测评后台服务
 * 创建者 柒
 * 创建时间    2018年3月8日
 */
@SpringBootApplication
public class WechatApplication extends WebMvcConfigurerAdapter  {


    private final static Logger LOGGER = LoggerFactory.getLogger(WechatApplication.class);

    @Value("${web.upload.path}")
    private String uploadPath;

    @Override
    public void addResourceHandlers(ResourceHandlerRegistry registry) {


        super.addResourceHandlers(registry);
        registry.addResourceHandler("/uploads/**").addResourceLocations(
                "file:"+uploadPath);
        LOGGER.info("自定义静态资源目录、此处功能用于文件映射");
    }

    public static void main(String[] args) {


        SpringApplication.run(WechatApplication.class);
        LOGGER.info("语音测评后台服务启动成功");
    }

}
第二种方式:在application.properties配置
在application.properties中添加配置:
# 静态文件请求匹配方式
spring.mvc.static-path-pattern=/upload/**
# 修改默认的静态寻址资源目录 多个使用逗号分隔
# spring.web.resources.static-locations = classpath:/META-INF/resources/,classpath:/resources/,classpath:/static/,classpath:/public/,classpath:/itstyle/
spring.web.resources.static-locations=file:${web.upload-path},file:${web.front-path}
注意:通过spring.mvc.static-path-pattern这种方式配置,会使Spring Boot的默认配置失效,也就是说,/public , /resources 等默认配置不能使用。
配置中配置了静态模式为/upload/**,访问时候就只能通过/upload/xx 来访问。
我们现在可以访问以下路径:
http://localhost:8080/uploads/1.jpg
位置与优先级
位置
spring boot的静态资源:
- static目录:css、js、图片等
- templates目录:html页面
优先级
spring boot默认将/**静态资源访问映射到以下目录:
classpath:/static
classpath:/public
classpath:/resources
classpath:/META-INF/resources
这四个目录的访问优先级:META-INF/resources > resources > static > public
即:这四个路径下如果有同名文件,则会以优先级高的文件为准。
其对应的配置方法为:application.yml。默认配置如下:
spring:
  web:
    resources:
      static-locations: classpath:/META-INF/resources/, classpath:/resources/, classpath:/static/, classpath:/public/
其实,它还与application.yml的下边这个配置有关,两者联合起来控制路径
spring:
  mvc:
    static-path-pattern: /**
HTML放置位置的区别
HTML文件放到templates目录下,推荐将html页面放置在templates目录,原因如下:
templates目录下的html页面不能直接访问,需要通过服务器内部进行访问,可以避免无权限的用户直接访问到隐私页面,造成信息泄露。
HTML文件放到static目录下
这样用户可以通过两种方法获得到html页面:
直接访问.html资源
通过controller跳转
就像上边说的一样,当直接访问.html资源时,用户可以访问到无权访问的页面。
templates和static目录都是项目创建时自带的!!!!!!
HTML存放于templates目录(推荐)
步骤1:引入thymeleaf 依赖(视图解析),这里的页面必须通过controller跳转才能访问
<!--访问静态资源-->
<dependency>
   <groupId>org.springframework.boot</groupId>
   <artifactId>spring-boot-starter-thymeleaf</artifactId>
</dependency>
步骤2:写一个简单的HTML,放置到templates路径
<!doctype html>
<html lang="en">
<head>
<meta charset="UTF-8">
<title>this is title</title>
</head>
<body>
<div>
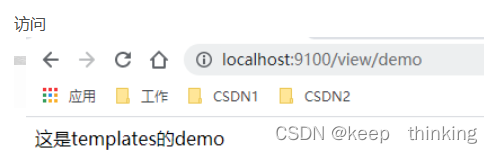
这是templates 的demo !!!!!!
</div>
</body>
</html>
步骤3:编写Controller
package com.example.demo.views;
import org.springframework.stereotype.Controller;
import org.springframework.web.bind.annotation.GetMapping;
import org.springframework.web.bind.annotation.RequestMapping;

@Controller
@RequestMapping("view")
public class ViewController {


    @GetMapping("demo")
    public String demo() {


        return "demo";
    }
}
需要注意:必须使用@Controller,不能使用@RestController。
因为@RestController返回的是 JSON,且不走SpringMVC的视图解析流程,所以跳不到html那里。
测试
HTML存放于static目录(不推荐)
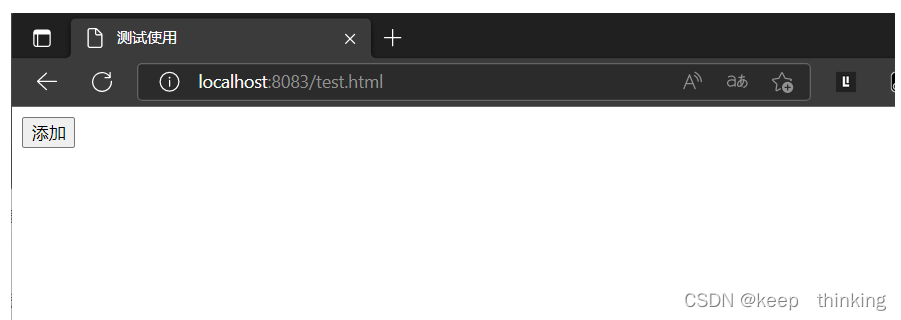
法1:直接访问.html资源
步骤1:将html放到static目录
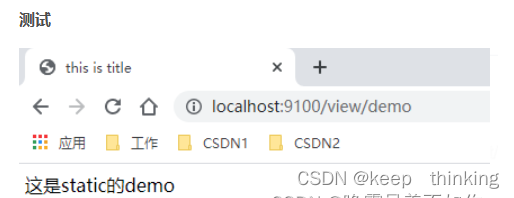
法2:通过controller跳转
步骤1:确保没有thymeleaf依赖
步骤2:将html放置到static路径
<!doctype html>
<html lang="en">
<head>
    <meta charset="UTF-8">
    <title>this is title</title>
</head>
<body>
<div>
    这是static的demo
</div>
</body>
</html>
步骤3:编写controller
package com.example.demo.views;
import org.springframework.stereotype.Controller;
import org.springframework.web.bind.annotation.GetMapping;
import org.springframework.web.bind.annotation.RequestMapping;

@Controller
@RequestMapping("view")
public class ViewController {


    @GetMapping("demo")
    public String demo() {


        return "/demo.html";
    }
}
注意:返回的字符串前边必须带“/” 。
说明
也可以如下操作,结果是一样的:
application.yml配置前后缀:
spring.mvc.view.prefix=/
spring.mvc.view.suffix=.html
controller这样写:
package com.example.demo.views;

import org.springframework.stereotype.Controller;
import org.springframework.web.bind.annotation.GetMapping;
import org.springframework.web.bind.annotation.RequestMapping;

@Controller
@RequestMapping("view")
public class ViewController {


    @GetMapping("demo")
    public String demo() {


        return "demo";
    }
}
自己包下的静态资源导入到Springboot中
Springboot,默认的静态资源映射是这样的
spring:
  web:
    resources:
      static-locations: classpath:/META-INF/resources/, classpath:/resources/, classpath:/static/, classpath:/public/
以下两种方法都会使得Springboot默认的静态资源映射失效
第一种方法
修改成这样子
spring:
  web:
    resources:
      static-locations: classpath:/
这样就代表我们resources下的都注册到Springboot静态资源下了(templates还是不能直接访问地址,因为他加载了thymeleaf 依赖(视图解析)。
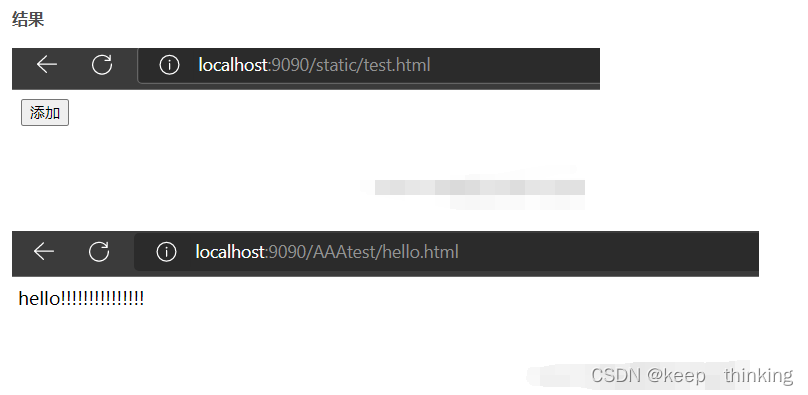
第二种方法,通过类实现
package com.example.config;
import lombok.extern.slf4j.Slf4j;
import org.springframework.context.annotation.Configuration;
import org.springframework.web.servlet.config.annotation.ResourceHandlerRegistry;
import org.springframework.web.servlet.config.annotation.WebMvcConfigurationSupport;
@Slf4j
@Configuration
public class WebMvcConfig extends WebMvcConfigurationSupport {
/**
* 设置静态资源映射
* @param registry
*/
@Override
protected void addResourceHandlers(ResourceHandlerRegistry registry) {
log.info("开始进行静态资源映射...");
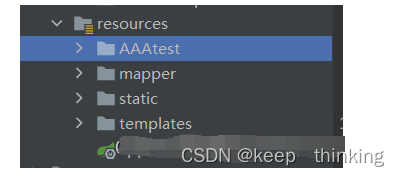
registry.addResourceHandler("/AAAtest/**").addResourceLocations("classpath:/AAAtest/");
}
}

两种方法都会使得默认配置失效!!!!!
spring:
  web:
    resources:
      static-locations: classpath:/META-INF/resources/, classpath:/resources/, classpath:/static/, classpath:/public/
静态资源缓存问题
在实际的开发中,我们总是会面临这样一个问题:生产环境有一个js需要优化,优化完成后需要更新到生产,但仅是这样的操作,问题就解决了吗?其实并没有。因为对于一些老用户来说,他们的浏览器已经缓存了你旧版本的js,就算你新版本js上线,对于开发人员来说,清一下缓存就好了,但是你指望用户帮你清除缓存么?这也不太现实。对于此类问题,以前最简单粗暴的方式就是给经常需要变动的js后加一个时间戳,导致页面加载时,每次都要从服务器加载js,这种做法可以解决问题,但是会影响性能。
SpringMVC给我们提供了两种解决方案:内容MD5和版本控制,这两种方案中,版本控制其实和webjars的版本访问机制类似。而MD5的这种方式默认情况下只有在重启项目后才能生效,当然你也可以通过其他方式让每次请求的时候都重新计算内容的MD5进行比对,但是这种方式不推荐,如果静态资源比较大,则会有性能问题。
1、内容MD5清除缓存
#开启内容策略
spring.resources.chain.strategy.content.enabled=true
#内容策略作用的路径
spring.resources.chain.strategy.content.paths=/**
MD5静态内容策略配置比较简单,需要注意的是,如果你在JavaConfig中启动了MVC配置,则在属性文件中配置的策略失效,必须移动至JavaConfig中进行配置。栗子、访问路径
2、版本控制清除缓存
#内容策略,版本控制
spring.resources.chain.strategy.fixed.enabled=true
#版本文件所在位置
spring.resources.chain.strategy.fixed.paths=/js/lib/**
#版本定义
spring.resources.chain.strategy.fixed.version=v12
栗子、访问路径,以下两种方式都支持
/{配置的版本}/js/lib/mymodule.js
/js/lib/mymodule.js
版本控制的配置,有时会由于SpringBoot版本的问题而不生效,需增加如下JavaConfig配置才会生效:
@Configuration
public class ThymeleafConfig {


    @Bean
    public ResourceUrlEncodingFilter resourceUrlEncodingFilter() {


        return new ResourceUrlEncodingFilter();
    }
}
小结
关于静态的资源的使用就聊这么多,总结一下:
1、静态资源使用默认配置基本能够满足开发需要,建议不要轻易改动;
2、webjars更适合系统基础框架静态资源的打包;
3、内容策略要么统一在JavaConfig中配置,要么统一在属性配置文件配置否则会失效;
4、内容策略版本控制,按照官方文档配置可能不会生效,解决方案就是注入ResourceUrlEncodingFilter组件。
鸣谢
https://blog.csdn.net/qq_33879443/article/details/125797005
https://blog.csdn.net/qq_45470811/article/details/104030242