前言
最近准备安装jumpserver来管理我的多台虚拟主机,在github上下载下来jumpserver的压缩包发现是最新版本的,新版本的文件内容和老版本的文件内容有些区别,包括安装方式也略有变化,网上好多安装资料都是以前版本的,故在此把我安装过程给贴出来,供大家参考
环境准备
系统:Centos 6.9
eth0:10.0.0.123/24(外网网卡)
eth1:172.16.1.123/24(内网网卡)
1 关闭防火墙和selinux
/etc/init.d/iptables stop
chkconfig iptables off
sed -i 's/SELINUX=disabled/SELINUX=Disabled/' /etc/selinux/config
setenforce 0
getenforce- 1
- 2
- 3
- 4
- 5
2 安装依赖包
yum -y install wget sqlite-devel xz gcc automake zlib-devel openssl-devel epel-release git- 1
3 升级python2.6至python3.6
wget https://www.python.org/ftp/python/3.6.1/Python-3.6.1.tar.xz
tar xvf Python-3.6.1.tar.xz  && cd Python-3.6.1
./configure && make && make install- 1
- 2
- 3
4 建立 Python 虚拟环境
cd /opt
python3 -m venv py3
source /opt/py3/bin/activate
# 看到下面的提示符代表成功,以后运行 Jumpserver 都要先运行以上 source 命令,以下所有命令均在该虚拟环境中运行
(py3) [root@localhost py3]- 1
- 2
- 3
- 4
- 5
5 下载jumpserver
cd /opt
git clone https://github.com/jumpserver/jumpserver.git
# 若是感觉太慢可以去github官网下载zip压缩包,然后上传解压缩- 1
- 2
- 3
6 # 安装依赖 RPM 包
cd /opt/jumpserver-master/requirements/
yum install $(cat rpm_requirements.txt) -y- 1
- 2
7 安装Python依赖库
# 不要指定-i参数,因为镜像上可能没有最新的包,如果没有任何报错请继续
pip install -r requirements.txt

# 可能会报以下错误,意思就是requirements.txt文件中定义的这几个安装的软件版本略低,需要自己手动修改一下requirements.txt文件把版本提高即可
jms-storage 0.0.13 has requirement boto3==1.6.5, but you'll have boto3 1.6.4 which is incompatible.
jms-storage 0.0.13 has requirement botocore==1.9.5, but you'll have botocore 1.9.4 which is incompatible.
jms-storage 0.0.13 has requirement certifi==2018.1.18, but you'll have certifi 2017.11.5 which is incompatible. - 1
- 2
- 3
- 4
- 5
- 6
- 7
8 安装 Redis
# Jumpserver 使用 Redis 做 cache 和 celery broke
yum -y install redis
service redis start- 1
- 2
- 3
9 安装mysql
yum -y install mysql mysql-devel mysql-server
service mysqld start- 1
- 2
10 创建数据库 Jumpserver 并授权
mysql -e "create database jumpserver default charset 'utf8';"
mysql -e "grant all on jumpserver.* to 'jumpserver'@'127.0.0.1' identified by '123456';"
mysql -e "grant all on jumpserver.* to 'jumpserver'@'10.0.0.%' identified by '123456';"- 1
- 2
- 3
11 修改 Jumpserver 配置文件
cd /opt/jumpserver-master
cp config_example.py config.py
vim config.py  # 修改 DevelopmentConfig中的配置,因为默认jumpserver是使用该配置,它继承自Config

注意: 配置文件是 Python 格式,不要用 TAB,而要用空格,在以下段下加入如下信息
class DevelopmentConfig(Config):
    DEBUG = True
    DB_ENGINE = 'mysql'
    DB_HOST = '127.0.0.1'
    DB_PORT = 3306
    DB_USER = 'jumpserver'
    DB_PASSWORD = '123456'
    DB_NAME = 'jumpserver'

...

config = DevelopmentConfig() # 确保使用的是刚才设置的配置文件- 1
- 2
- 3
- 4
- 5
- 6
- 7
- 8
- 9
- 10
- 11
- 12
- 13
- 14
- 15
- 16
- 17
12 生成数据库表结构和初始化数据
cd /opt/jumpserver-master/utils/
bash make_migrations.sh- 1
- 2
13 运行 Jumpserver
cd /opt/jumpserver-master
./jms start all # 后台运行使用 -d 参数./jms start all -d
# 运行完之后会有下面的状态信息出现,这样就成功了
beat: Synchronizing schedule...
Writing entries...
beat: Waking up in 1.00 minute.
# 新版本更新了运行脚本,使用方式./jms start|stop|status|restart all 后台运行请添加 -d 参数
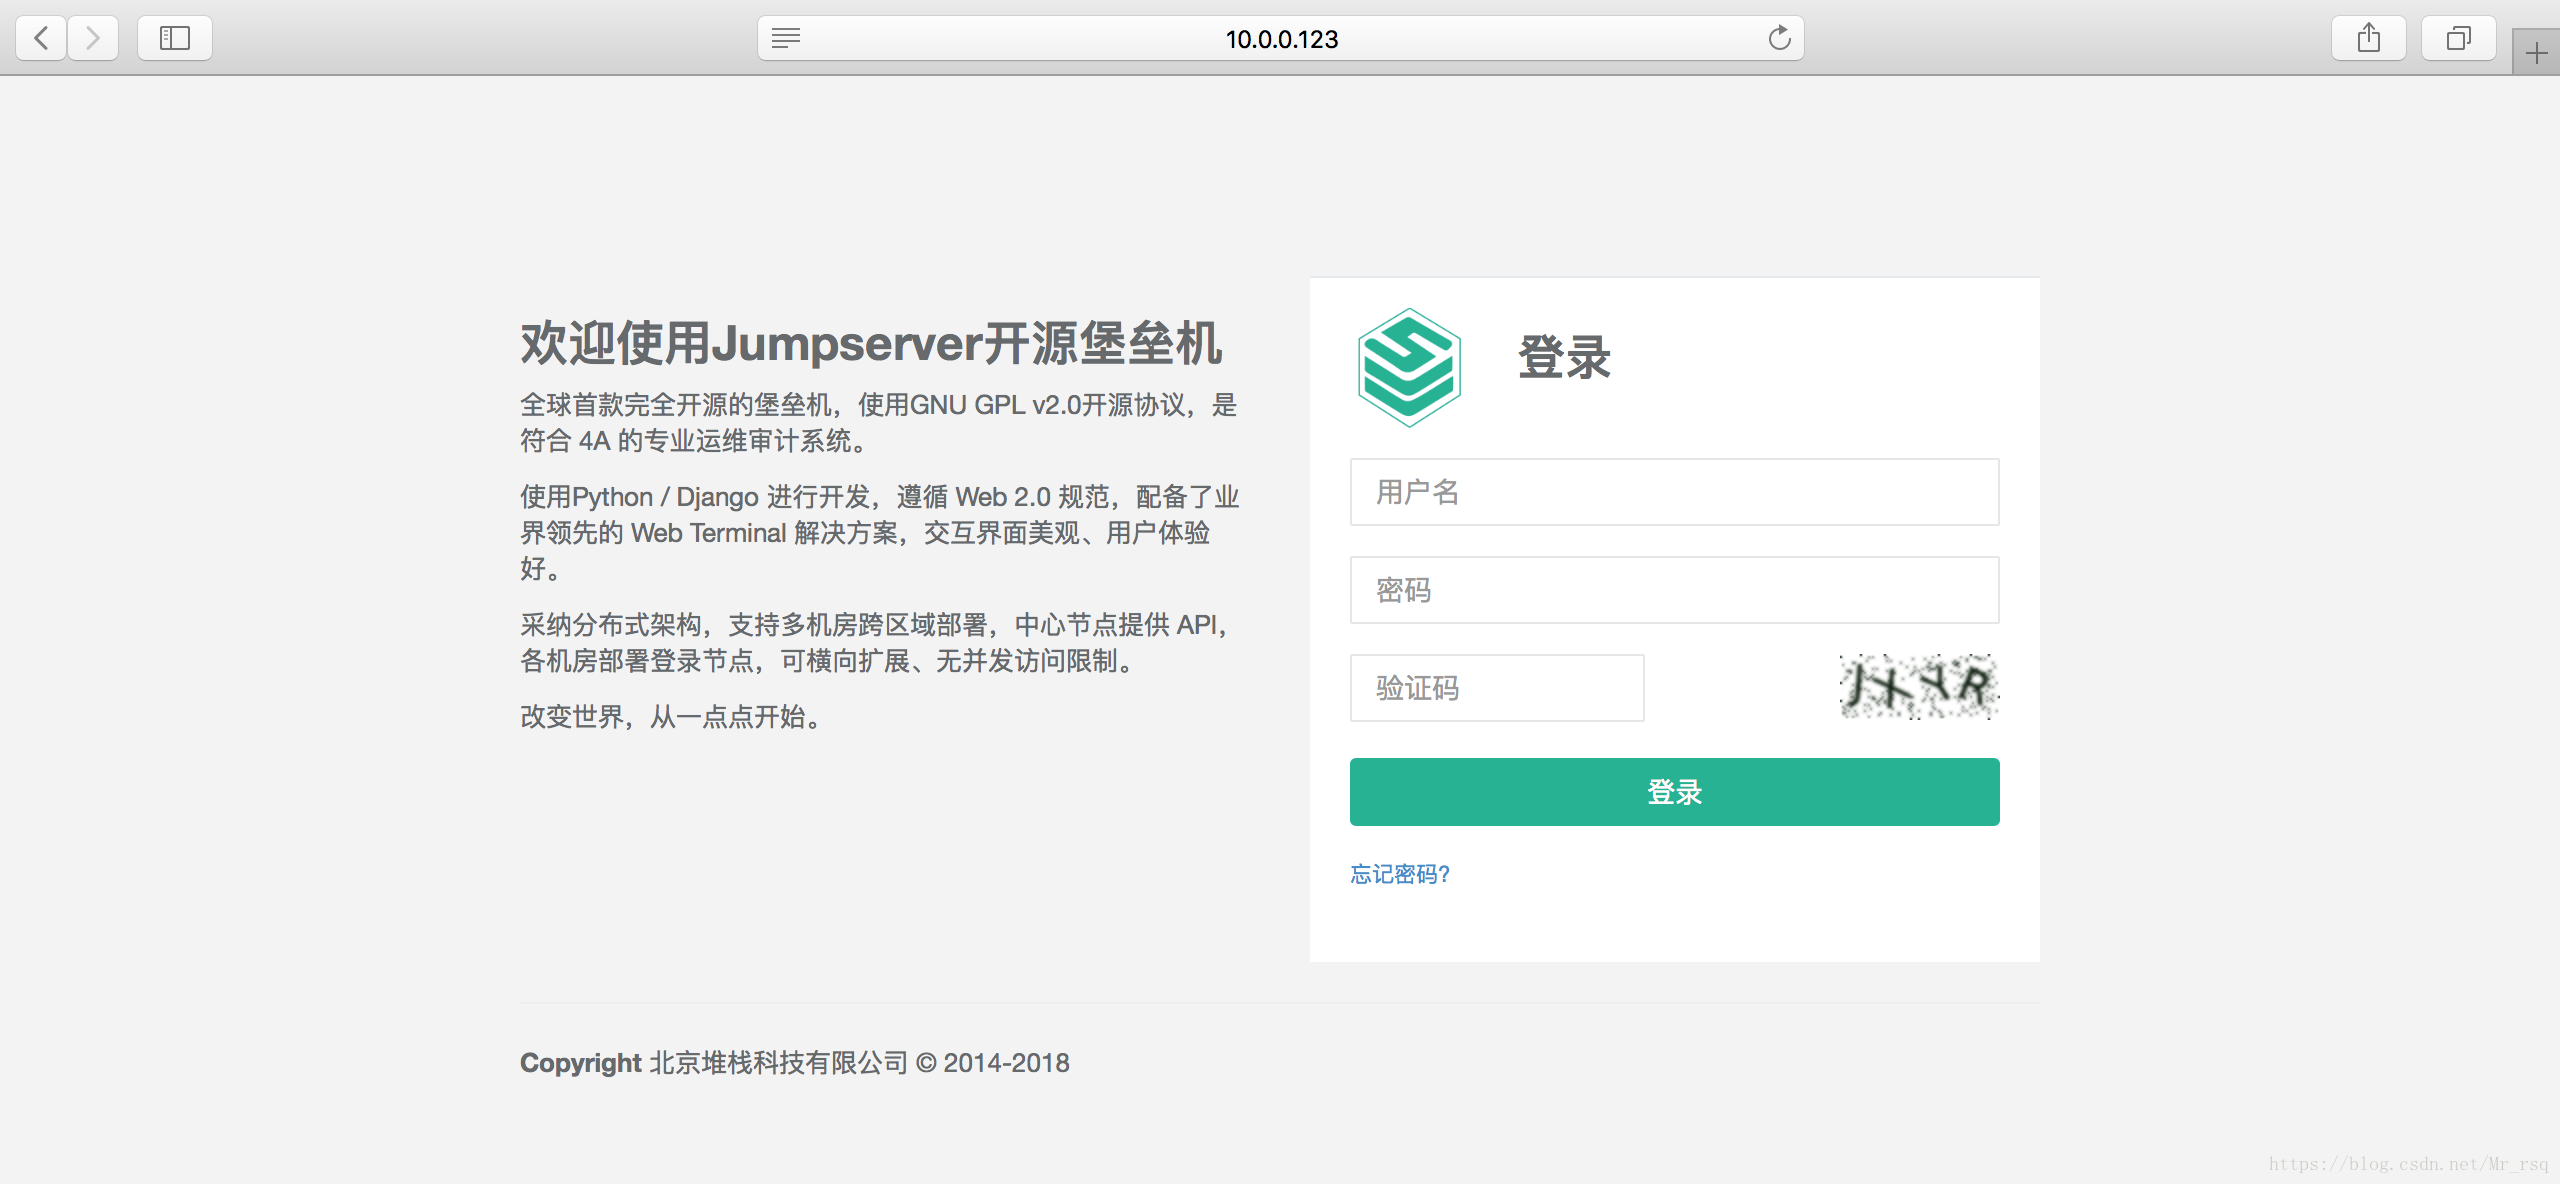
# 运行不报错,请浏览器访问 http://localhost:8080
# 默认账号: admin 密码: admin 页面显示不正常先不用处理,搭建 nginx 代理就可以正常访问了- 1
- 2
- 3
- 4
- 5
- 6
- 7
- 8
- 9
- 10
- 11
- 12
14 测试
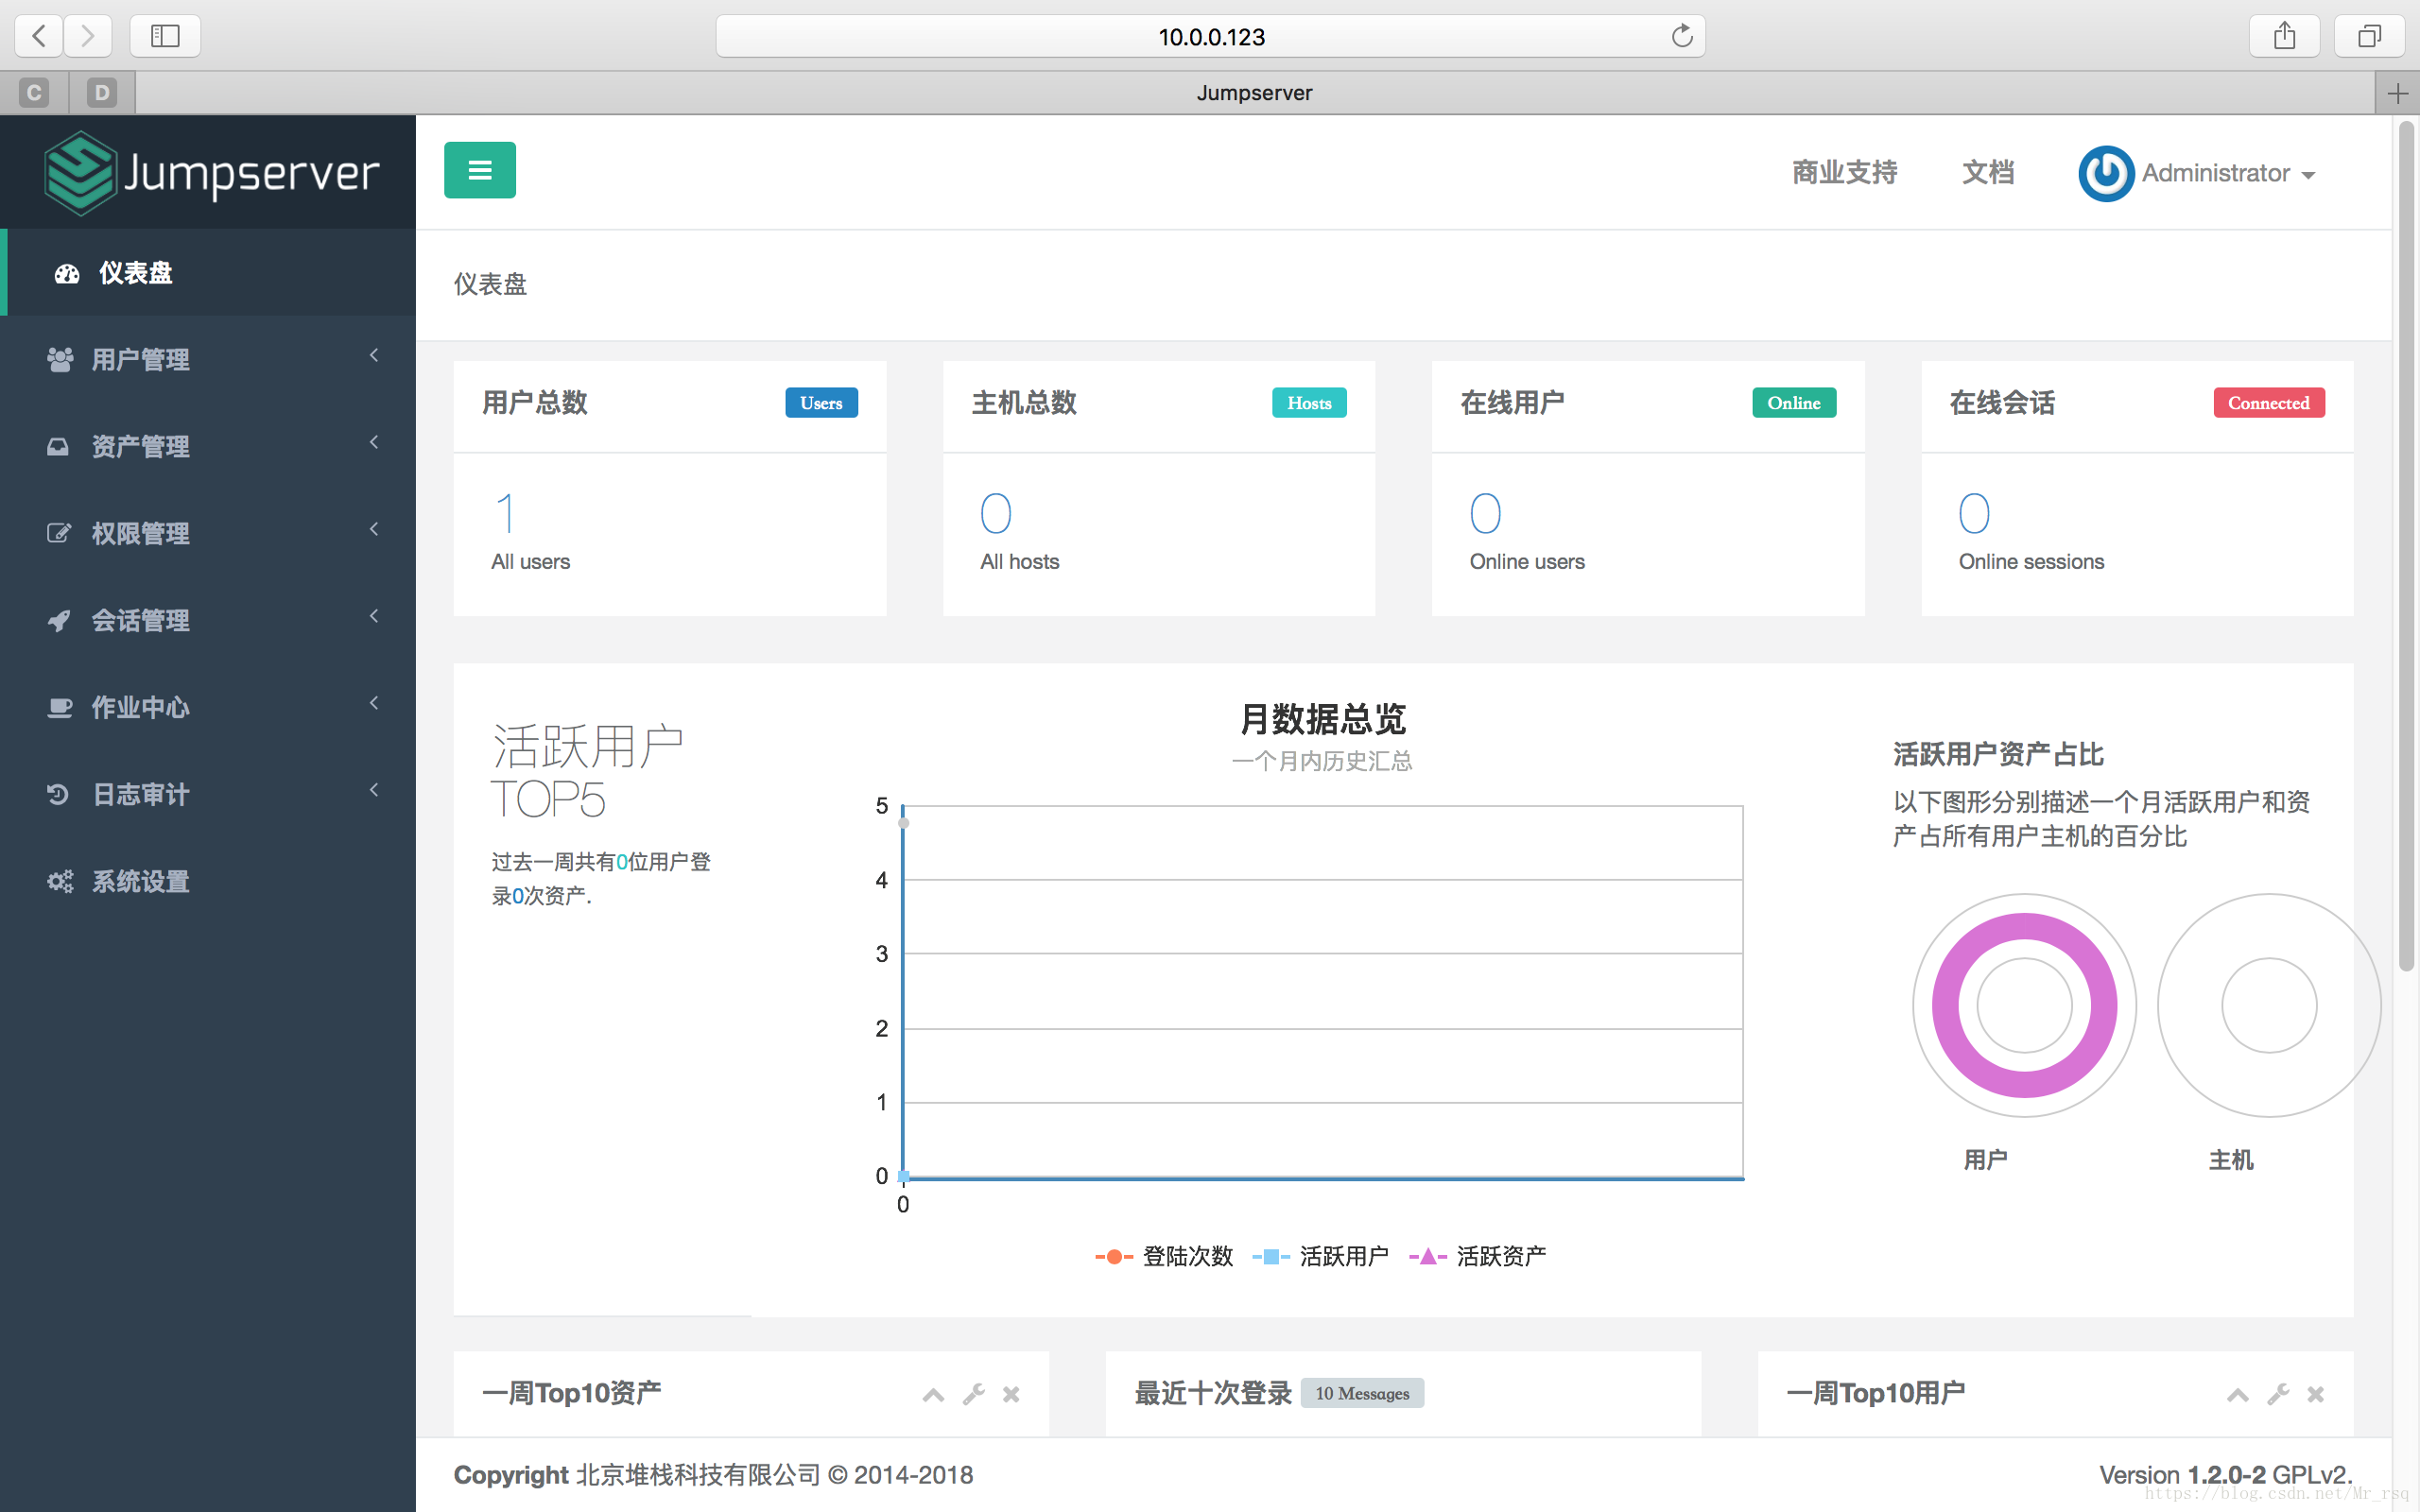
后续管理步骤可参考官方文档
总结
这次安装遇到了不少坑,在
pip install -r requirements.txt步骤的时候多次出现错误,由于pip默认的是国外源,有时候下载会很慢,甚至下载不成功,这个可以修改一下pip源为阿里源或者清华源,清华源更好。
更新pip源为国内源
还有就是按照官网文档说明,以后运行 Jumpserver 都要先进入到python虚拟环境中,运行命令source /opt/py3/bin/activate
参考博文
转载至https://blog.csdn.net/mr_rsq/article/details/80082998