读取网络图片存储到本地具体步骤如下:
1.创建用于保存图片的文件夹
我的保存路径:D:\images
2.新建 createLocalImage 类
package com.cn.beauty.task;

import java.io.BufferedInputStream;
import java.io.File;
import java.io.FileOutputStream;
import java.io.IOException;
import java.net.HttpURLConnection;
import java.net.URL;

public class createLocalImage {
    // 需要保存到本地的根路径
    private static String basePath = "D:/";

    public static void main(String[] args) {
        // 网页图片路径
        String destUrl = "https://lmg.jj20.com/up/allimg/1114/041621122252/210416122252-1-1200.jpg";
        String filePath = createLocalImageMethod(destUrl);
        System.out.println("生成的相对文件路径为" + filePath);
    }

    private static String createLocalImageMethod(String destUrl) {
        FileOutputStream fos = null;
        BufferedInputStream bis = null;
        HttpURLConnection httpUrl = null;
        URL url = null;
        int BUFFER_SIZE = 1024;
        byte[] buf = new byte[BUFFER_SIZE];
        int size = 0;
        String filePath = "";
        try {
            System.out.println("原始图片URL为:" + destUrl);
            String[] fileNameArray = destUrl.split("\\/");
            if (fileNameArray.length > 1) {
                String fileName = fileNameArray[fileNameArray.length - 1];
                filePath = "images/" + fileName;
                File file = new File(basePath + filePath);
                if (!file.exists()) {
                    url = new URL(destUrl);
                    httpUrl = (HttpURLConnection) url.openConnection();
                    httpUrl .setRequestProperty("User-Agent", "Mozilla/4.76");
                    httpUrl.connect();
                    bis = new BufferedInputStream(httpUrl.getInputStream());
                    fos = new FileOutputStream(basePath + filePath);
                    while ((size = bis.read(buf)) != -1) {
                        fos.write(buf, 0, size);
                    }
                    fos.flush();
                }
            }
        } catch (IOException e) {
            e.printStackTrace();
        } catch (ClassCastException e) {
            e.printStackTrace();
        } finally {
            try {
                fos.close();
                bis.close();
                httpUrl.disconnect();
            } catch (IOException e) {
            } catch (NullPointerException e) {
            }
        }
        return filePath;
    }
}
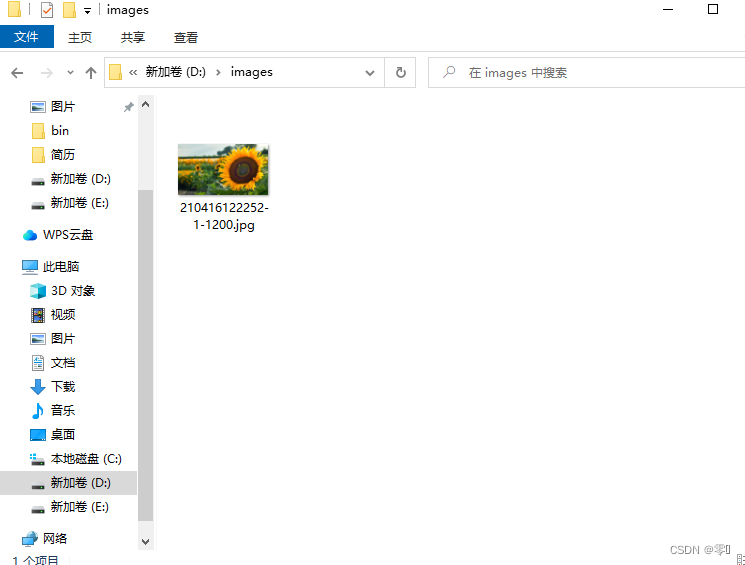
运行后发现图片已经成功生成:
3.部分小伙伴自己做功能的时候可能会碰到Server returned HTTP response code: 403 for URL这个报错,其原因就是服务器的安全设置不接受Java程序作为客户端访问
只需要在这行代码
httpUrl = (HttpURLConnection) url.openConnection();
后面加入
httpUrl .setRequestProperty("User-Agent", "Mozilla/4.76");
就可以了,细心的小伙伴也发现我上面的代码里也加过了
原理呢就是通过设置User-Agent来欺骗服务器.