一、GET接收参数
1、n10

2、写入
var  http = require('http');
var  url  = require('url');
var  luyou = require('./luyou');
http.createServer(function(request,response){
       if(request.url!=="/favicon.ico"){//清除第2此访问
            pathname=url.parse(request.url).pathname;
            pathname = pathname.replace(/\//,'');//替换掉前面的/
            try{
                luyou[pathname](request,response);
            }catch(err){
                console.log('出错='+err);
                response.writeHead(200, {'Content-Type': 'text/html;    陆游charset=utf-8'});
                response.write(err);
                response.end('');
            }
            console.log("server执行完毕");
        }
}).listen(8000);
console.log('Server running at http://127.0.0.1:8000/');
3、运行

============================================================================
二、post方法
1、luyou
var optfile = require('./models/optfile');
var  url  =  require('url');
var  querystring  =  require('querystring');  //post需导入
//封装
function getRecall(req ,res ){
	res.writeHead(200,  {'Content-Type':  'text/html;  charset=utf-8'});
	function recall(data){
			res.write(data);
			res.end('');//不写则没有http协议尾
	}
	return recall;
}

module.exports={
	//进入
    login:function(req,res){
        //-------post方式接收参数----------------
        var  post  =  '';  //定义了一个post变量,用于暂存请求体的信息
        req.on('data',  function(chunk){ //通过req的data事件监听函数,每当接受到请求体的数据,就累加到post变量中
        post  +=  chunk;
        });
        //-------注意异步-------------
        req.on('end',  function(){ //在end事件触发后,通过querystring.parse将post解析为真正的POST请求格式,然后向客户端返回。
            post  =  querystring.parse(post);
            console.log('email:'+post['email']+'\n');
            console.log('pwd:'+post['pwd']+'\n');
			recall =getRecall(req ,res);
		    optfile.readfile('./views/login.html',recall);
        });
    },
	//注册
    setin:function(req,res){
		recall =getRecall(req ,res);
		optfile.readfile('./views/setin.html',recall);
    },
	//写入
	writefile:function(req ,res){
		recall =greRecall(req ,res);
		optfile.writefile('./views/one.text','天气好好!!!',recall);
	},
	//读图片
	showimg:function(req ,res){
		res.writeHead(200,  {'Content-Type':'image/jpeg'});
		optfile.readImg('./imgs/pig.png',res);
	}

}
2、login
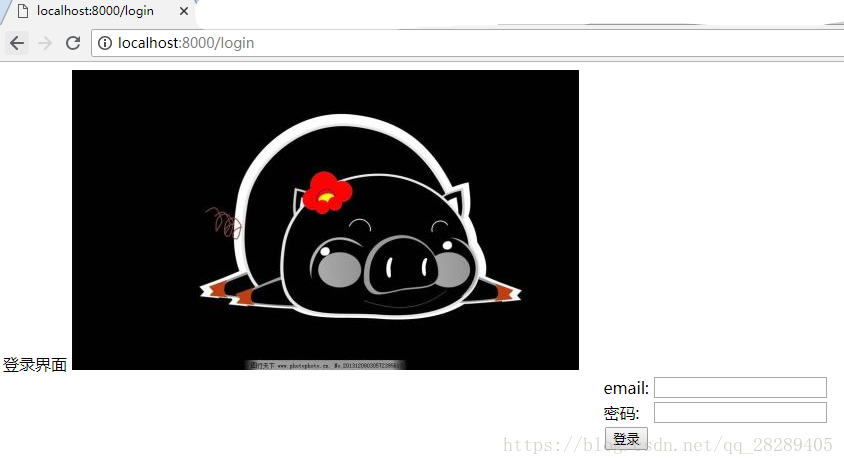
<html>
<head>
</head>
<body>
登录界面
<img src="./showimg">
<form action="./login" method="post">
	<table align="center">
		<tr>
			<td>email:</td>
			<td><input type="text" name="email"/></td>
		</tr>
		<tr>
			<td>密码:</td>
			<td><input type="password" name="pwd"/></td>
		</tr>
		<tr>
			<td align="center"><input type="submit" value="登录"/></td>
		</tr>
	</table>
</form>
</body>
</html>
3、运行

在email 和password输入,点击登录
