NFS文件共享
实验环境:两台Centos7
Centos7服务端IP地址:192.168.10.1
Centos7客户端IP地址:192.168.10.2
服务端配置:
安装服务
yum install rpcbind -y      #安装rpcbind服务
yum install nfs-utils.x86_64 -y #安装nfs服务
修改配置文件
mkdir /data/share           #创建共享文件
vim /etc/exports            #修改配置文件
/data/share 192.168.10.*(rw,sync,root_squash)
配置文件
/data/share是共享文件夹
192.168.10.*是共享的网断
rw是读写
sync是同时将数据写入到内存与硬盘中,保证不丢失数据
root_squash是NFS客户端以root管理员访问时,映射为NFS服务器的root管理员
配置文件格式为:[文件共享路径]+[共享网断]+[共享权限]
重启服务:重启服务的顺序是先rpcbind后nfs服务
systemctl restart rpcbind.service   #重启rpcbind服务
systemctl restart nfs-server.service nfs.service #重启nfs服务
客户端配置:
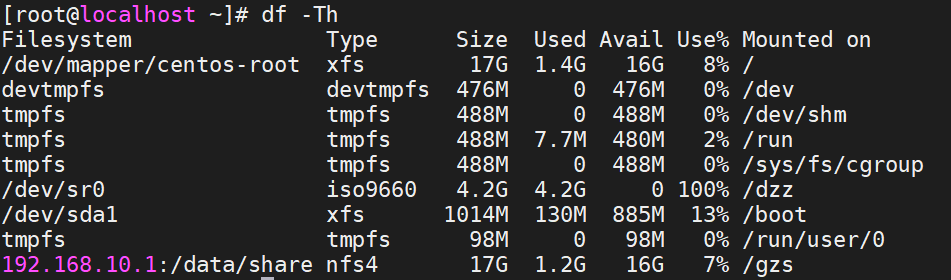
yum install showmount -y        #安装测试命令
mkdir /gzs                      #创建挂载点文件
chmod 777 /gzs                  #给所有权限
vim /etc/fstab                  #写入开机自启文件
192.168.10.1:/data/share /gzs   nfs defaults 0 0
开机自启挂载文件格式为:
[服务端IP地址][共享文件夹]+[挂载文件夹]    [文件系统格式] [默认挂载]
域名挂载
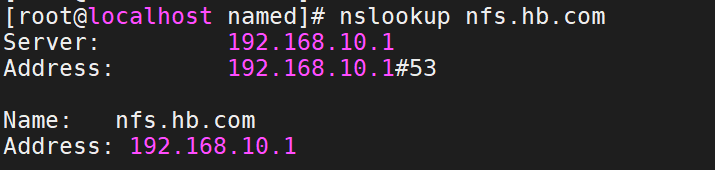
服务端需要做DNS解析

客户端
showmount -e nfs.hb.com

mkdir /gzs
chmod 777 /gzs
vim /etc/fstab
nfs.hb.com:/data/share  /gzs    nfs defaults 0 0
mount -a
如果客户端挂载出现mount.nfs: access denied by server while mounting 192.168.10.1:/share是因为防火墙开启了,导致nfs端口是大于1000的,去服务端上面修改配置文件,重新挂载
vim /etc/exports
/share  192.168.10.0/24(insecure,rw,sync,root_squash)

重启服务
systemctl restart rpcbind.service   #重启rpcbind服务
systemctl restart nfs-server.service nfs.service #重启nfs服务
服务器挂载
yum install nfs* -y
vim /etc/exports
/kdy	*(insecure,rw,async,no_root_squash)
systemctl restart nfs rpcbind