流水灯和蜂鸣器
#include "stm32f10x.h" // Device header
#include "Delay.h"
int main(void)
{
//开启GPIO时钟
RCC_APB2PeriphClockCmd(RCC_APB2Periph_GPIOA,ENABLE);
//GPIO初始化
GPIO_InitTypeDef GPIO_InitStruct;
GPIO_InitStruct.GPIO_Mode = GPIO_Mode_Out_PP;
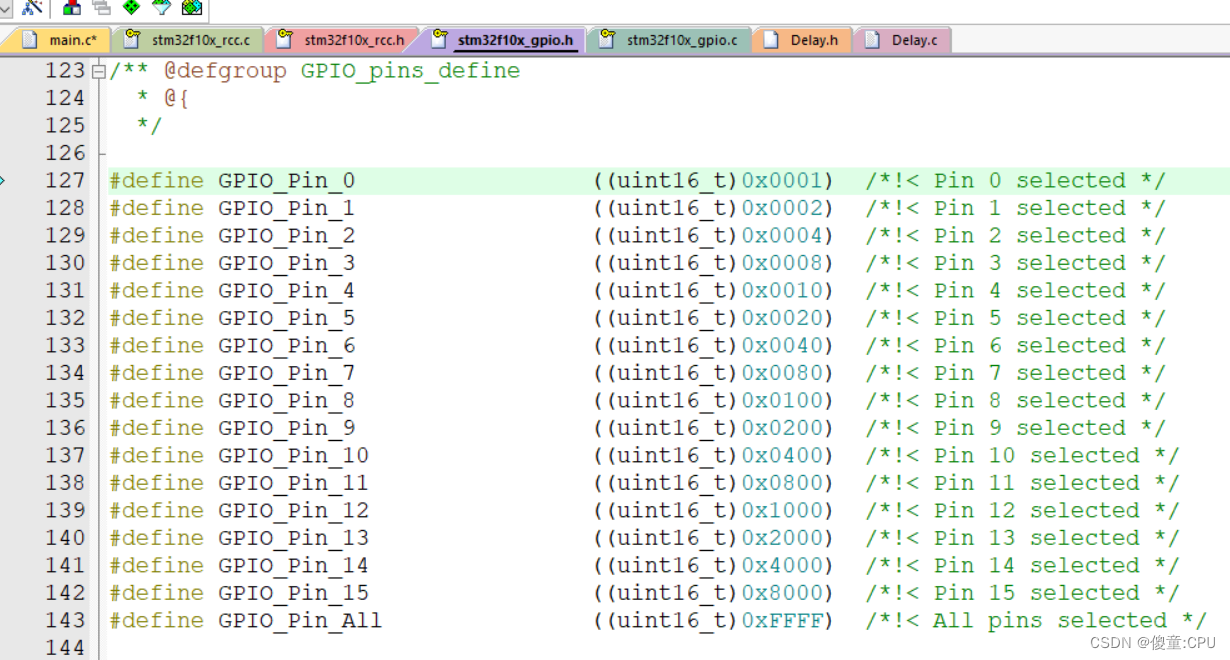
GPIO_InitStruct.GPIO_Pin = GPIO_Pin_All;//定义所有的端口GPIO_Pin_0~GPIO_Pin_16
GPIO_InitStruct.GPIO_Speed = GPIO_Speed_50MHz;
GPIO_Init(GPIOA,&GPIO_InitStruct);
//GPIO电平初始化
// GPIO_SetBits(GPIOA,GPIO_Pin_0);//设置为高电平
// GPIO_ResetBits(GPIOA,GPIO_Pin_0);//设置为低电平
// GPIO_WriteBit(GPIOA,GPIO_Pin_0,Bit_SET);//设置为高电平
// GPIO_WriteBit(GPIOA,GPIO_Pin_0,Bit_RESET);//设置为低电平
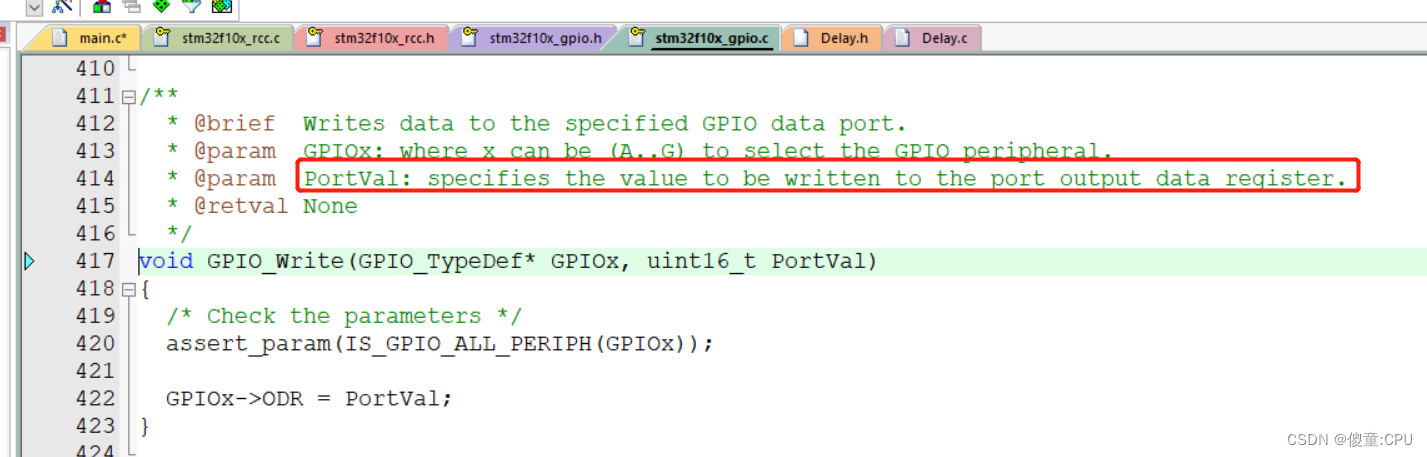
GPIO_Write(GPIOA,0x0001);//0000 0000 0000 0001
while(1)
{
//流水灯的效果
GPIO_Write(GPIOA,0x0001);//0000 0000 0000 0001
Delay_ms(100);
GPIO_Write(GPIOA,0x0002);//0000 0000 0000 0010
Delay_ms(100);
GPIO_Write(GPIOA,0x0004);//0000 0000 0000 0100
Delay_ms(100);
GPIO_Write(GPIOA,0x0008);//0000 0000 0000 1000
Delay_ms(100);
GPIO_Write(GPIOA,0x0010);//0000 0000 0001 0000
Delay_ms(100);
GPIO_Write(GPIOA,0x0020);//0000 0000 0010 0000
Delay_ms(100);
GPIO_Write(GPIOA,0x0040);//0000 0000 0100 0000
Delay_ms(100);
GPIO_Write(GPIOA,0x0080);//0000 0000 1000 0000
Delay_ms(100);
}
}
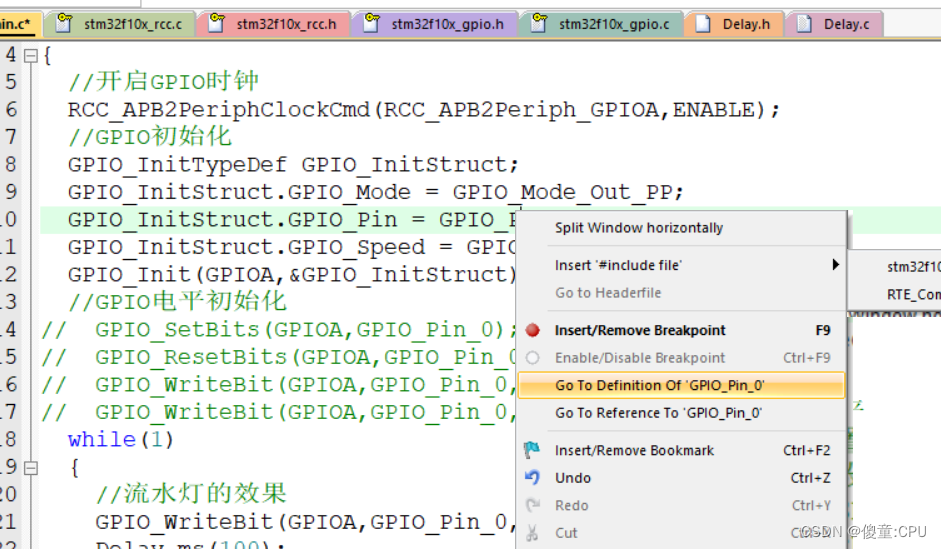
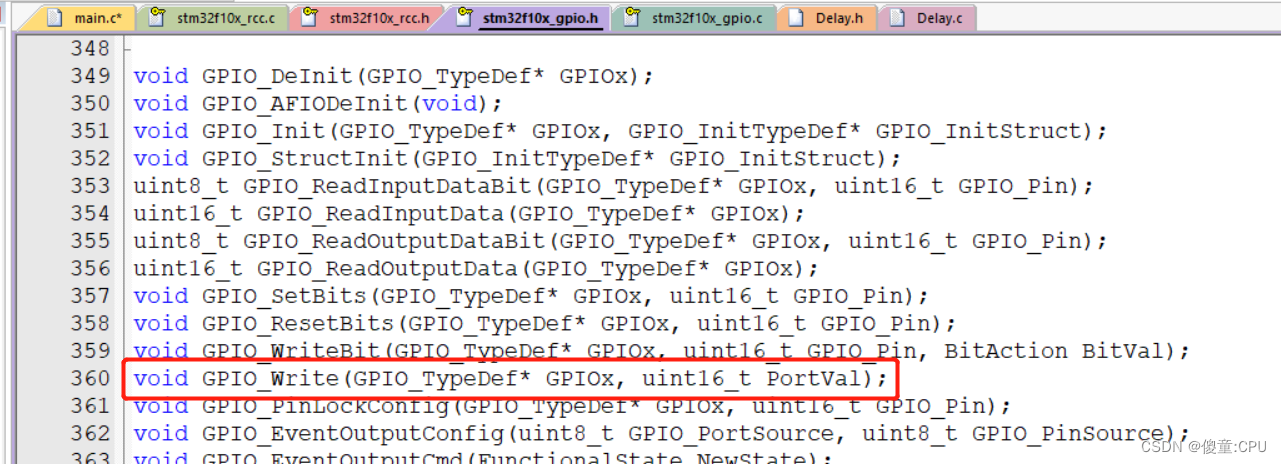
使用库函数的方法
先打开.h的最后,看看有哪些函数;然后右击,转接到函数的定义,看看函数有哪些参数的用法。
参考库函数手册。