1、下载源码
zookeeper 需要jdk的支持,需要先安装jdk
官网下载地址: http://mirrors.hust.edu.cn/apache/zookeeper/ 选择最新的版本进行下载
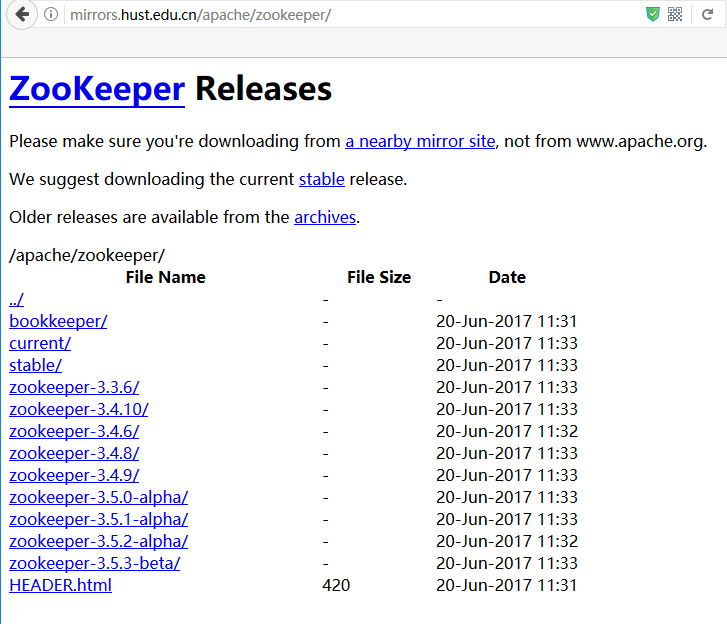
这里选择3.4.10进行下载:
- wget http://mirrors.hust.edu.cn/apache/zookeeper/zookeeper-3.4.10/zookeeper-3.4.10.tar.gz
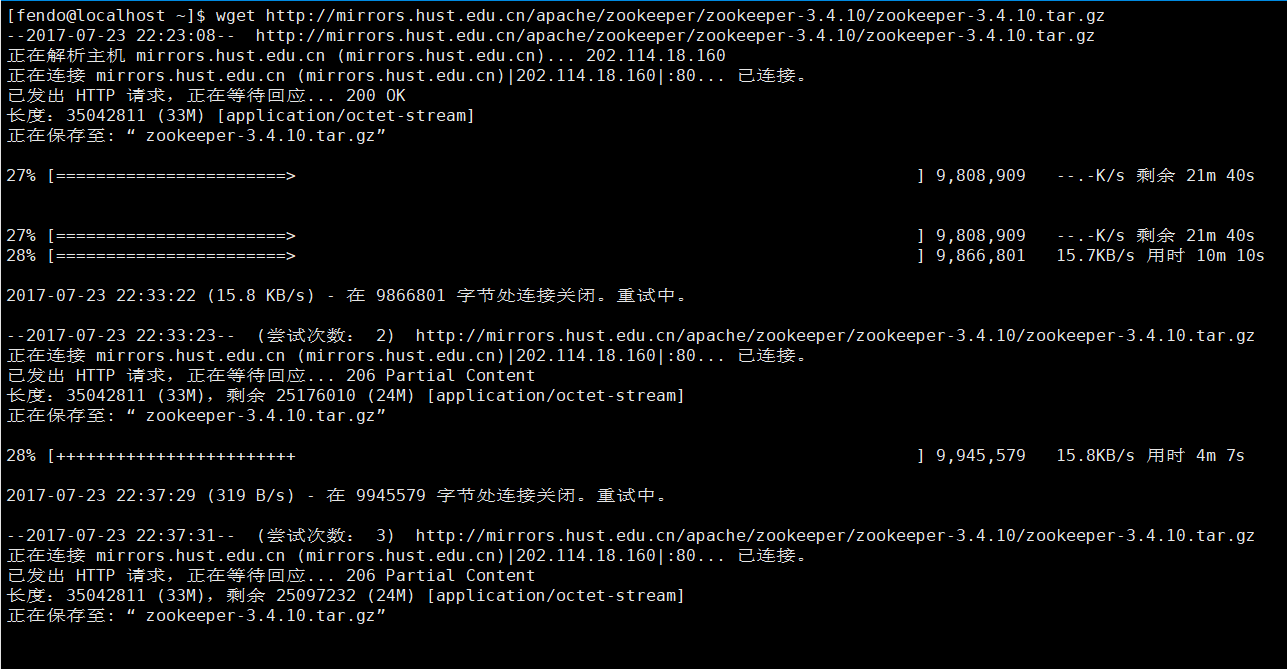
下载完成后执行以下命令进行解压:
- tar -zxvf zookeeper-3.4.10.tar.gz
2、配置Zookeeper
解压之后,在zookeeper目录下创建以下目录:
- [fendo@localhost ~]$ cd zookeeper-3.4.10/
- [fendo@localhost zookeeper-3.4.10]$ mkdir data
- [fendo@localhost zookeeper-3.4.10]$ mkdir logs
将zookeeper-3.4.10/conf目录下的zoo_sample.cfg文件拷贝一份,命名为zoo.cfg
- [fendo@localhost conf]$ cp zoo_sample.cfg zoo.cfg
然后修改zoo.cfg文件
- vim zoo.cfg
修改成如下
- # The number of milliseconds of each tick
- tickTime=2000
- # The number of ticks that the initial
- # synchronization phase can take
- initLimit=10
- # The number of ticks that can pass between
- # sending a request and getting an acknowledgement
- syncLimit=5
- # the directory where the snapshot is stored.
- # do not use /tmp for storage, /tmp here is just
- # example sakes.
- dataDir=/home/fendo/zookeeper-3.4.10/data
- dataLogDir=/home/fendo/zookeeper-3.4.10/logs
- # the port at which the clients will connect
- clientPort=2181
- # the maximum number of client connections.
- # increase this if you need to handle more clients
- #maxClientCnxns=60
- server.1=192.168.84.130:2888:3888
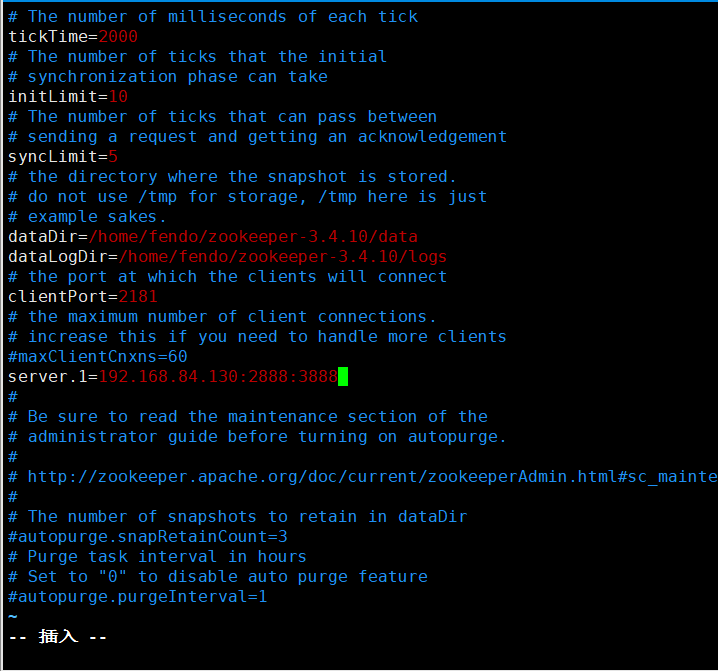
其中:
2888端口号是zookeeper服务之间通信的端口。
3888是zookeeper与其他应用程序通信的端口。
然后在dataDir=/home/fendo/zookeeper-3.4.10/data下创建myid文件(编辑myid文件,并在对应的IP的机器上输入对应的编号。如在zookeeper上,myid 文件内容就是1。如果只在单点上进行安装配置,那么只有一个server.1)
- vim myid

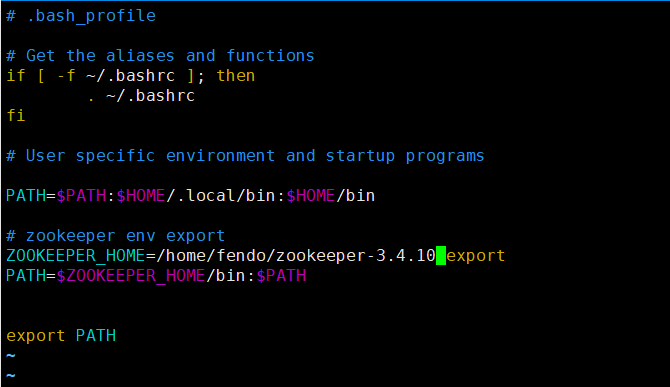
fendo用户下修改.bash_profile,增加zookeeper配置:
- vim /home/fendo/.bash_profile
- # zookeeper env export
- ZOOKEEPER_HOME=/home/fendo/zookeeper-3.4.10 export
- PATH=$ZOOKEEPER_HOME/bin:$PATH
使配置文件生效
- source /home/fendo/.bash_profile
关闭防火墙
切换到root用户下,执行以下命令:
- systemctl stop firewalld.service
3、测试Zookeeper
启动并测试zookeeper(要用普通用户启动,不要用root):
- #使用fendo用户到/home/fendo/zookeeper-3.4.10/bin目录中执行
- ./zkServer.sh start
- #查看进程
- jps
- 其中,QuorumPeerMain是zookeeper进程,启动正常。
- #查看状态
- ./zkServer.sh status
- #服务器输出信息
- tail -500f zookeeper.out
- #停止zookeeper进程
- ./zkServer.sh stop
设置zookeeper服务开机启动
- # 切换到/etc/rc.d/init.d/目录下
- cd /etc/rc.d/init.d
- # 创建zookeeper文件
- touch zookeeper
- #更新权限
- chmod +x zookeeper
- #编辑文件,在zookeeper里面输入如下内容
- #!/bin/bash
- #chkconfig:2345 20 90
- #description:zookeeper
- #processname:zookeeper
- export JAVA_HOME=/user/local/java/jdk1.7.0_79
- export PATH=$JAVA_HOME/bin:$PATH
- case $1 in
- start)su root /home/fendo/zookeeper-3.4.10/bin/zkServer.sh start;;
- stop)su root /home/fendo/zookeeper-3.4.10/bin/zkServer.sh stop;;
- status)su root /home/fendo/zookeeper-3.4.10/bin/zkServer.sh status;;
- restart)su root /home/fendo/zookeeper-3.4.10/bin/zkServer.sh restart;;
- *) echo "require start|stop|status|restart" ;;
- esac

然后我们就可以用service zookeeper start/stop来启动停止zookeeper服务了
使用命令把zookeeper添加到开机启动里面
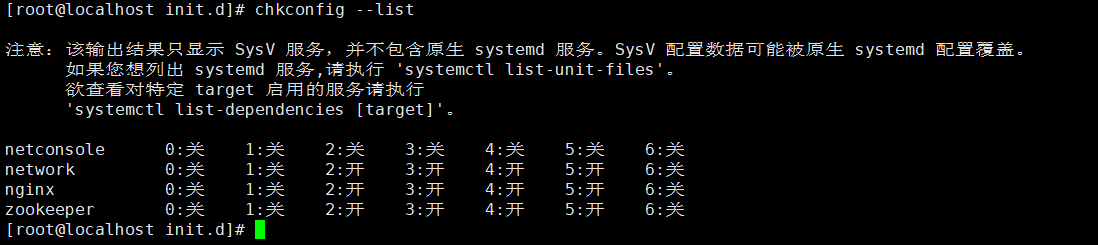
- chkconfig zookeeper on
- chkconfig --add zookeeper
添加完成之后接这个使用chkconfig --list 来看看我们添加的zookeeper是否在里面。