vite+vue3部署静态文件到github
1. 新建仓库
- 新建仓库
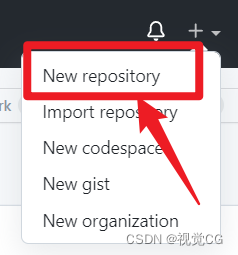
- 仓库名称: 必须是
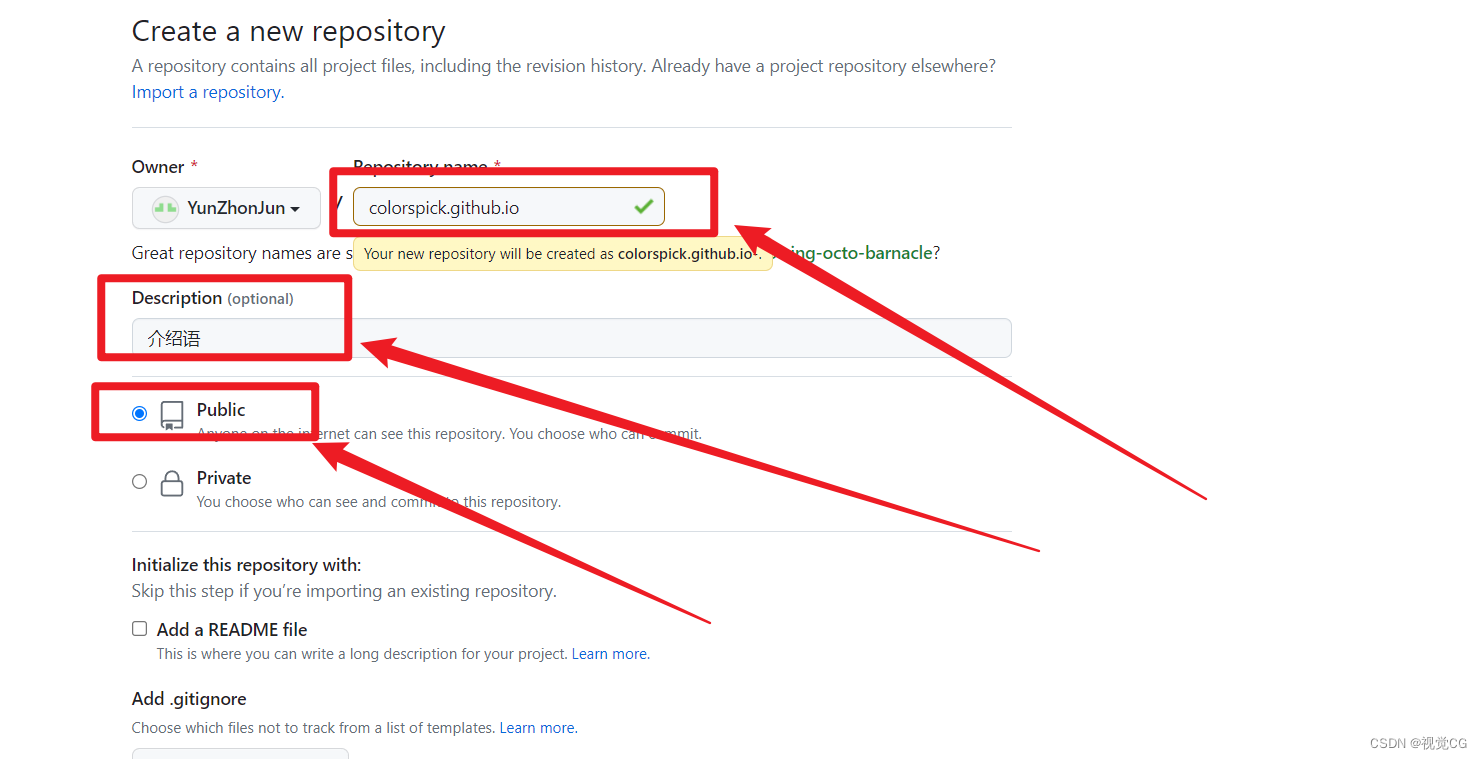
[你的git用户名]或[仓库名称] + .github.io,例如你的用户名是YunZhonJun,统一为小写,如↓
例1 用户名+.github.io
yunzhonjun.github.io
例2 仓库名称+.github.io
colorspick.github.io
- 效果图
- 按下左下角 创建按钮
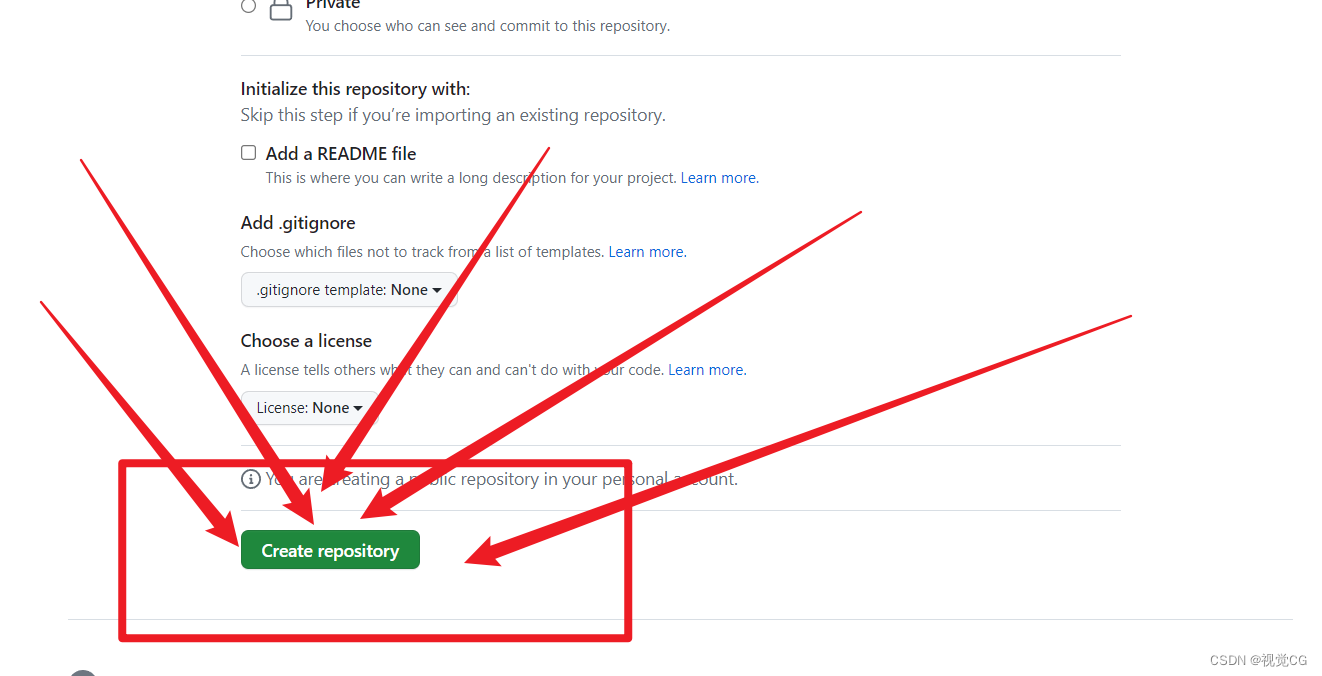
-
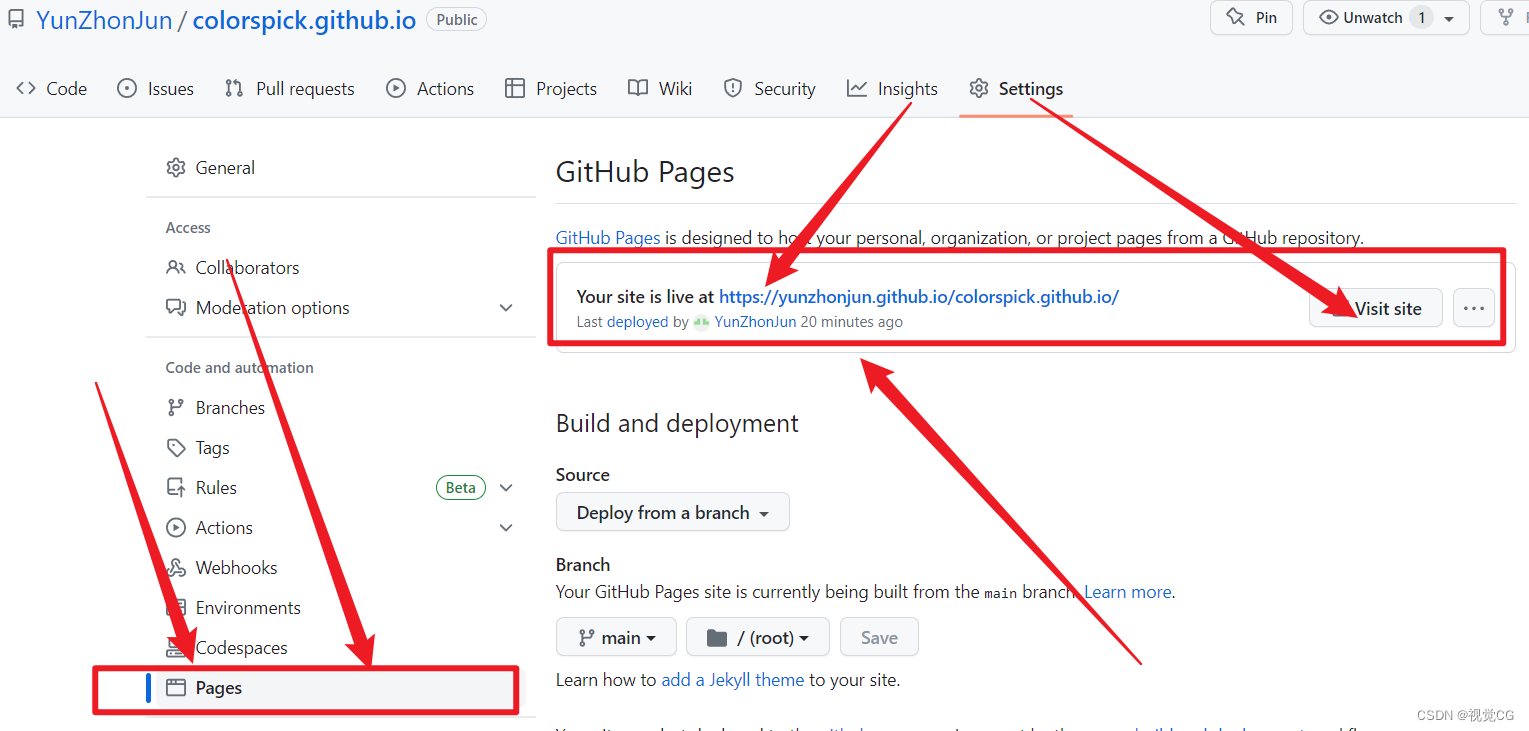
创建完成后打开刚创建的仓库设置 - settings

-
打开pages可看见我们的静态网页地址
2. 配置vite
vite配置 - 参考地址已经写的很清楚 https://vitejs.cn/vite3-cn/guide/static-deploy.html#github-pages
文档个人参考配置
import {

     fileURLToPath, URL } from 'node:url'

import {

     defineConfig } from 'vite'
import vue from '@vitejs/plugin-vue'

// https://vitejs.dev/config/
export default defineConfig({


  plugins: [vue()],
  base:'/colorspick.github.io/',
  resolve: {


    alias: {


      '@': fileURLToPath(new URL('./src', import.meta.url))
    }
  }
})
3. 上传到github
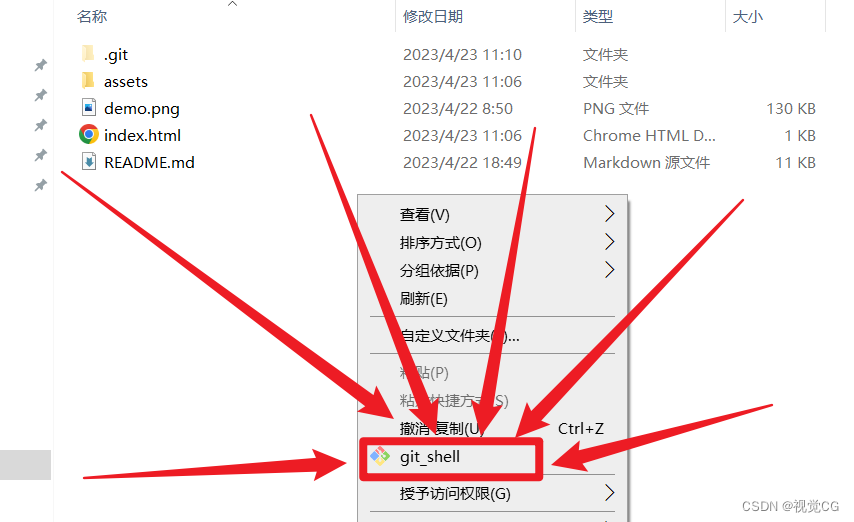
- 上传的文件夹打开 Git-bash
- 上传到仓库
git init
git checkout -b main
git add -A
git commit -m '上传提示'
git push -f [email protected]:YunZhonJun/colorspick.github.io.git main
[email protected]:YunZhonJun/colorspick.github.io.git是仓库地址- main 是上传的发布源 ,如 :官网(参考地址 - https://docs.github.com/zh/pages/getting-started-with-github-pages/configuring-a-publishing-source-for-your-github-pages-site)

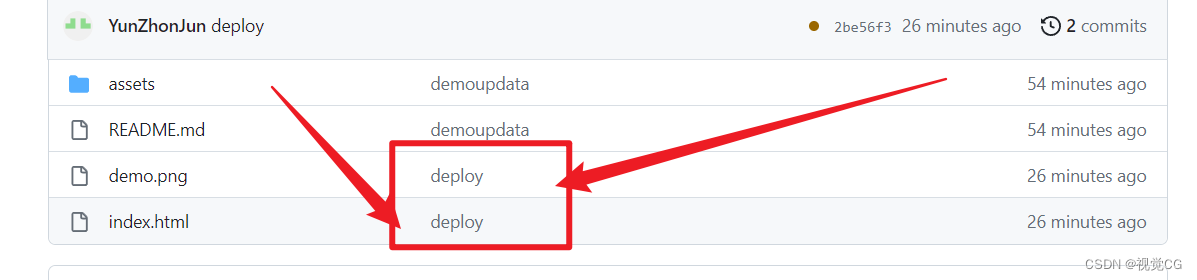
静态站点演示 - https://yunzhonjun.github.io/colorspick.github.io/
注意:以下内容与上面部署静态站点无关
git报错小结
git push时 报错 errno 10054
- 输入以下命令再push
git config --global http.sslVerify "false"
- push
git add .
git commit -m "更新文档+修复bug"
git push origin master
failed to push some refs to || non-fast-forward
- 报错 failed to push some refs to 或↓
- non-fast-forward
注意:
注意:
注意:
不要乱使用下行命令,使用前请先备份一份自己的项目,可能会照成项目乱码、报错、出问题、无法运行等。
主要先执行以下命令再push
git pull origin master --allow-unrelated-histories
例
git pull origin master --allow-unrelated-histories
git add .
git commit -m "更新文档+修复bug"
git push origin master