一、基于docker环境部署
1、创建docker-compose配置文件
1)创建 docker-compose-minio.yml文件,内容如下:
version: '3.7'

# Settings and configurations that are common for all containers
x-minio-common: &minio-common
  image: quay.io/minio/minio:RELEASE.2022-07-08T00-05-23Z
  command: server --console-address ":9001" http://minio{1...4}/data{1...2}
  expose:
    - "9000"
    - "9001"
  environment:
    MINIO_ROOT_USER: admin
    MINIO_ROOT_PASSWORD: admin123456
  healthcheck:
    test: ["CMD", "curl", "-f", "http://localhost:9000/minio/health/live"]
    interval: 30s
    timeout: 20s
    retries: 3

# starts 4 docker containers running minio server instances.
# using nginx reverse proxy, load balancing, you can access
# it through port 9000.
services:
  minio1:
    <<: *minio-common
    hostname: minio1
    volumes:
      - data1-1:/data1
      - data1-2:/data2

  minio2:
    <<: *minio-common
    hostname: minio2
    volumes:
      - data2-1:/data1
      - data2-2:/data2

  minio3:
    <<: *minio-common
    hostname: minio3
    volumes:
      - data3-1:/data1
      - data3-2:/data2

  minio4:
    <<: *minio-common
    hostname: minio4
    volumes:
      - data4-1:/data1
      - data4-2:/data2

  nginx:
    image: nginx:1.19.2-alpine
    hostname: nginx
    volumes:
      - ./nginx.conf:/etc/nginx/nginx.conf:ro
    ports:
      - "9000:9000"
      - "9001:9001"
    depends_on:
      - minio1
      - minio2
      - minio3
      - minio4

## By default this config uses default local driver,
## For custom volumes replace with volume driver configuration.
volumes:
  data1-1:
  data1-2:
  data2-1:
  data2-2:
  data3-1:
  data3-2:
  data4-1:
  data4-2:
可以设置 container_name 指定运行时容器名称,而不使用默认格式(<项目名称><服务名称><序号>)
2)创建nginx配置文件nginx.conf,内容如下:
user  nginx;
worker_processes  auto;

error_log  /var/log/nginx/error.log warn;
pid        /var/run/nginx.pid;

events {
    worker_connections  4096;
}

http {
    include       /etc/nginx/mime.types;
    default_type  application/octet-stream;

    log_format  main  '$remote_addr - $remote_user [$time_local] "$request" '
                      '$status $body_bytes_sent "$http_referer" '
                      '"$http_user_agent" "$http_x_forwarded_for"';

    access_log  /var/log/nginx/access.log  main;
    sendfile        on;
    keepalive_timeout  65;

    # include /etc/nginx/conf.d/*.conf;

    upstream minio {
        server minio1:9000;
        server minio2:9000;
        server minio3:9000;
        server minio4:9000;
    }

    upstream console {
        ip_hash;
        server minio1:9001;
        server minio2:9001;
        server minio3:9001;
        server minio4:9001;
    }

    server {
        listen       9000;
        listen  [::]:9000;
        server_name  localhost;

        # To allow special characters in headers
        ignore_invalid_headers off;
        # Allow any size file to be uploaded.
        # Set to a value such as 1000m; to restrict file size to a specific value
        client_max_body_size 0;
        # To disable buffering
        proxy_buffering off;
        proxy_request_buffering off;

        location / {
            proxy_set_header Host $http_host;
            proxy_set_header X-Real-IP $remote_addr;
            proxy_set_header X-Forwarded-For $proxy_add_x_forwarded_for;
            proxy_set_header X-Forwarded-Proto $scheme;

            proxy_connect_timeout 300;
            # Default is HTTP/1, keepalive is only enabled in HTTP/1.1
            proxy_http_version 1.1;
            proxy_set_header Connection "";
            chunked_transfer_encoding off;

            proxy_pass http://minio;
        }
    }

    server {
        listen       9001;
        listen  [::]:9001;
        server_name  localhost;

        # To allow special characters in headers
        ignore_invalid_headers off;
        # Allow any size file to be uploaded.
        # Set to a value such as 1000m; to restrict file size to a specific value
        client_max_body_size 0;
        # To disable buffering
        proxy_buffering off;
        proxy_request_buffering off;

        location / {
            proxy_set_header Host $http_host;
            proxy_set_header X-Real-IP $remote_addr;
            proxy_set_header X-Forwarded-For $proxy_add_x_forwarded_for;
            proxy_set_header X-Forwarded-Proto $scheme;
            proxy_set_header X-NginX-Proxy true;

            # This is necessary to pass the correct IP to be hashed
            real_ip_header X-Real-IP;

            proxy_connect_timeout 300;

            # To support websocket
            proxy_http_version 1.1;
            proxy_set_header Upgrade $http_upgrade;
            proxy_set_header Connection "upgrade";

            chunked_transfer_encoding off;

            proxy_pass http://console;
        }
    }
}
2、启动服务
docker-compose -f docker-compose-minio.yml up -d
将docker服务设置为开机自启动
systemctl enable docker
3、访问测试
在浏览器中输入地址:http://localhost:9000
配置文件中已经指定了root账户密码,分别是如下配置项,可以根据情况改成别的值
- MINIO_ROOT_USER
- MINIO_ROOT_PASSWORD
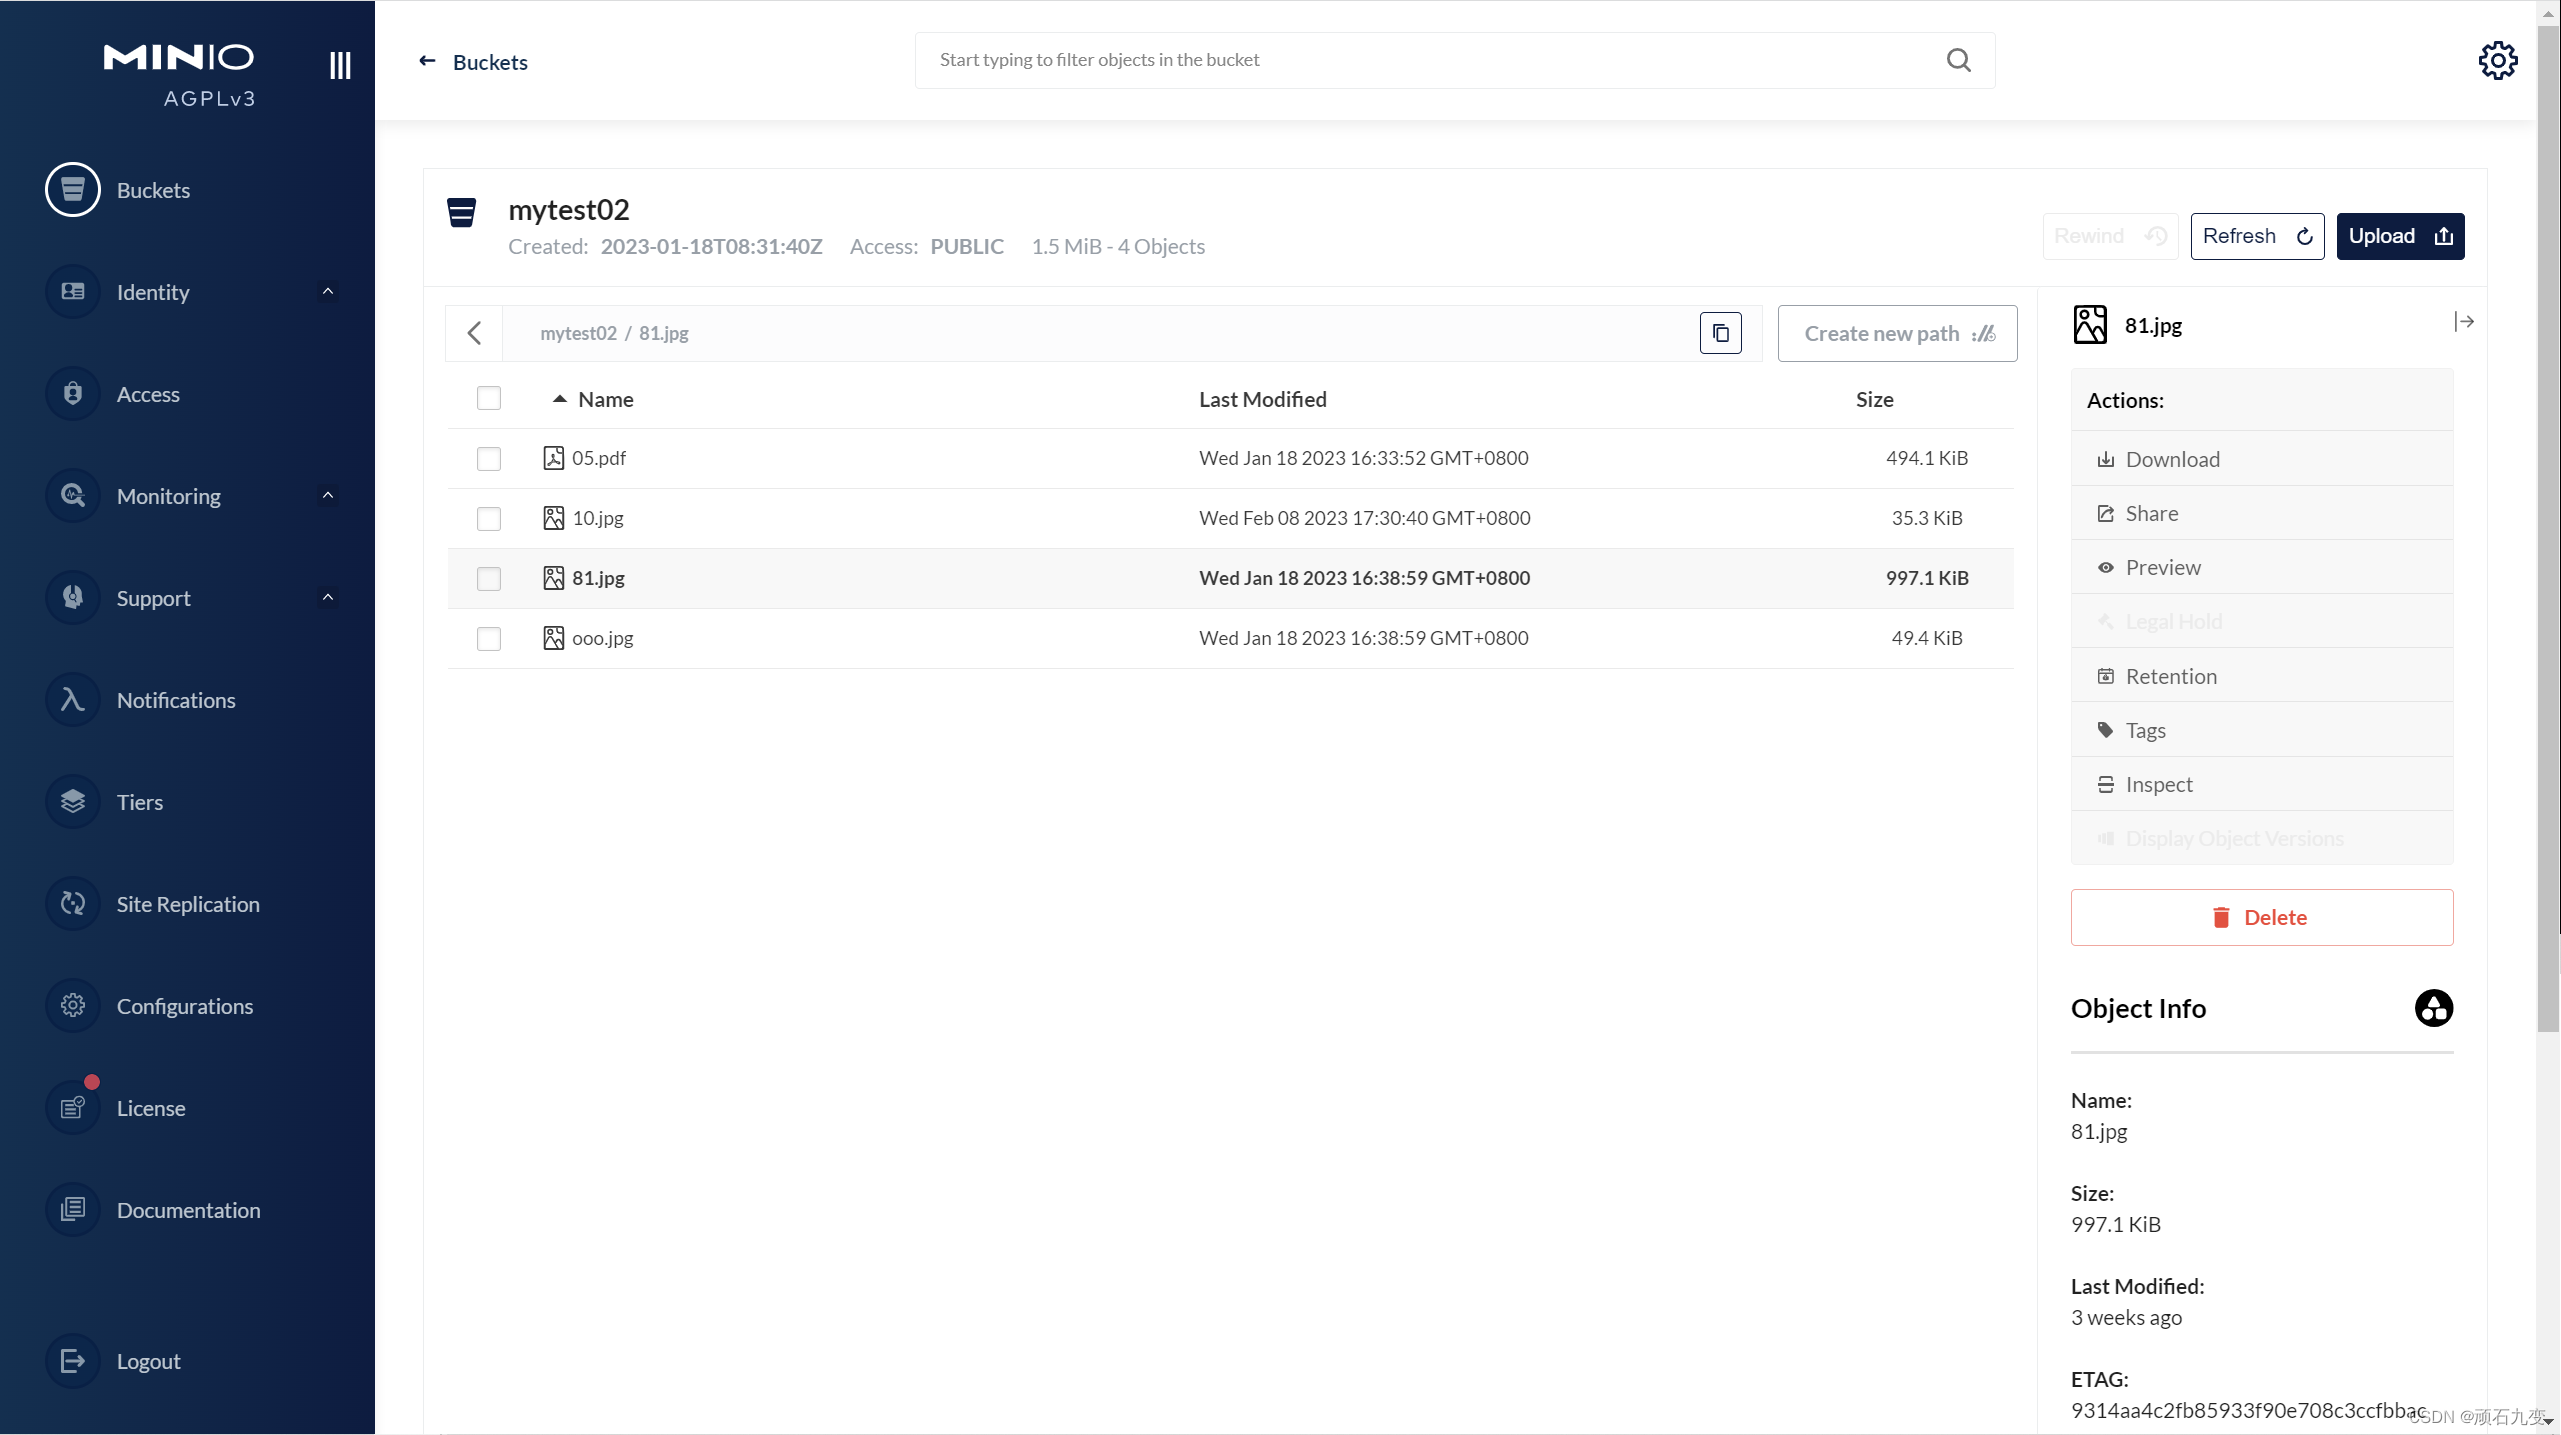
账号登录后,可以直接在界面上操作(查询、上传、下载、删除、预览等)
二、在Java中使用
1、引入依赖jar包
<dependency>
    <groupId>io.minio</groupId>
    <artifactId>minio</artifactId>
    <version>8.3.3</version>
</dependency>
2、测试代码示例
import io.minio.*;
import org.junit.jupiter.api.Test;

import java.io.File;
import java.io.FileInputStream;

public class MinioDemoTest {


    //1. 创建一个客户端
    //获取客户端对象
    MinioClient client = MinioClient.builder().endpoint("http://192.168.56.111:9000") //本地ip+端口号
            .credentials("test", "test1234")  //用户名和密码
            .build();

    //2. 创建一个Bucket(桶)
    @Test
    public void createBucket() throws Exception {


        //这里参数就是很智能的可以生成.鼠标光标会放在.build前,我门只需要加上桶名就行
        client.makeBucket(MakeBucketArgs.builder().bucket("mytest02").build());
    }

    //3. 判断这个桶是否存在
    @Test
    public void bucketExist() throws Exception {


        boolean result = client.bucketExists(BucketExistsArgs.builder().bucket("mytest02").build());
        System.out.println(result);
    }

    //4. 给桶中放对象(文件) 有两种方法: 1)使用putObject() 2)使用uploadObject() 有点小不同
    @Test
    public void uploadTest() throws Exception {


        //方法一 使用putObject()
        File file = new File("d:\\temp\\3.jpg");
        FileInputStream fps = new FileInputStream(file);
        client.putObject(PutObjectArgs.builder()
                .bucket("mytest02")   //桶名
                .object("ooo.jpg") //要生成的对象名
                .stream(fps, file.length(), -1)
                .contentType("image/jpeg")
                .build());

        //方法二 使用uploadObject()
        client.uploadObject(UploadObjectArgs.builder()
                .bucket("mytest02")  //桶名
                .object("81.jpg")  //要生成的对象名
                .filename("d:\\temp\\81.jpg")  //要上传的文件在本地的路径
                .build());

    }

    //5. 通过接口下载文件
    @Test
    public void domloadTest() throws Exception {


        DownloadObjectArgs args = DownloadObjectArgs.builder().bucket("mytest02")
                .object("ooo.jpg") // 要查找的文件名称
                .filename("d:/temp/d01.jpg") // 文件下载后存储在哪里
                .build();
        client.downloadObject(args);

    }

    //6. 查看文件列表
    @Test
    public void listTest() throws Exception {


        Iterable<Result<Item>> results = client.listObjects(
                ListObjectsArgs.builder()
                        .bucket("mytest02")
                        .startAfter("10") // '10'开头文件以及之后的所有文件
                        .prefix("0") // '0'开头的所有文件
                        .maxKeys(100) // 最大返回多少文件
                        .build());
        results.forEach(item -> {


            try {


                System.out.println("item.get() = " + item.get().objectName());
            } catch (Exception e) {


                e.printStackTrace();
            }
        });

    }
}