文章目录
一、Pytest生成Allure报告-改变报告logo
1、找到Allure安装static目录文件:
D:\python自动化相关资料\pytest\allure-2.13.6\plugins\custom-logo-plugin\static
2、将需要替换的logo文件保存在该目录下:【并命名为allure_logo.png】

3、同时打开目录下styles.css文件:
替换为以下内容:
.side-nav__brand {
background: url(‘allure_logo.png’) no-repeat left center !important;
url(‘allure_logo.png’),就是表示allure报告中所要加载显示的logo
margin-left: 10px;
height: 40px;
background-size: contain !important;
}
.side-nav__brand span{
display: none;
}
.side-nav__brand:after{
content: “8线Test”; #这是的内容对应的是我logo后面的内容,在接下来的截图中可以看到,如果不写这个样式,默认的就是allure
margin-left: 10px;
}
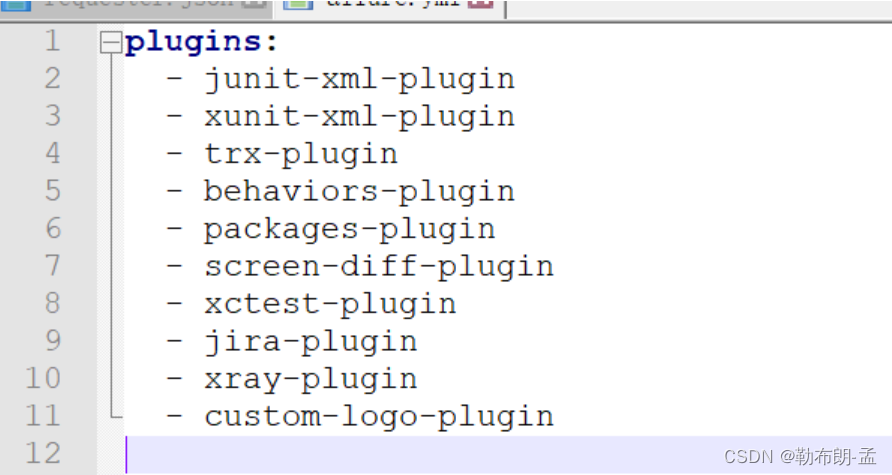
4、在D:\python自动化相关资料\pytest\allure-2.13.6\config目录下的allure.yaml文件下添加
- coustom-logo-plugin
添加完成后保存并再次运行
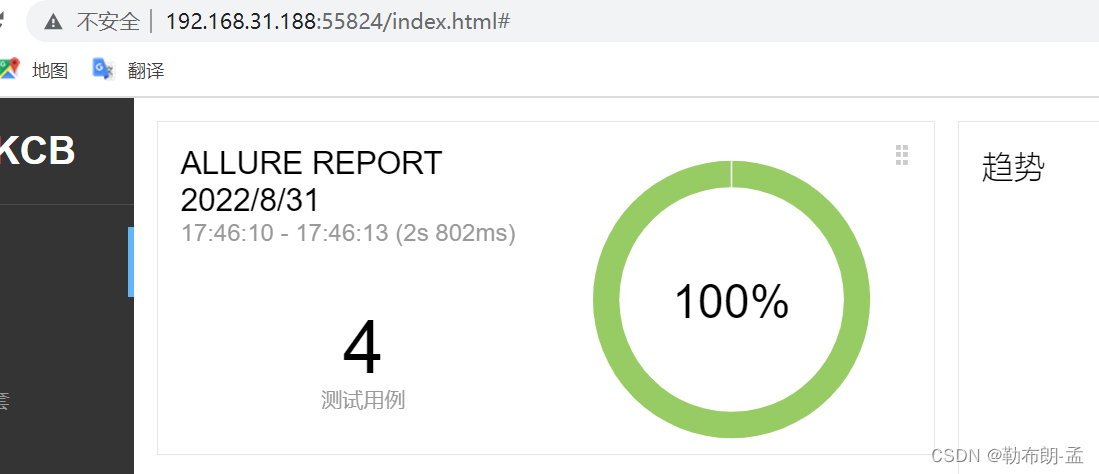
5、替换成功:

二、如何修改allure报告中用例参数化:
2.1、正常情况下:Allure报告中的参数化:(一长串)

2.2、修改方法:
找到python安装目录下D:\Python\Lib\site-packages\allure_pytest
listener.py文件第95行进行修改:(修改成下图样子)

三、本地局域网内allure报告链接:
在运用命令本地生成allure报告后,在项目中打开一般链接都是以localhost开头的

此时本地的报告想以链接的形式给同事看就是个问题,那我们需要单独开启下:
找到生成报告的本地目录:
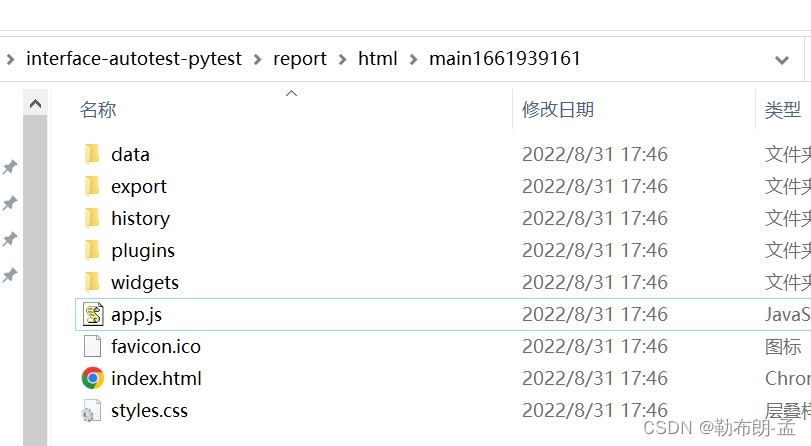
我们进入到html目录,然后:shift+鼠标右键 可以进入powershell:
allure open ‘报告所在的目录’ 即可生成链接

点击进入链接,即可打开报告: