
准备工作
首先,确保你已经安装了 Android Studio。如果还没有安装,请访问 Android Studio 官网 下载并安装。
前提条件
- 安装并配置好 Android Studio
Android Studio Electric Eel | 2022.1.1 Patch 2
Build #AI-221.6008.13.2211.9619390, built on February 17, 2023
Runtime version: 11.0.15+0-b2043.56-9505619 amd64
VM: OpenJDK 64-Bit Server VM by JetBrains s.r.o.
Windows 11 10.0
GC: G1 Young Generation, G1 Old Generation
Memory: 1280M
Cores: 6
Registry:
    external.system.auto.import.disabled=true
    ide.text.editor.with.preview.show.floating.toolbar=false
    ide.balloon.shadow.size=0

Non-Bundled Plugins:
    com.intuit.intellij.makefile (1.0.15)
    com.github.setial (4.0.2)
    com.alayouni.ansiHighlight (1.2.4)
    GsonOrXmlFormat (2.0)
    GLSL (1.19)
    com.mistamek.drawablepreview.drawable-preview (1.1.5)
    com.layernet.plugin.adbwifi (1.0.5)
    com.likfe.ideaplugin.eventbus3 (2020.0.2)
gradle-wrapper.properties
#Tue Apr 25 13:34:44 CST 2023
distributionBase=GRADLE_USER_HOME
distributionUrl=https\://services.gradle.org/distributions/gradle-7.4-bin.zip
distributionPath=wrapper/dists
zipStorePath=wrapper/dists
zipStoreBase=GRADLE_USER_HOME
build.gradle(:Project)
// Top-level build file where you can add configuration options common to all sub-projects/modules.
plugins {
    id 'com.android.application' version '7.3.1' apply false
    id 'com.android.library' version '7.3.1' apply false
    id 'org.jetbrains.kotlin.android' version '1.7.20' apply false
}
setting.gradle
pluginManagement {
    repositories {
        google()
        mavenCentral()
        gradlePluginPortal()
    }
}
dependencyResolutionManagement {
    repositoriesMode.set(RepositoriesMode.FAIL_ON_PROJECT_REPOS)
    repositories {
        google()
        mavenCentral()
    }
}
rootProject.name = "logindemo"
include ':app'
- 对 Kotlin 语言有基本了解
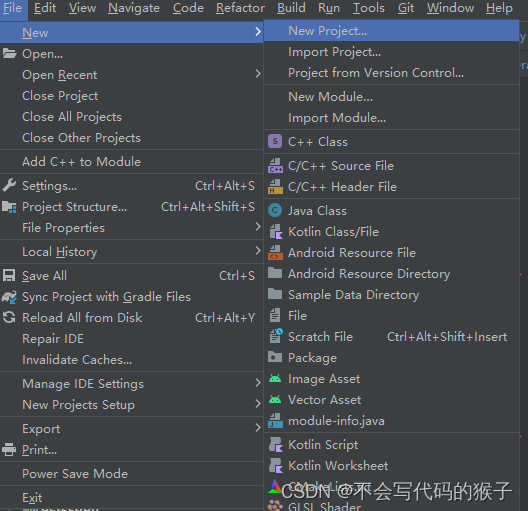
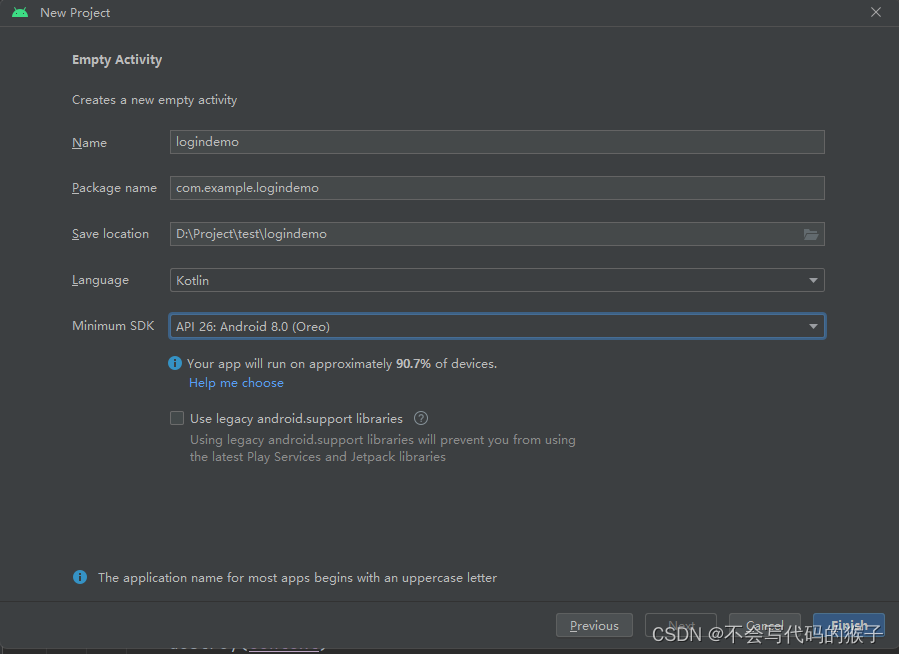
创建新项目
首先,打开 Android Studio 并创建一个新项目。选择 "Empty Activity" 模板,然后为项目命名,例如 "LoginDemo"。接下来,选择 Kotlin 作为开发语言,并确保选择了合适的最小 SDK 版本。
设计登录界面 在 `activity_main.xml` 文件中,我们将创建一个简单的登录界面。界面包括两个输入框(用于输入用户名和密码)和一个登录按钮。
<?xml version="1.0" encoding="utf-8"?>
<androidx.constraintlayout.widget.ConstraintLayout xmlns:android="http://schemas.android.com/apk/res/android"
    xmlns:app="http://schemas.android.com/apk/res-auto"
    xmlns:tools="http://schemas.android.com/tools"
    android:layout_width="match_parent"
    android:layout_height="match_parent"
    tools:context=".MainActivity">

    <EditText
        android:id="@+id/usernameEditText"
        android:layout_width="match_parent"
        android:layout_height="wrap_content"
        android:hint="用户名"
        android:inputType="text"
        app:layout_constraintTop_toTopOf="parent"/>

    <EditText
        android:id="@+id/passwordEditText"
        android:layout_width="match_parent"
        android:layout_height="wrap_content"
        android:hint="密码"
        android:inputType="textPassword"
        app:layout_constraintTop_toBottomOf="@+id/usernameEditText"/>

    <Button
        android:id="@+id/loginButton"
        android:layout_width="match_parent"
        android:layout_height="wrap_content"
        android:text="登录"
        app:layout_constraintTop_toBottomOf="@+id/passwordEditText"/>

</androidx.constraintlayout.widget.ConstraintLayout>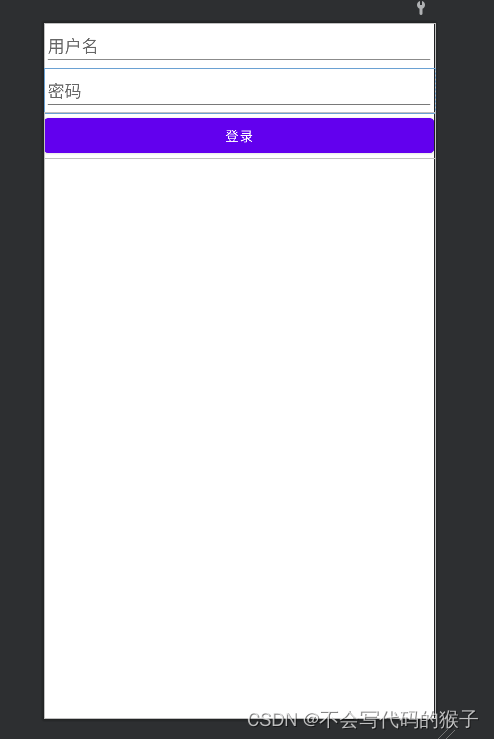
处理登录逻辑 在 `MainActivity.kt` 文件中,我们将处理登录按钮的点击事件。首先,获取输入框和按钮的引用,然后为按钮设置点击监听器。
package com.example.logindemo

import android.content.SharedPreferences
import android.os.Bundle
import android.widget.Button
import android.widget.EditText
import android.widget.Toast
import androidx.appcompat.app.AppCompatActivity

class MainActivity : AppCompatActivity() {

    private lateinit var usernameEditText: EditText
    private lateinit var passwordEditText: EditText
    private lateinit var loginButton:Button
    private var sharedPreferences: SharedPreferences ?= null
    override fun onCreate(savedInstanceState: Bundle?) {
        super.onCreate(savedInstanceState)
        setContentView(R.layout.activity_main)

        usernameEditText = findViewById(R.id.usernameEditText)
        passwordEditText = findViewById(R.id.passwordEditText)
        loginButton = findViewById(R.id.loginButton)

        sharedPreferences = getSharedPreferences("LoginDemo", MODE_PRIVATE)

        loginButton.setOnClickListener {
            val username = usernameEditText.text.toString()
            val password = passwordEditText.text.toString()

            if (validateInput(username, password)) {
                saveUserCredentials(username, password)
                Toast.makeText(this, "登录成功!", Toast.LENGTH_SHORT).show()
            } else {
                Toast.makeText(this, "请输入有效的用户名和密码!", Toast.LENGTH_SHORT).show()
            }
        }
    }

    private fun validateInput(username: String, password: String): Boolean {
        return username.isNotEmpty() && password.isNotEmpty()
    }

    private fun saveUserCredentials(username: String, password: String) {
        val editor = sharedPreferences?.edit()
        editor?.putString("username", username)
        editor?.putString("password", password)
        editor?.apply()
    }
}
在上面的代码中,我们首先获取了输入框和按钮的引用。然后,我们创建了一个 SharedPreferences 实例来存储用户的登录信息。接下来,我们为登录按钮设置了一个点击监听器。当用户点击登录按钮时,我们检查输入的用户名和密码是否有效。如果有效,我们将用户的登录信息保存到 SharedPreferences 中,并显示一条提示消息。如果输入无效,我们会提示用户输入有效的用户名和密码。
学习如何在 Android 应用中实现登录功能。我们使用了 Android Studio 和 Kotlin 语言进行开发,并介绍了如何使用 SharedPreferences 存储用户信息。这只是一个简单的示例,实际应用中,可能需要将用户信息发送到服务器进行验证。
当然如果觉得SharedPreferences的封装程度不够,使用起来繁琐的话,也可以使用tencent的开源工具MMKV,高度封装的工具类可以更简单的来完成自己需要的功能。