最近要求在WEB端播放视频流,还不允许安装插件。一开始想用webrtc,尝试了一下,觉得比价麻烦,而且有很多比较成熟的解决方案了,只要付费就能解决,比如声网,用这么个技术就能上市。我这个暂时不需要双向通讯,所以就偷了个懒,用FLV实现了,反正能在WEB端播放就可以了,以后有通讯需求了再搞webrtc吧。
1、先下载nginx和nginx-http-flv-module插件,Nginx去官网下载,地址是http://nginx.org/en/download.html。下最新版的就行。我下载的是现在的稳定版,1.22.1。

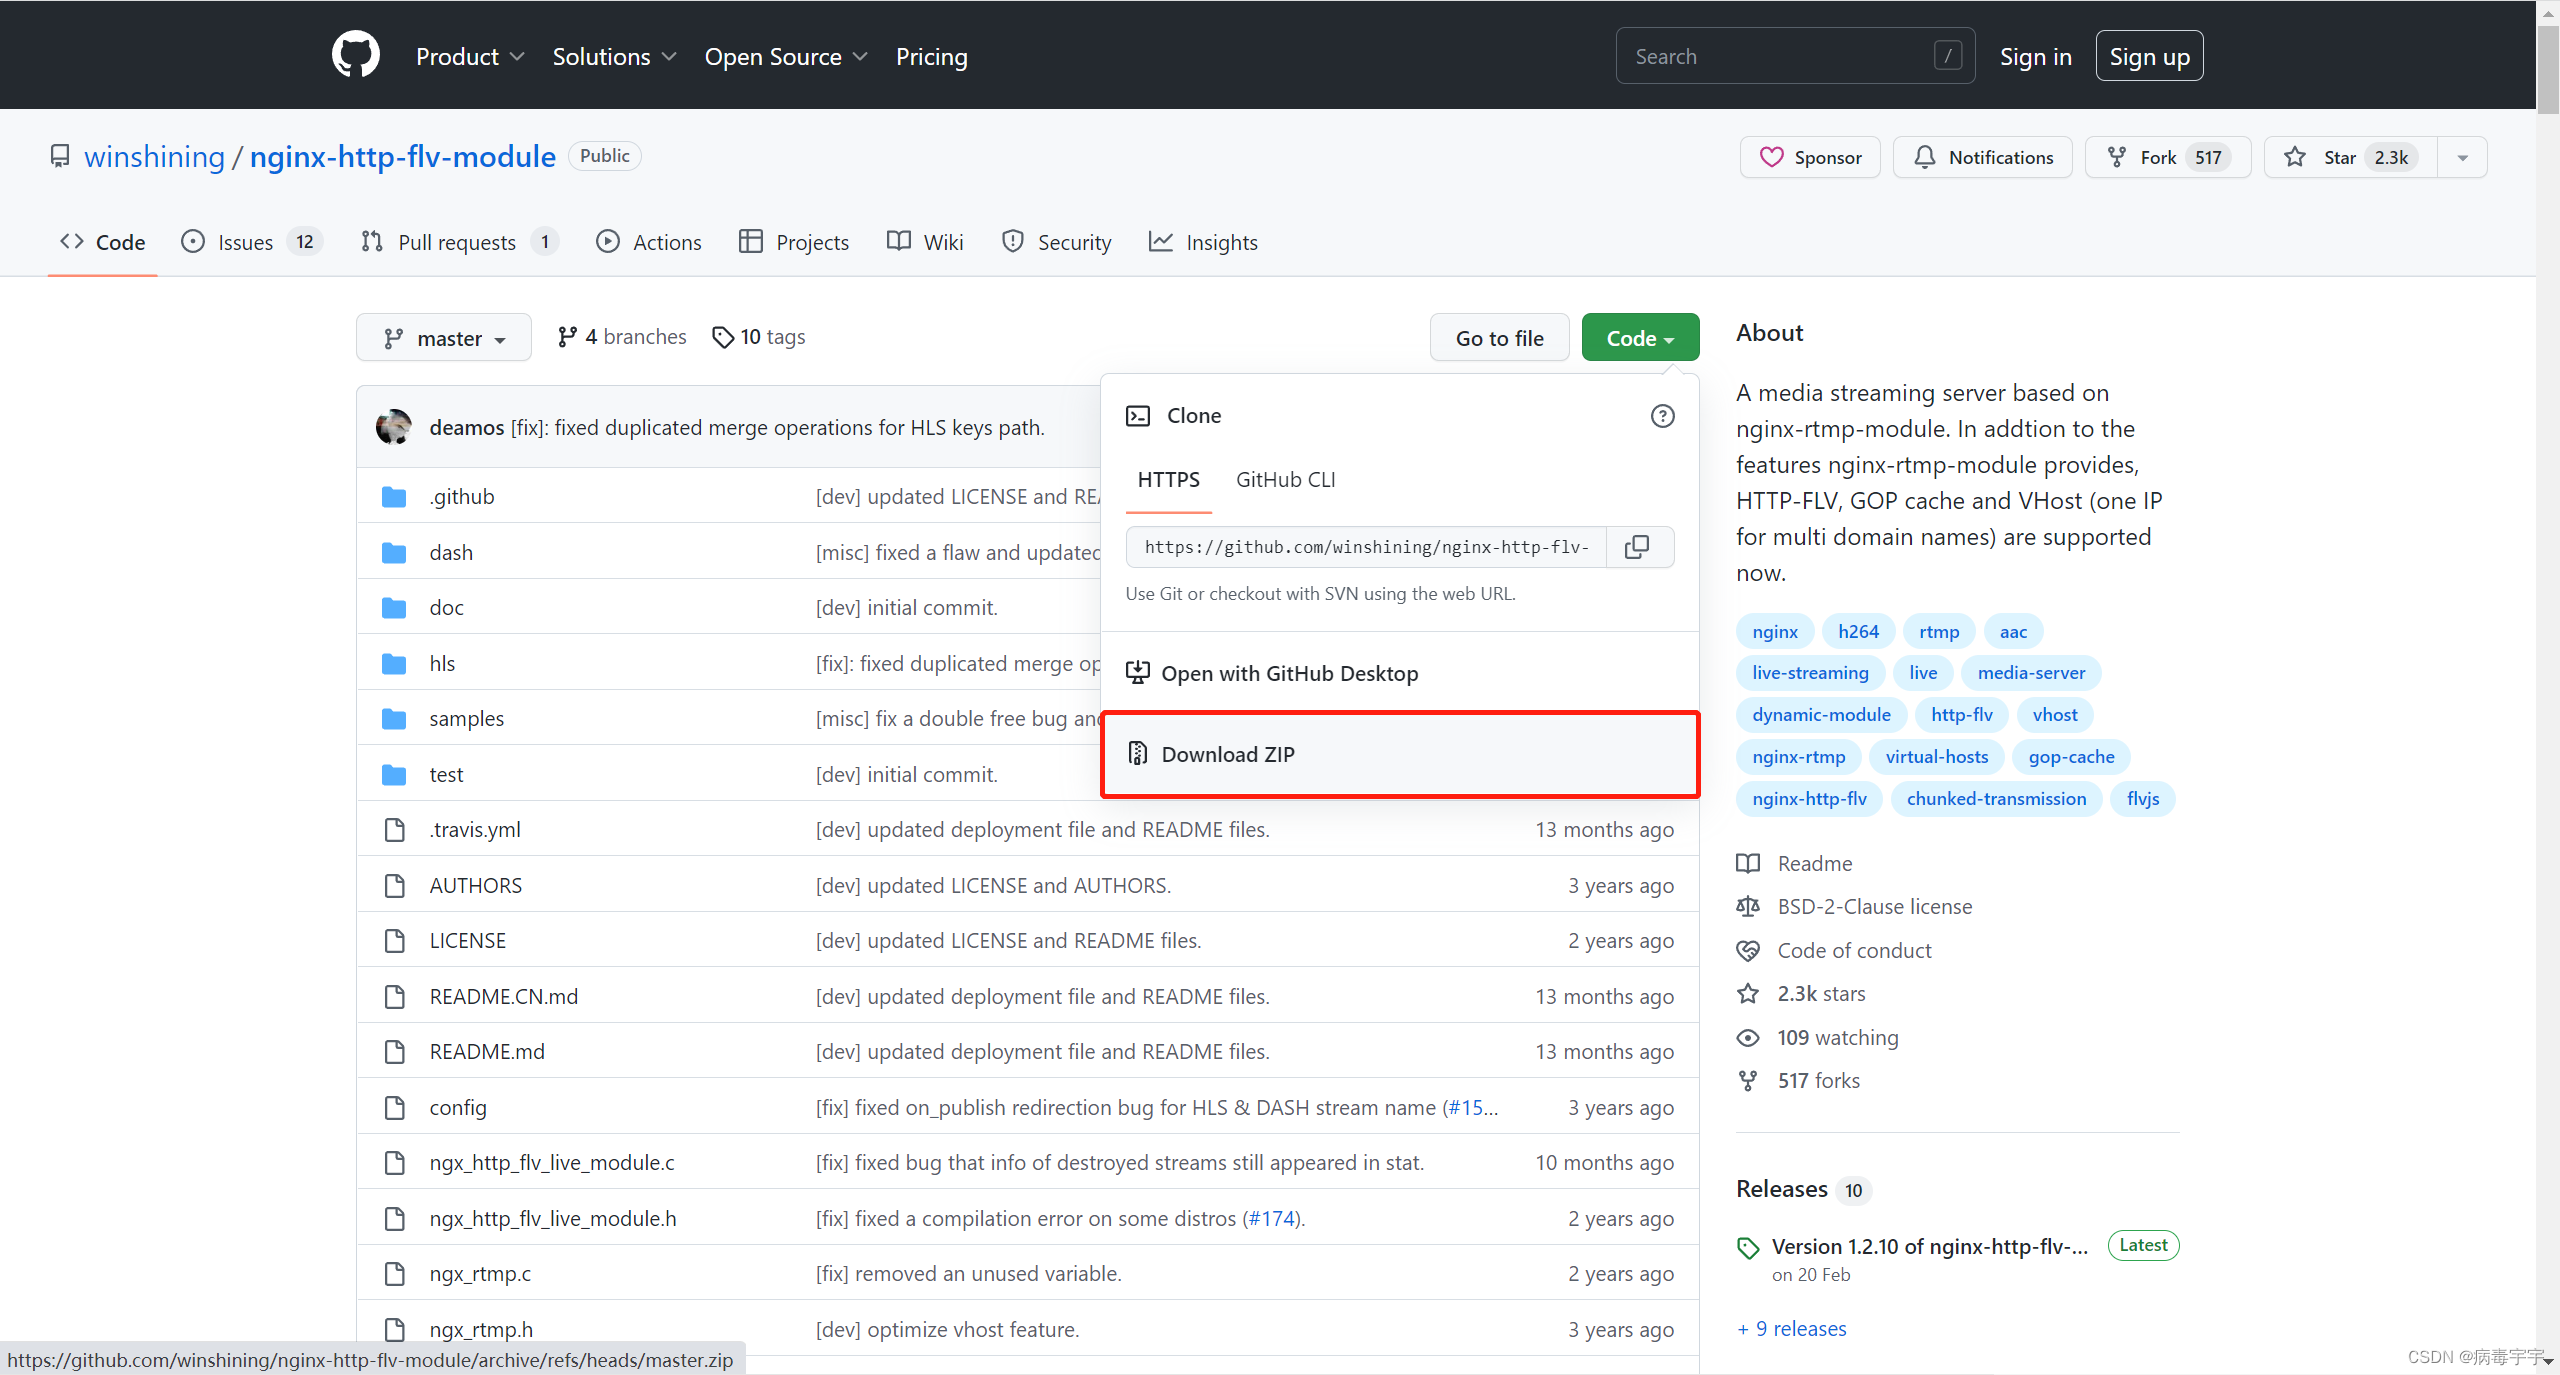
nginx-http-flv-module去github下载,地址是GitHub - winshining/nginx-http-flv-module: A media streaming server based on nginx-rtmp-module. In addtion to the features nginx-rtmp-module provides, HTTP-FLV, GOP cache and VHost (one IP for multi domain names) are supported now.。
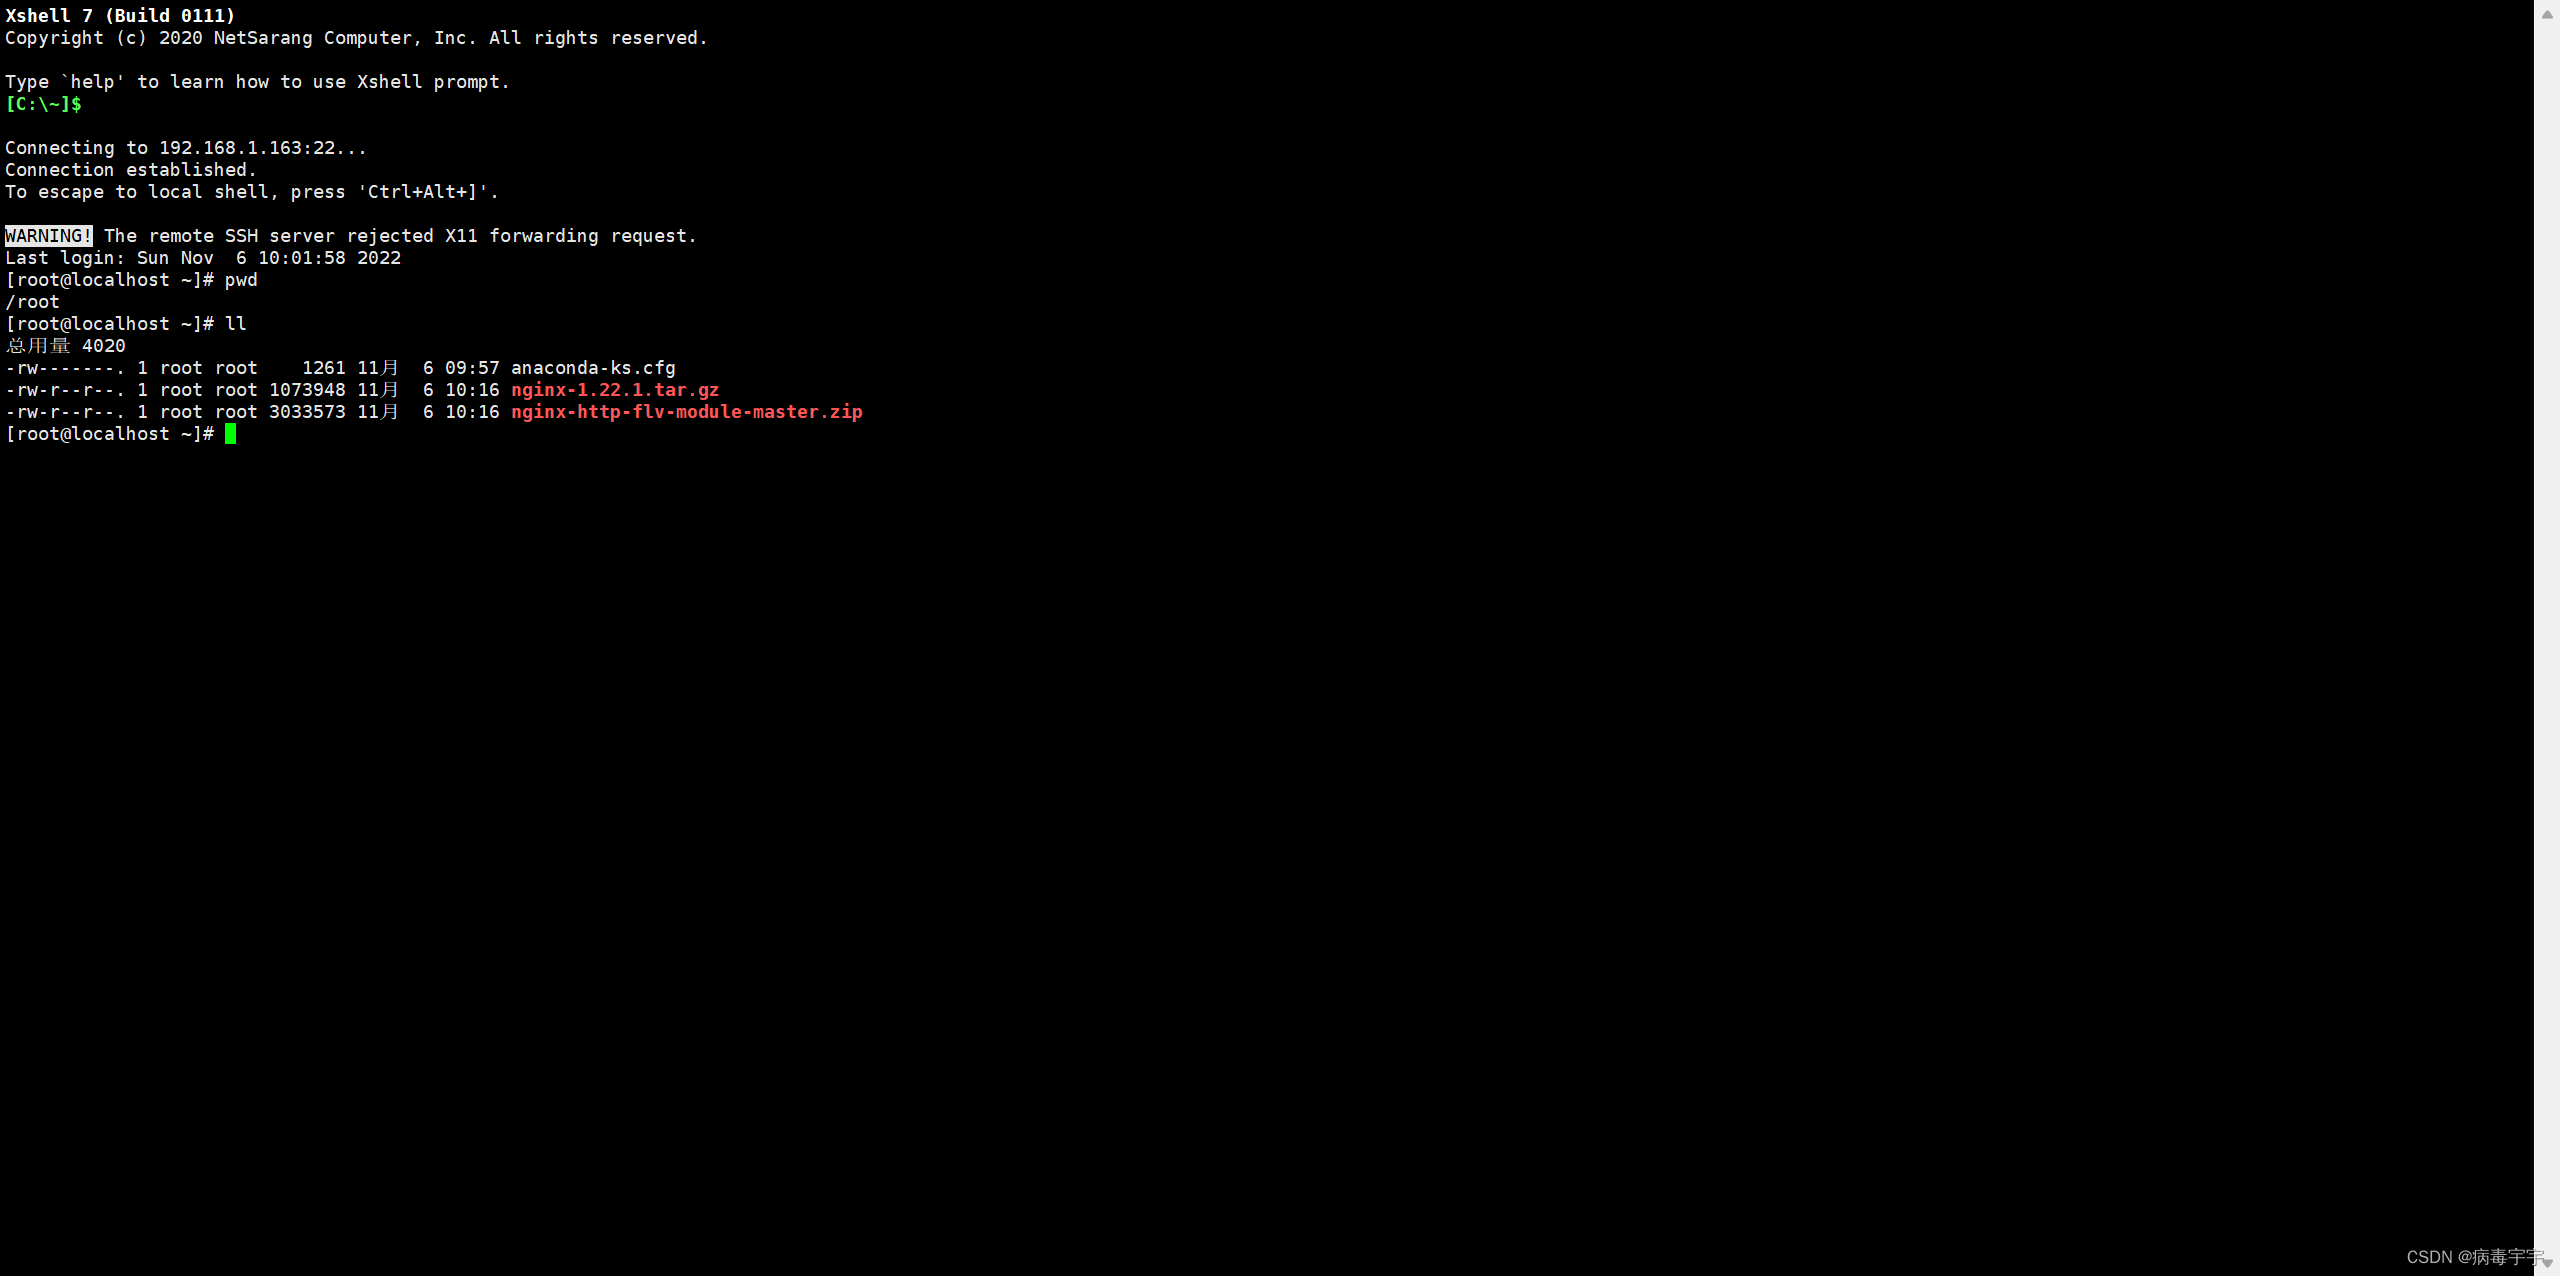
下载完放在/root下面
2、然后安装依赖包
【执行】yum -y install unzip
【执行】yum -y install gcc
【执行】yum -y install gcc-c++
【执行】yum -y install pcre pcre-devel
【执行】yum -y install zlib zlib-devel
【执行】yum -y install openssl openssl-devel
3、接下来安装nginx,先解压缩
【执行】tar -zxvf nginx-1.22.1.tar.gz
然后把解压好的目录移动到/user下面,这是我个人的习惯,不用一定放在这个目录下。
【执行】mv nginx-1.22.1 /user/
下面再解压nginx-http-flv-module-master.zip
【执行】unzip nginx-http-flv-module-master.zip
解压后把nginx-http-flv-module-master目录移动到刚才nginx-1.22.1放置的目录下。
【执行】mv nginx-http-flv-module-master /user/nginx-1.22.1/
然后开始编译nginx
【执行】./configure --prefix=/user/nginx --add-module=/user/nginx-1.22.1/nginx-http-flv-module-master
编译完成后安装
【执行】make && make install
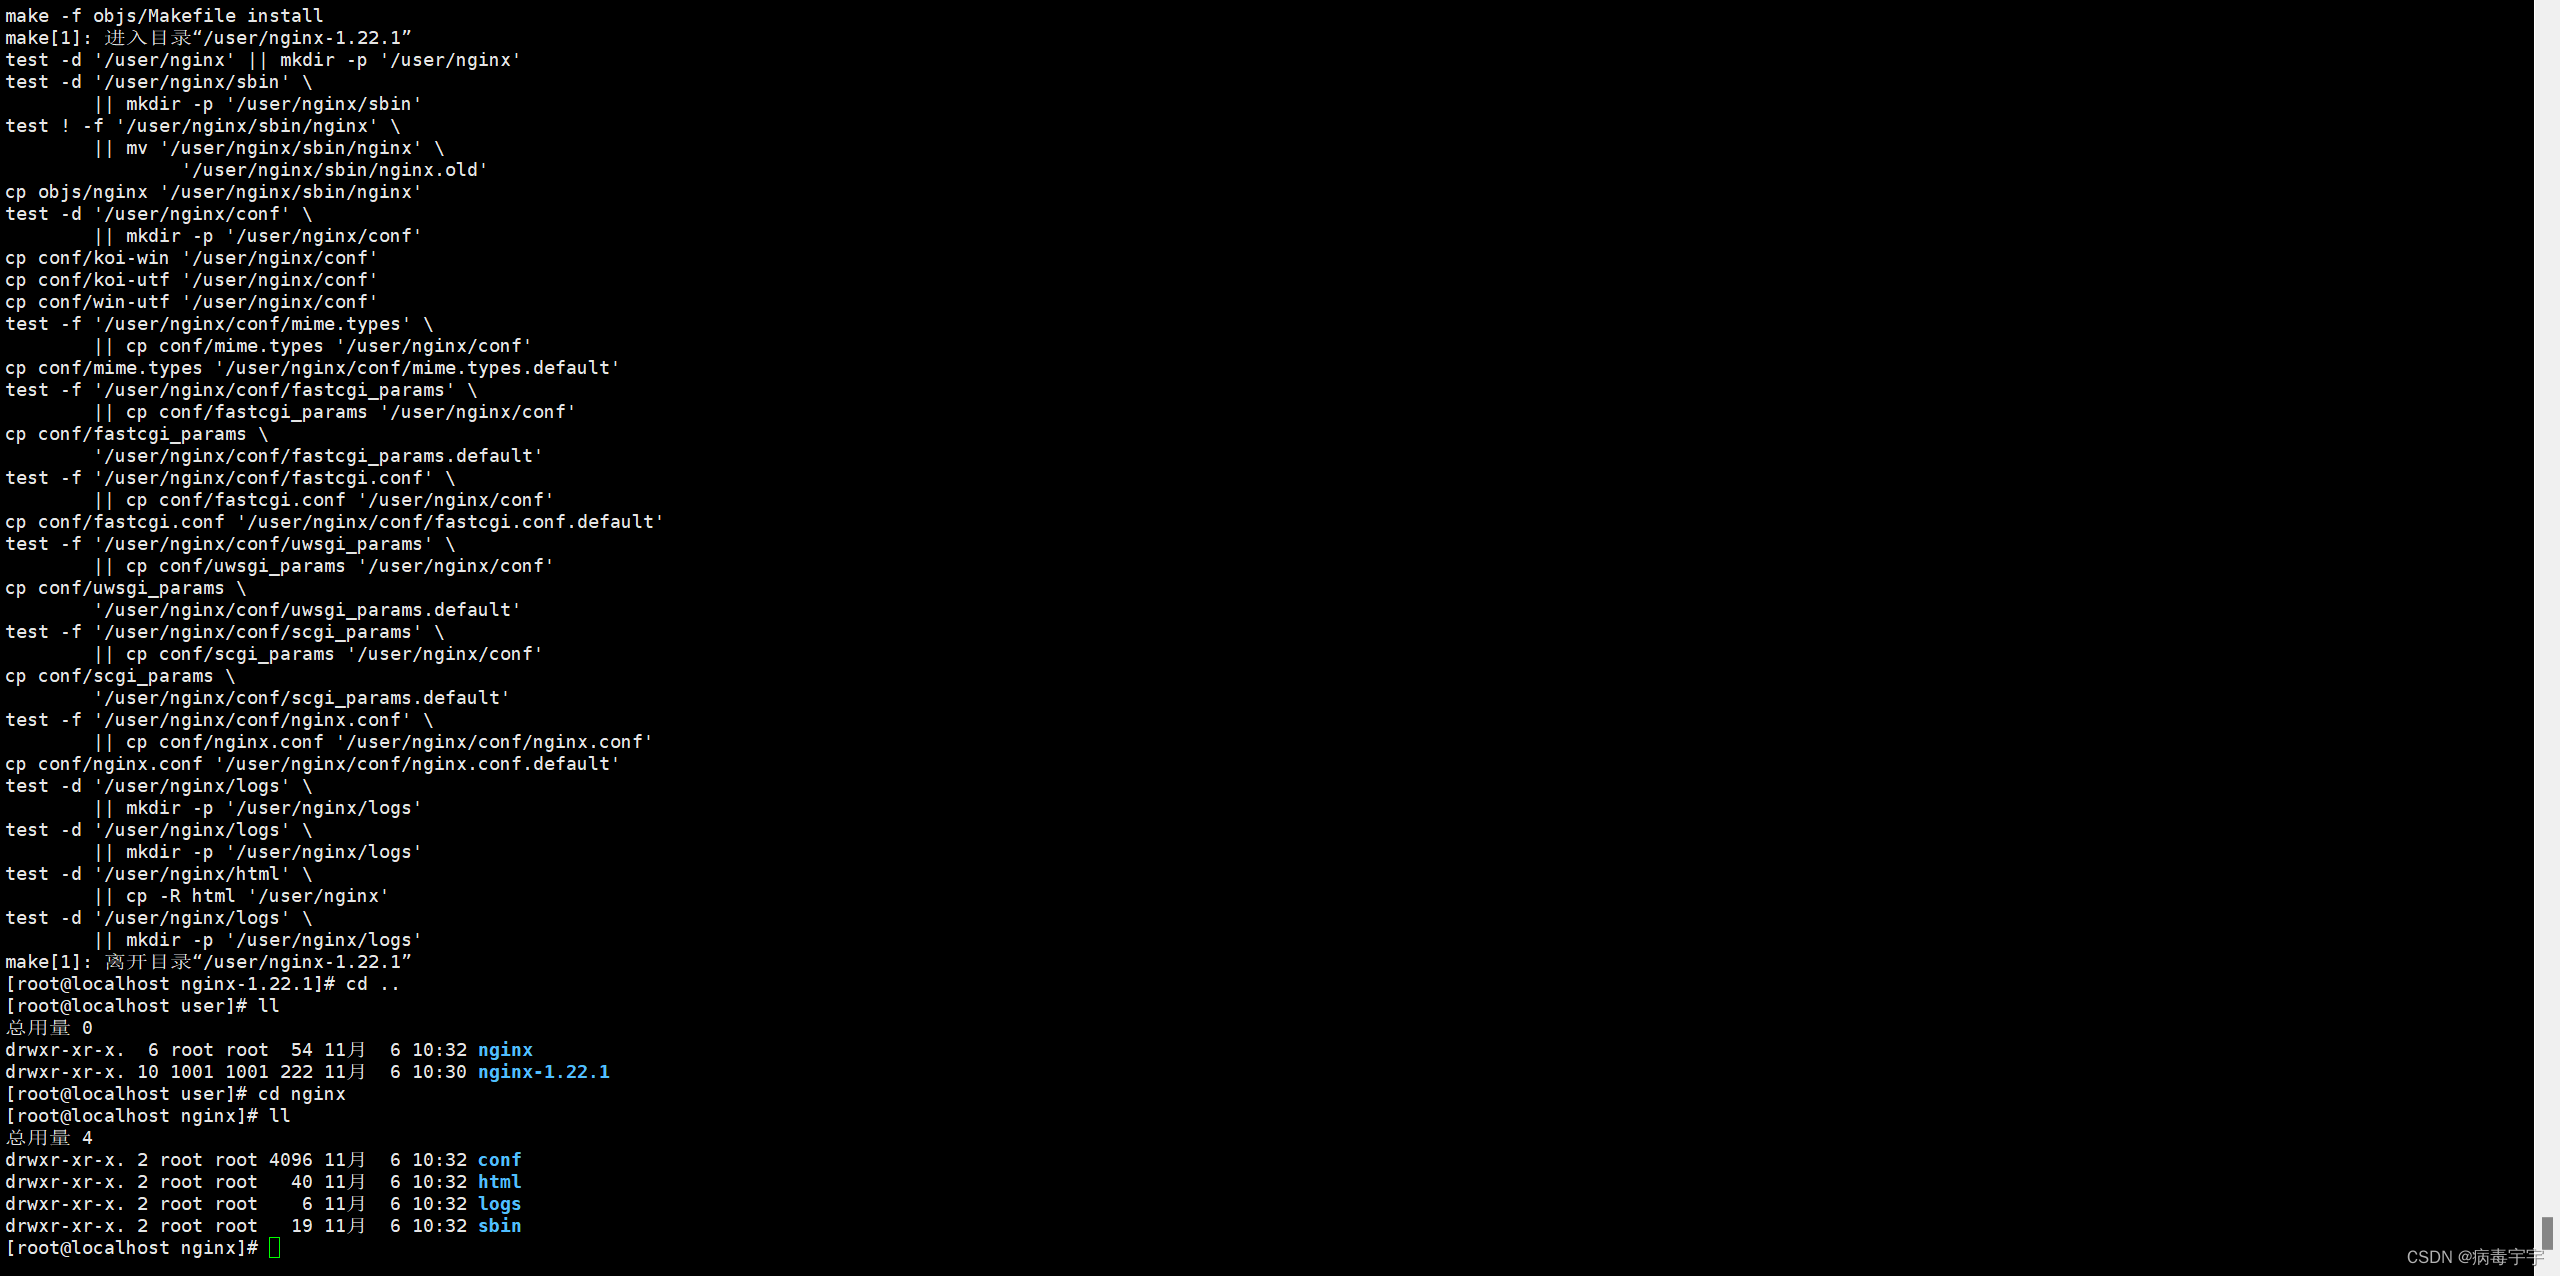
安装完成后可以看到,在/user目录下有个一个nginx目录,这就是我们安装好nginx-http-flv-module-master插件的nginx了。
3、配置nginx,配置文件在/user/nginx/conf,我把自己配置直接复制上来了,请大家参考。
worker_processes 1;
events {
worker_connections 1024;
}
rtmp {
server {
listen 1935;
application myapp {
live on;
}
}
}
http {
include mime.types;
default_type application/octet-stream;
sendfile on;
keepalive_timeout 65;
server {
listen 80;
server_name localhost;
location / {
add_header 'Access-Control-Allow-Origin' '*';
root html;
index index.html index.htm;
}
location /live {
flv_live on;
}
location /flv {
add_header 'Access-Control-Allow-Origin' '*';
flv_live on;
chunked_transfer_encoding on;
}
error_page 500 502 503 504 /50x.html;
location = /50x.html {
root html;
}
}
}
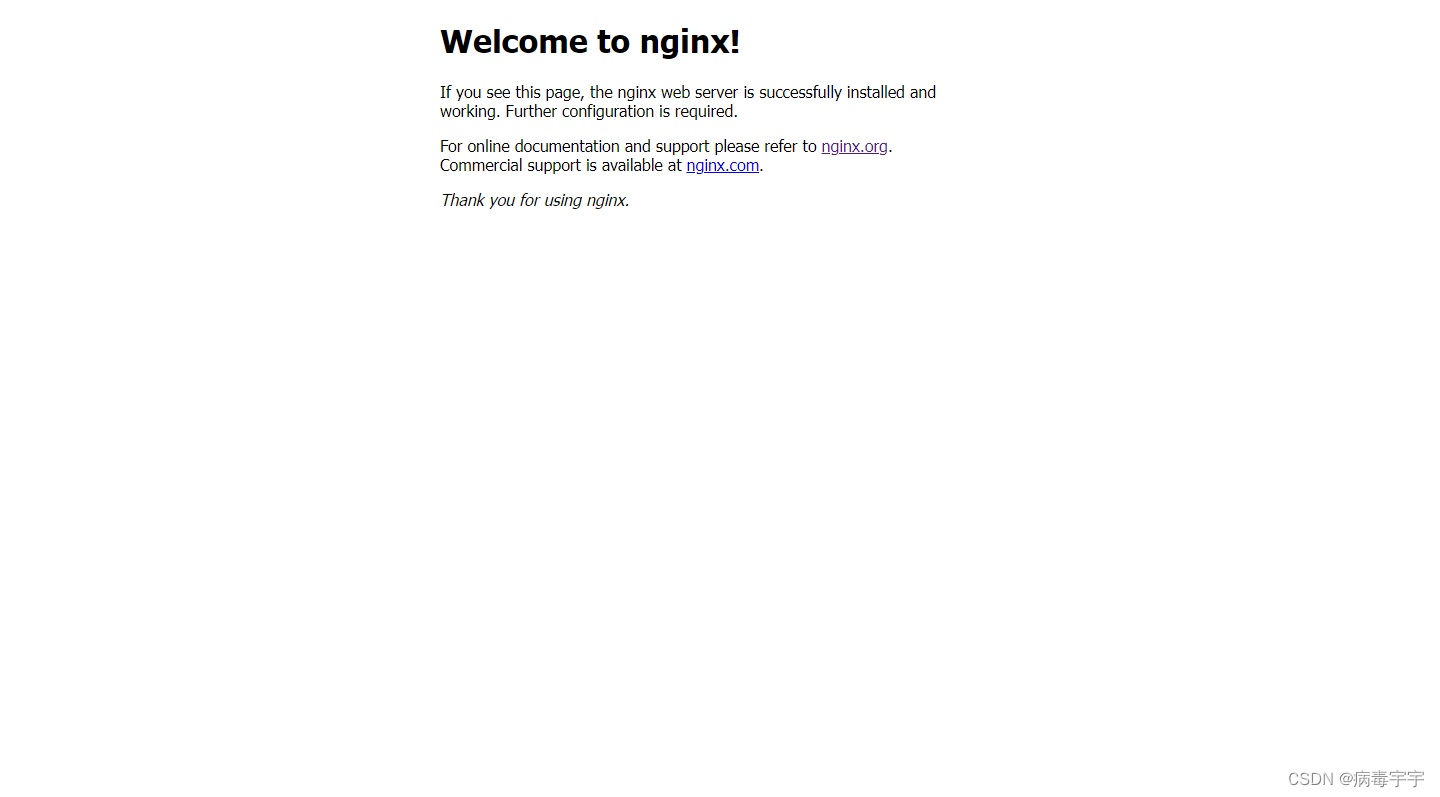
改完配置文件就可以启动nginx了,在/user/nginx/sbin目录下
【执行】./nginx &
然后访问一下服务器,如果显示下图就说明安装成功了
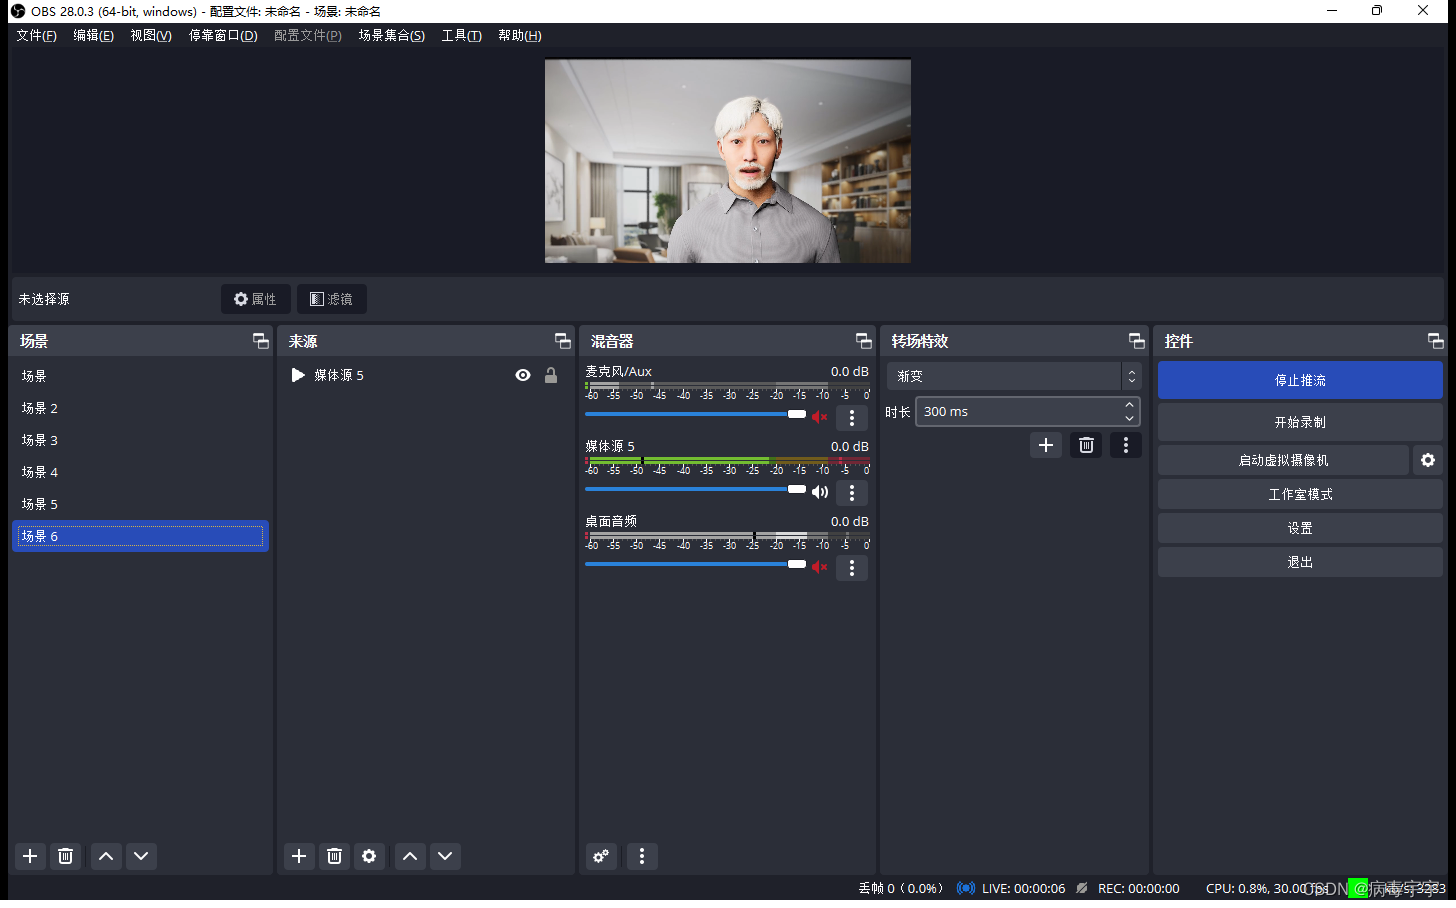
4、测试服务器,先在OBS里面配置一下
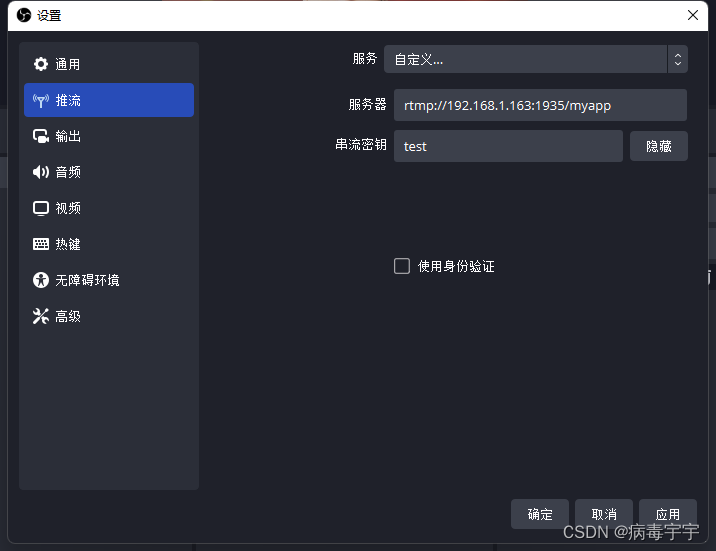
然后开始推流,如果没有问题,应该可以推流成功了。
接下来拼接一下flv的访问地址:
http://192.168.1.163/flv?port=1935&app=myapp&stream=test
app:填写推流地址中的myapp,注意观察一下myapp在前面nginx配置文件中的位置;
stream:填写推流时候填写的“串流密钥”;
port:就是前面nginx里面配置的端口;
用VLC测试一下,能播放视频就说明大功告成了。