Flask部署深度学习模型的一个例子
一. Flask
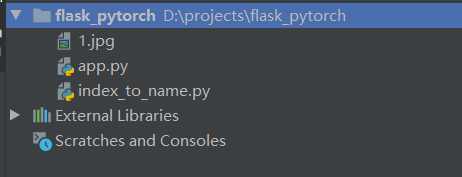
工程一共包括三个文件:
-
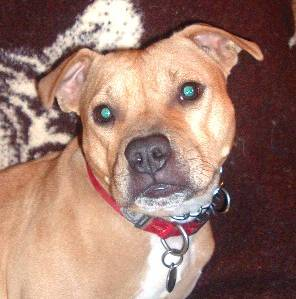
用于测试的图片1.jpg
-
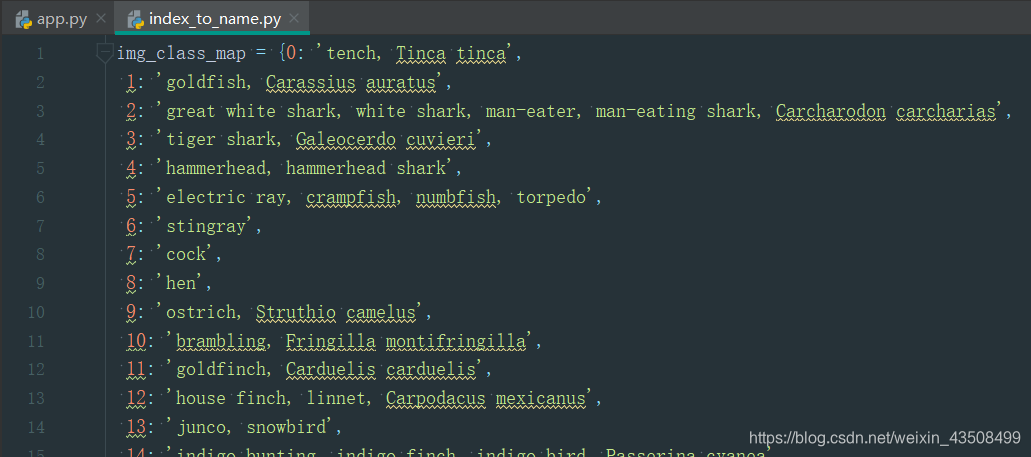
index_to_name.py定义了一个字典,键是预测类label,值是对应的class_name,如下图所示:
-
主要代码文件app.py
from index_to_name import img_class_map
import torchvision.models as models
import torchvision.transforms as transforms
from PIL import Image
from flask import Flask, jsonify, request

app = Flask(__name__)
model = models.resnet50(pretrained=True)  # Trained on 1000 classes from ImageNet
model.eval()  # Turns off autograd and


# Transform input into the form our model expects
def transform_image(infile):
    input_transforms = [transforms.Resize(255),  # We use multiple TorchVision transforms to ready the image
                        transforms.CenterCrop(224),
                        transforms.ToTensor(),
                        transforms.Normalize([0.485, 0.456, 0.406],  # Standard normalization for ImageNet model input
                                             [0.229, 0.224, 0.225])]
    my_transforms = transforms.Compose(input_transforms)
    image = Image.open(infile)  # Open the image file
    timg = my_transforms(image)  # Transform PIL image to appropriately-shaped PyTorch tensor
    timg.unsqueeze_(0)  # PyTorch models expect batched input; create a batch of 1
    return timg


# Get a prediction
def get_prediction(input_tensor):
    outputs = model.forward(input_tensor)  # Get likelihoods for all ImageNet classes
    _, y_hat = outputs.max(1)  # Extract the most likely class
    prediction = y_hat.item()  # Extract the int value from the PyTorch tensor
    return prediction


# Make the prediction human-readable
def render_prediction(prediction_idx):
    class_name = img_class_map[prediction_idx]
    return prediction_idx, class_name


@app.route('/')
def index():
    return 'server is ok'


@app.route('/predict', methods=['POST'])
def predict():
    if request.method == 'POST':
    	# 也可以采用上传文件的方式
    	# file = request.files.get('file')
        file = request.json['file']
        if file is not None:
            input_tensor = transform_image(file)
            prediction_idx = get_prediction(input_tensor)
            class_id, class_name = render_prediction(prediction_idx)
            return jsonify({

    'class_id': class_id, 'class_name': class_name})


if __name__ == '__main__':
    app.run()
在命令行启动服务:
python app.py
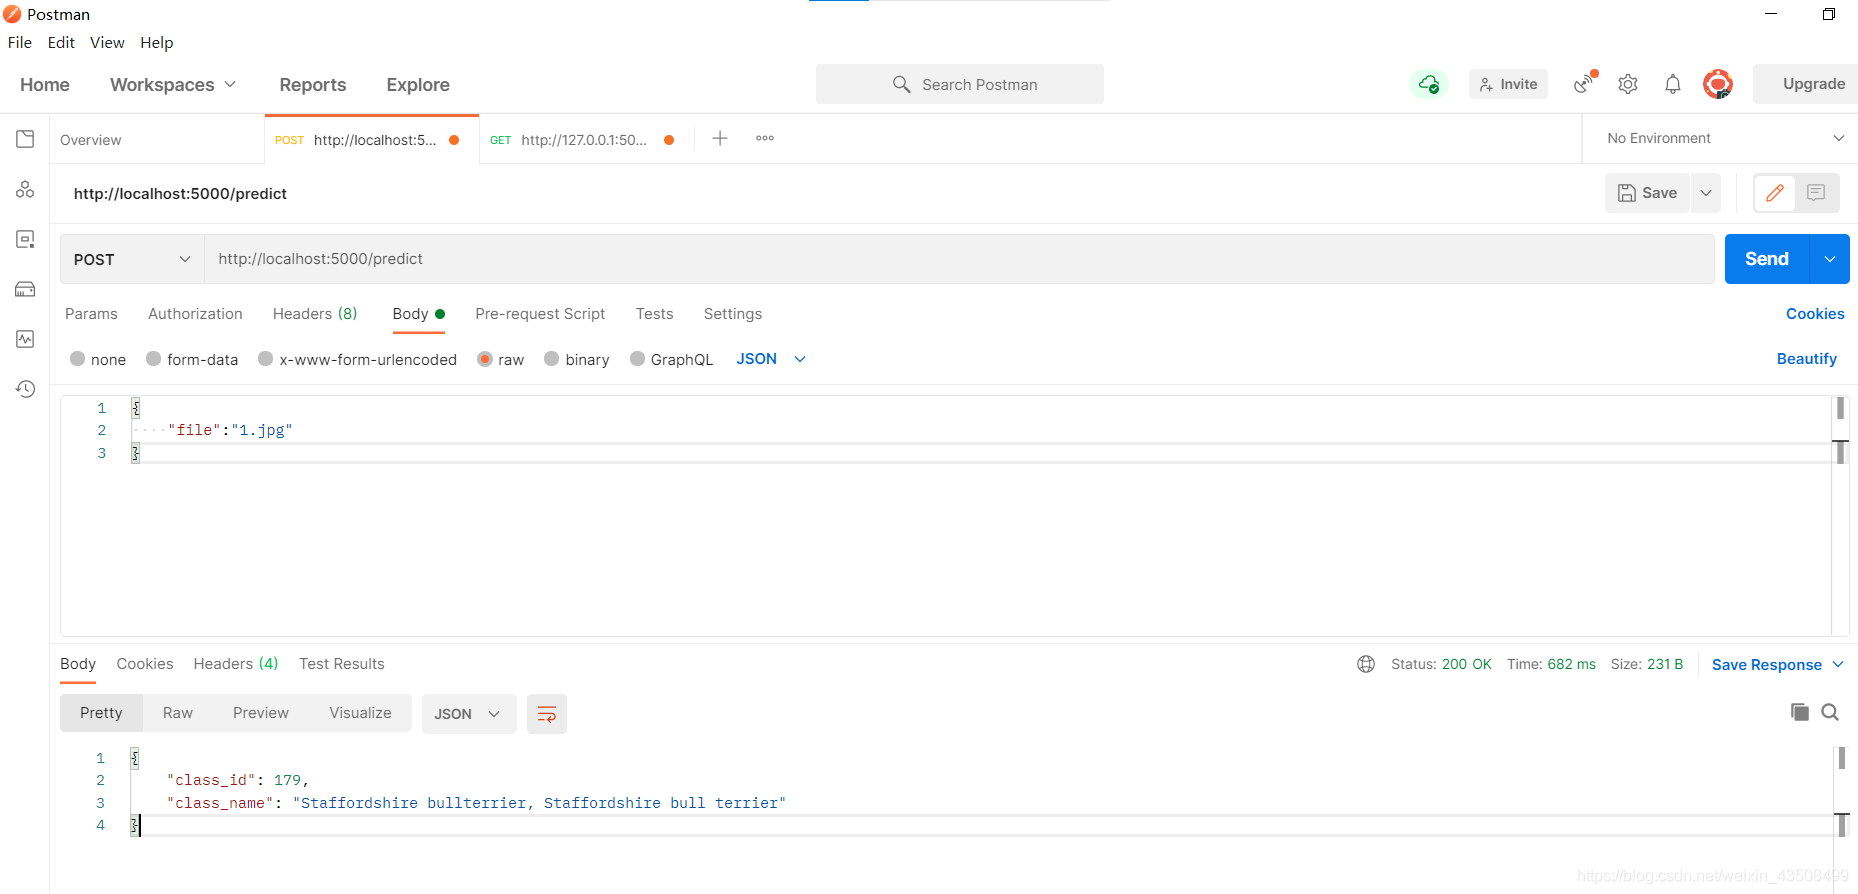
二. postman工具
利用postman用来测试接口。
传入图片的路径,格式为json,如下图所示:
结束。